Your cart is currently empty!
Affiliate Disclaimer
As an affiliate, we may earn a commission from qualifying purchases. We get commissions for purchases made through links on this website from Amazon and other third parties.
Starting Your Pottery Journey
When you are starting out making pottery, the amount of information available can feel overwhelming. On the one hand, it seems simple, you’re just making things out of clay, right? But then you start to realize that there are different pottery making techniques, types of clay, and ways of decorating and firing pottery.
It can be hard to know where to start. Well, don’t worry, we’ve got your back. The Pottery Wheel has a ton of beginner info that will help you start your journey.
Different Approaches to Pottery Making
The first thing to know is that there are a number different ways of making pottery. The two most common ways are hand building and wheel throwing. I think hand building is a lot like modeling with clay, as you are making the pottery by shaping it with your hands.
By contrast wheel throwing is a process of using a combination of your hands and a pottery wheel to shape the clay. You can start learning either approach at any point. Begin with whichever approach appeals to you most, and you can experiment with other techniques as you go along.
I’ll start here by giving you an overview of hand building. Then I’ll point you in the direction of some great beginner info on The Pottery Wheel that will help you get going.
Hand Building Pottery
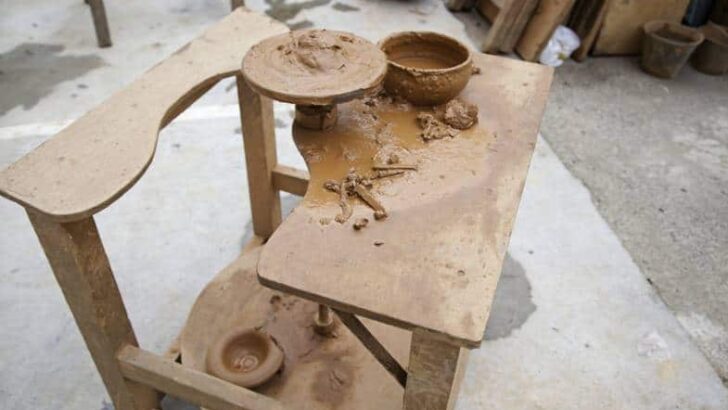
Hand building is the oldest form of pottery making. Research suggests that potters have been hand building since the Neolithic era which started about 10,000 BCE. So, by learning to hand build you are joining an ancient Stone Age tradition, which I think is pretty cool.
And funnily enough, there is a lot about pottery making that hasn’t changed over thousands of years. The basic hand making techniques are more or less the same. Our aesthetic tastes may have changed, but the methods are curiously similar.
There are three basic pottery hand building techniques. They are;
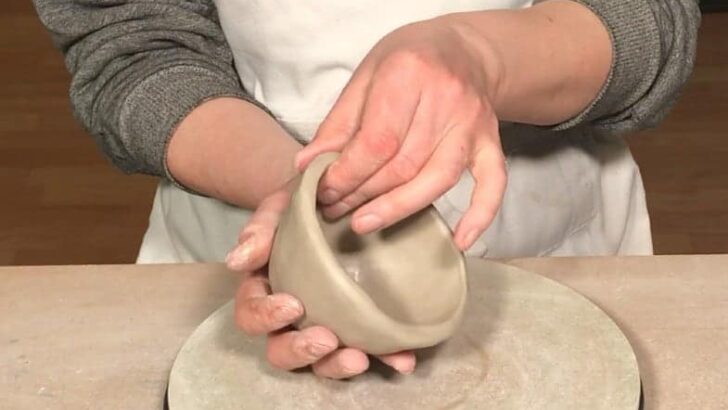
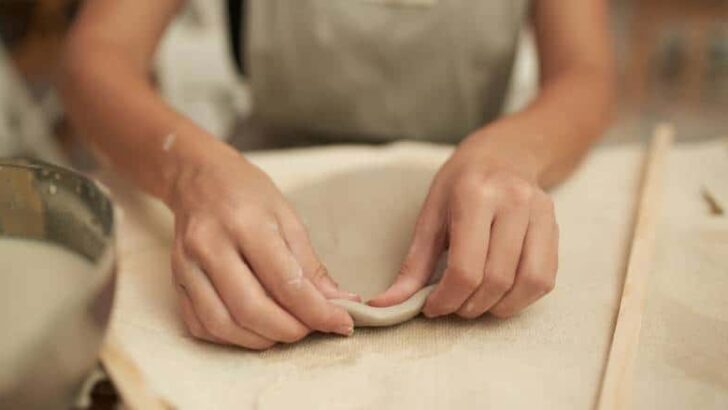
- Pinch Pottery
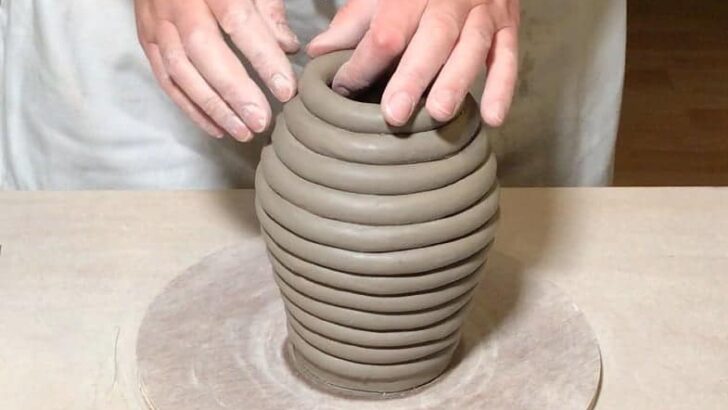
- Coil Pottery
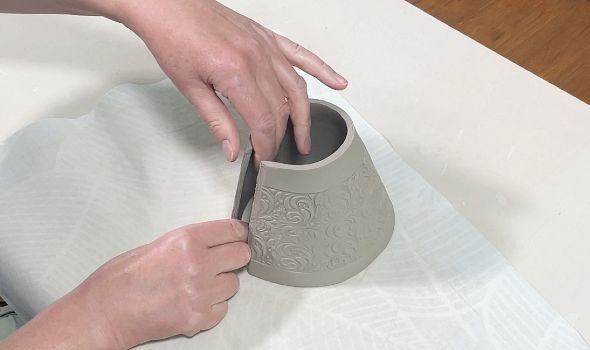
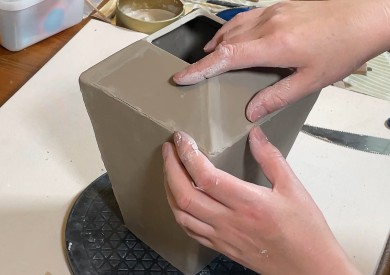
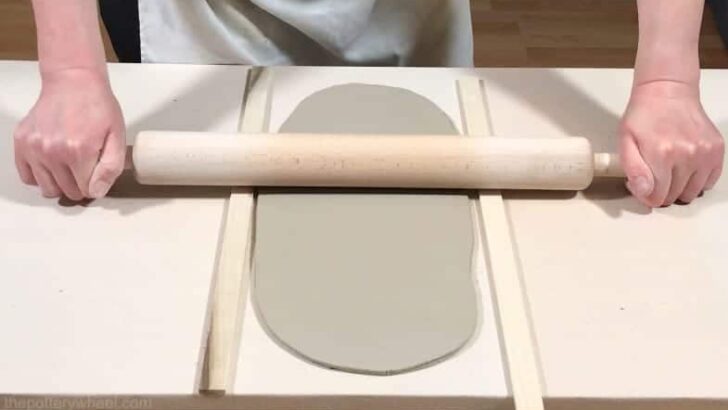
- Slab Pottery
With each of these pottery techniques, the clue is in the name. Pinch pottery involves pinching the clay into the shape that you want it to be. Coil pottery involves building your pots out of coils of clay. And slab pottery involves building your pots out of slabs of clay.
Often pinch pottery is taught first, because in some ways the technique is simpler to manage than working with coils or slabs. But, you can try out which ever one takes your fancy and go from there.
Here is some beginner info on each of these pottery making techniques so that you can get started…
Pinch Pottery


Coil Pottery
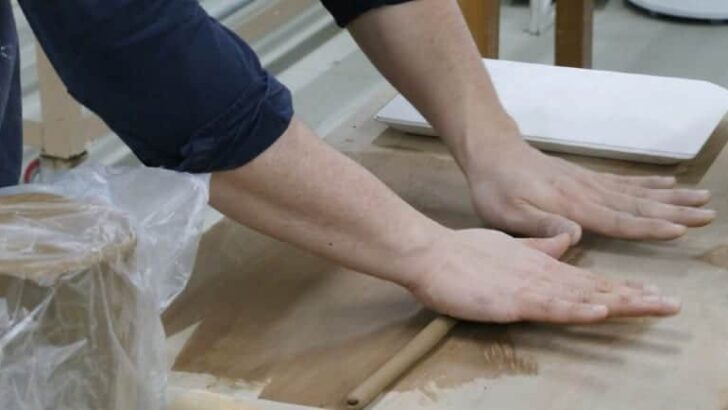
Slab Pottery
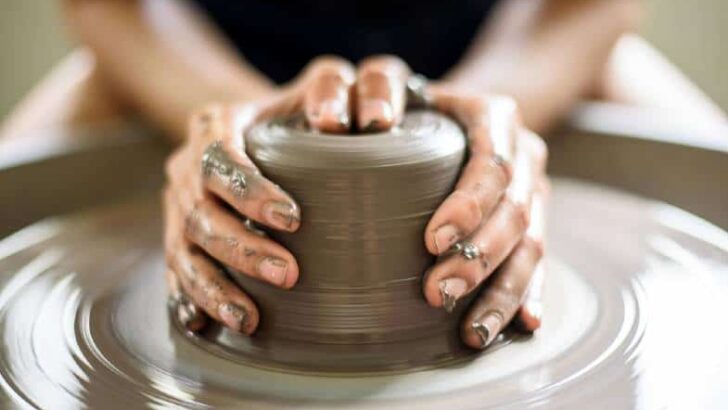
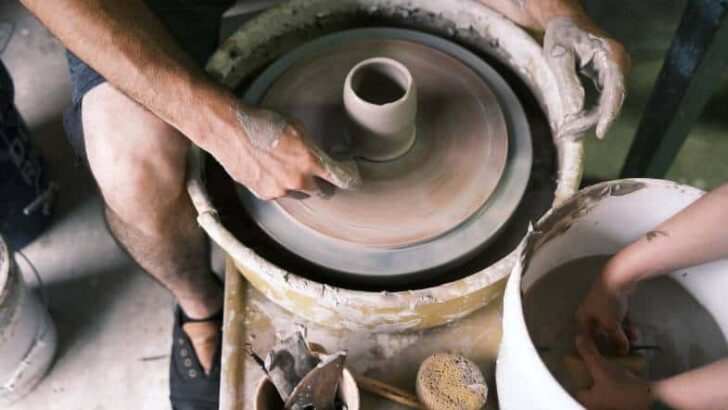
Wheel Throwing Pottery
Wheel throwing involves making pottery on a potter’s wheel. It’s sometimes said that it’s called wheel throwing because potters will often slap the clay onto the wheel head when they start a pot.
However, the name has its origins in the old English term ‘thrawan’, which means to turn or twist. I am a bit of a pottery history nerd, and if you are that way inclined as well, you can check out some other interesting historical information on pottery here.
But back to wheel throwing…
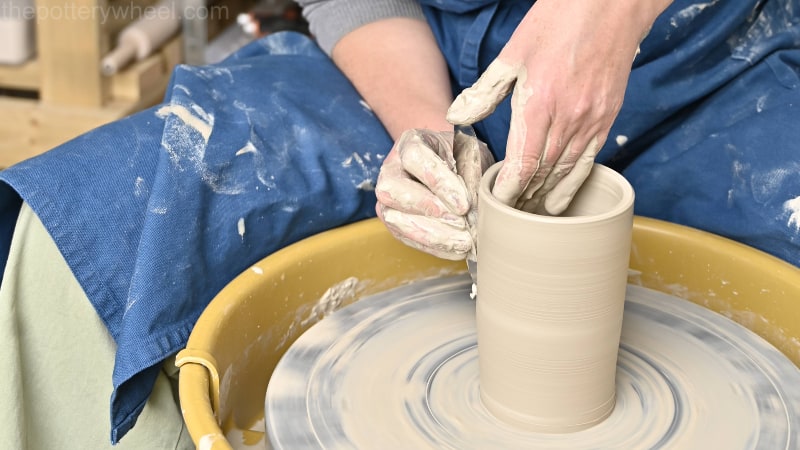
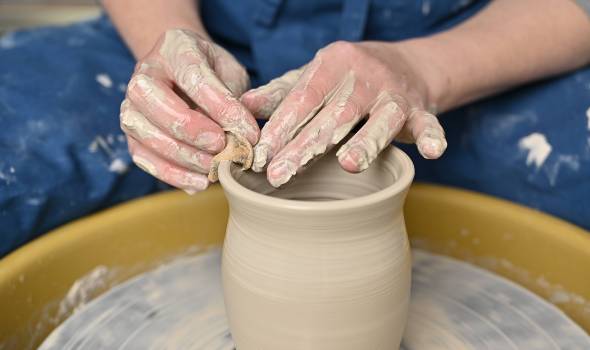
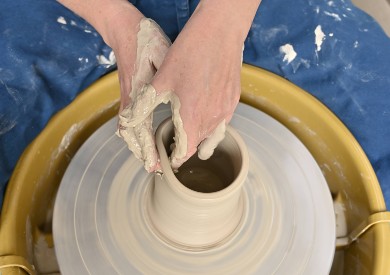
Throwing pottery involves a series of steps on the wheel. Whatever you are making on the wheel, you need to center the clay first, which means that you get it in the center of the wheel head.
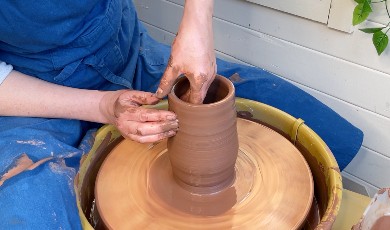
If you are making a tall pot, like a mug, vase, or jug, you open up the clay which means that you make what looks like a clay donut with a hole in the middle. Next, you extend the walls of the pot upwards, this is known as ‘pulling up’ the walls. After you’ve pulled the walls into a cylinder, you can shape the clay in whatever way you like.
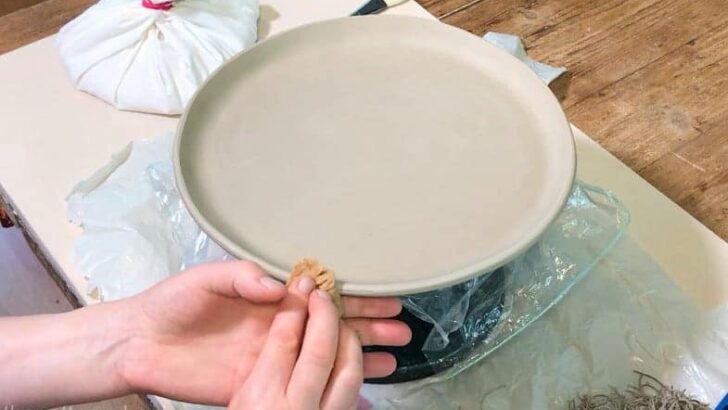
There are other techniques involved in making flat pieces like plates and platters. If you like the sound of wheel throwing you can start by checking out these articles.
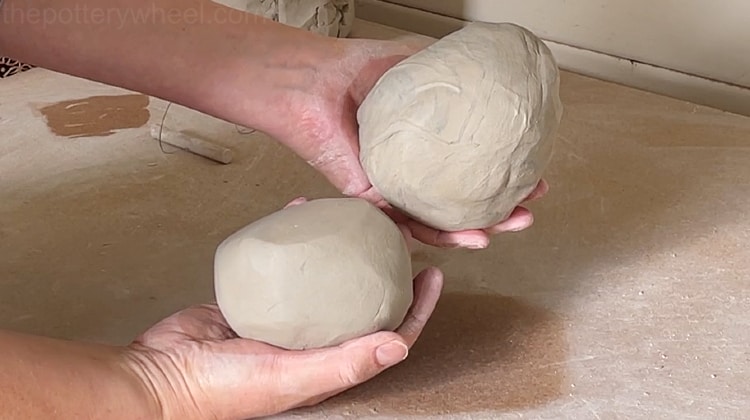
Choosing Your Clay
In addition to considering your pottery making technique, it helps to know a bit about the different types of pottery clay you can use.
The first distinction I’m going to make is between air dry clay and pottery clay. As the name suggests, air dry clay dries in the open air and doesn’t need to be fired in a kiln.
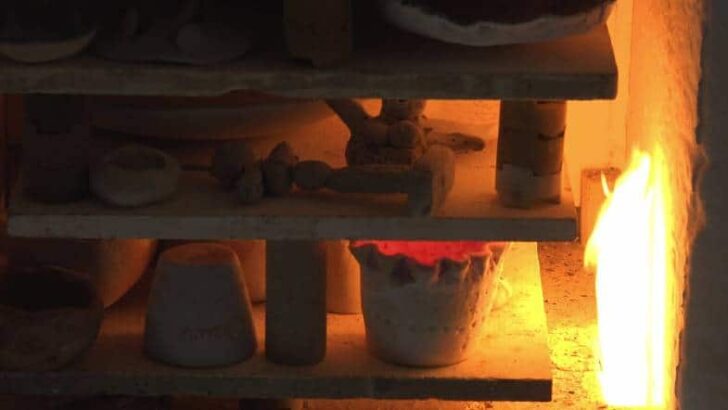
A kiln is essentially a large oven-like piece of equipment that heats pottery to high temperatures. These temperatures are usually somewhere in the range of 1852F (1011C) all the way up to 2377F (1303C).
I’ll say more about firing and kilns later. But, for now, it’s enough to know that the main difference between air dry clay and pottery clay is that you don’t need a kiln for air dry clay.
Most of the beginner info on The Pottery Wheel is about pottery clay, which does need to be fired. Don’t worry if you don’t own a kiln, there are plenty of places that will fire your pottery for you. If you want some suggestions about where to get your pottery fired, you can check out this guide.
A Closer Look at Pottery Clay
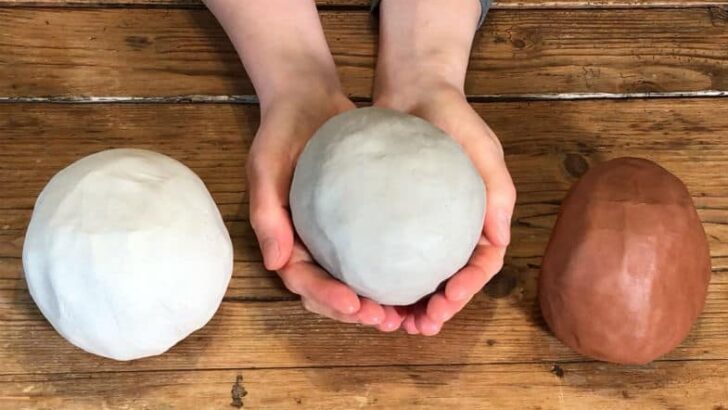
There are three main types of pottery clay for you to choose from. They are;
Each type of clay has its own properties and personality. You can experiment with each of them, and see which one you like to work with most.
Before we get into looking at each type of clay in turn, it’s important to know a little bit about firing clay. Different types of clay are supposed to be fired at different temperatures.
Some clay is referred to as being ‘low fire’. The low fire range is between 1852-2109F (1011-1154C). This may sound very hot, compared to regular domestic temperatures. But from a pottery making point of view, this range is on the lower side.
Other clay is referred to as being ‘mid fire’. Clay that fits in this category is normally fired between 2158-2266F (1181-1241C).
Finally, some clay falls into the ‘high fire’ bracket. These clays should be fired at temperatures ranging from 2316-2377F (1269-1303C). You can check out a handy graphic on firing temperatures here.
Top Tip!
If your pottery is going to be fired in someone else’s kiln, be sure to ask them what temperature they fire their kiln at. You need to buy clay that is going to suit the temperature of the kiln.
They may be prepared to fire at any temperature, in which case you have flexibility. But, for example, if they fire exclusively at low fire temperatures, you would be best to buy low fire clay.
Here is a brief overview of each of them so that you can make an informed choice…
Earthenware Clay
Earthenware clay fits into the low fire category. In fact, low fire temperatures are often called ‘earthenware temperatures’.
When it’s fired, earthenware clay turns from being clay into ceramic material. This means that once it’s fired, it can never become clay again. However, although fired earthenware is ceramic and won’t dissolve, it is still porous. For this reason, you need to glaze earthenware pottery to give it a watertight seal.
Glaze is applied to pottery in a liquid form. One of the key ingredients in glaze is silica. Silica melts when it is in the kiln forming a molten layer on the pottery. When the kiln cools down, the molten glaze turns solid and, if the pottery has been glazed well, it forms a waterproof layer on the porous ceramic body.
There is lots of information on glazing for beginners on The Pottery Wheel. If you want to know more, you can jump to that section here.
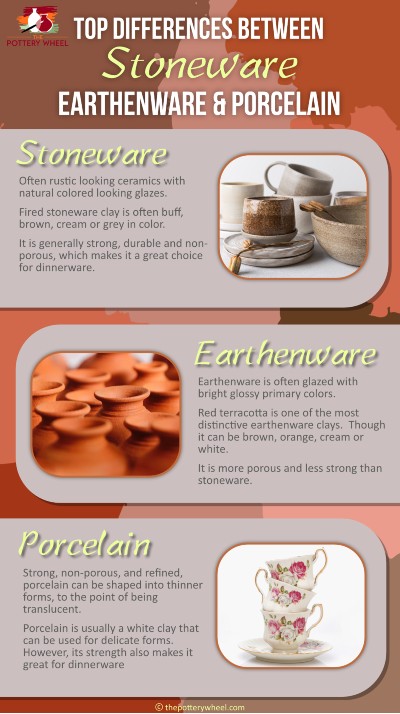
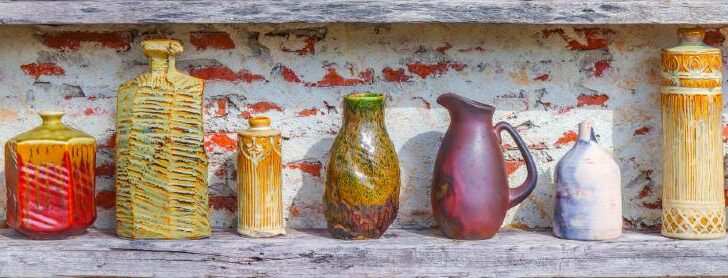
Earthenware clay comes in a range of colors, including white, cream, buff, brown, red, and even black. A familiar type of earthenware clay is red terracotta. It can have a smooth or a gritty/sandy texture, and it can usually be used for hand building and wheel throwing.
Each clay body is slightly different, so read the manufacturer’s description of what the clay looks like and how it handles.
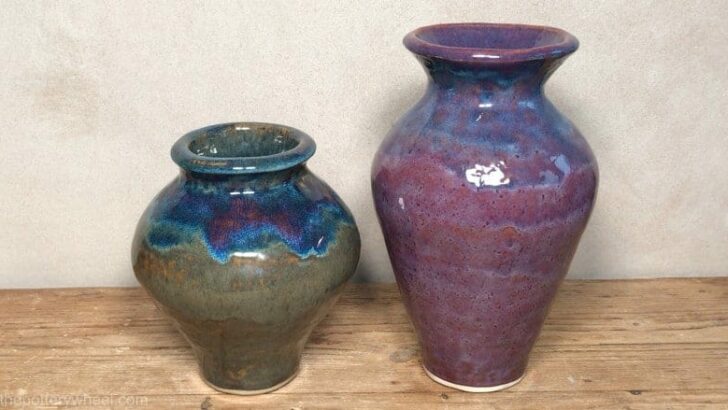
Stoneware Clay
Stoneware clay can fall in the mid fire and high fire bracket. And in fact, stoneware clays are both mid and high fire!
One of the key differences between earthenware and stoneware clay is that when it’s fired at the right temperature, stoneware clay becomes vitrified. This means that unlike earthenware clay it is not porous.
Stoneware clay contains a higher percentage of ingredients that become glass-like when the clay is fired. These are called ‘glass formers’.
When stoneware clay is fired at the right temperature the glass formers melt and fill up the gaps between clay particles. At the end of the firing schedule, when the clay cools, the molten glaze hardens and creates a dense non-porous ceramic material. This process is called vitrification.
Stoneware clay has the advantage of being harder and more durable than earthenware clay.
However, like earthenware, it comes in a range of colors and textures.
Porcelain Clay
Porcelain is one of the more refined types of clay. It contains a high percentage of kaolin which is a very pure kind of white clay also known as china clay.
Some porcelain fits in the mid fire category, but most porcelain is high fire and is often fired up to 2377F (1303C).
Usually, porcelain is a very pale grey color or a white/off-white color. Once fired it is normally white and can have a translucent appearance.
Top Tip!
Most pottery suppliers will list the different clay bodies in their own section. So, for example, you might look at a supplier’s site and see a section called ‘Stoneware Clay’.
Within that section, you will see a number of different brands of clay. Each of these clay bodies will have their own qualities. Some will be gritty and others smooth. They will come in various colors, and usually, the information will say if they are best for hand building, wheel throwing, or if they are good for both.
You can always call the supplier and get some guidance from them. Most pottery suppliers are very helpful. In the meantime, you can also check out the following information on clay here…
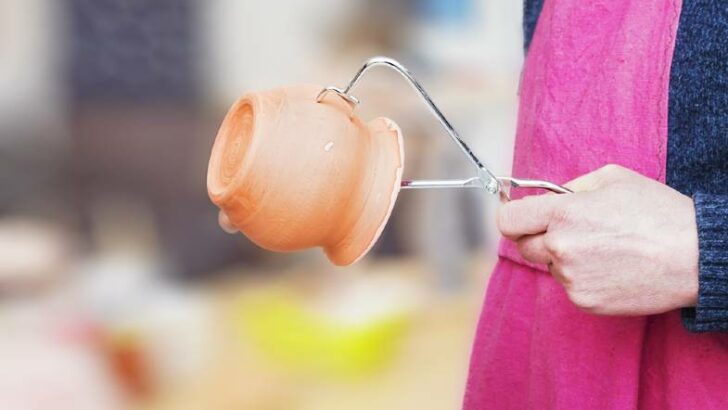
Kilns and Firing Your Pottery
There are lots of different types of kiln. Some are fueled by gas or wood, but most are heated using electricity. Certainly, the majority of potters making pottery at home are using electric kilns. The reason for that is that they are easy and convenient to use.
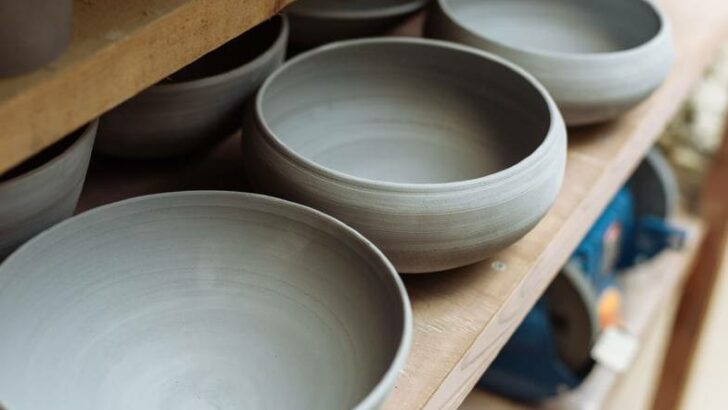
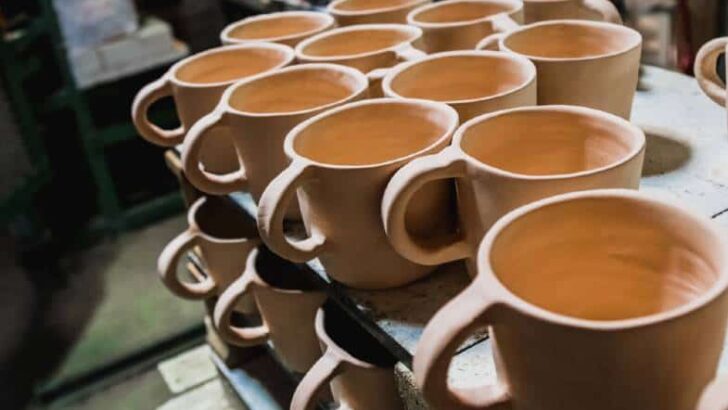
Generally, pottery is fired two times. The first firing is called the bisque fire, and this turns the clay into ceramic material. When the pots come out of the bisque fire, they have a rough matte texture.
Pottery glaze is then applied to the ‘bisque ware’ also called ‘biscuit’. Then the pots are put back into the kiln for a second firing called the glaze fire. When they emerge from the glaze fire, they are covered with a decorative and watertight glassy coat.
Top Tip!
Don’t glaze the bottom of your pots. They will stick to the kiln shelf when the glaze melts. Always fire with a clean bottom!
For more information and tips on firing you can check out these resources on The Pottery Wheel.
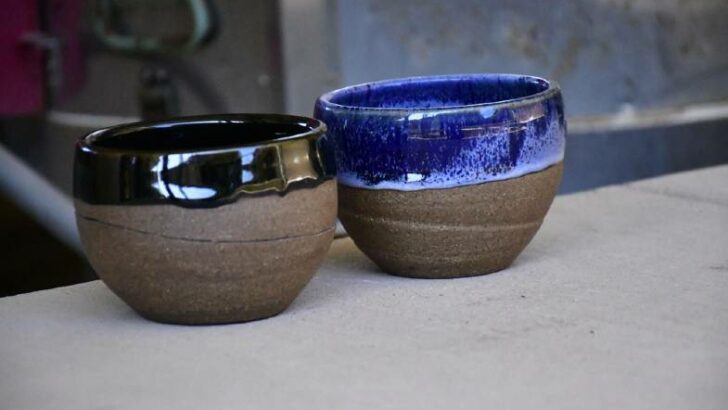
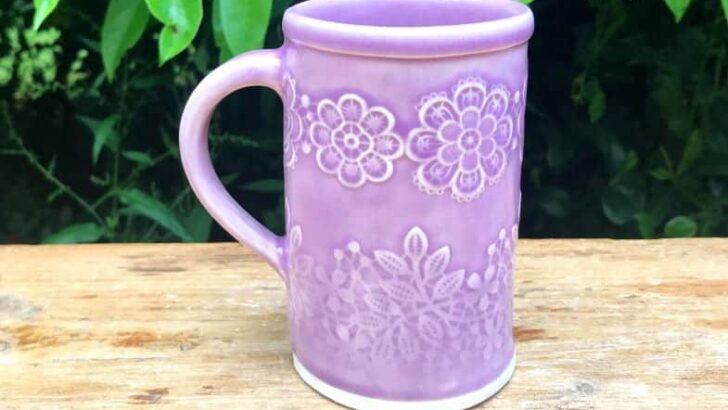
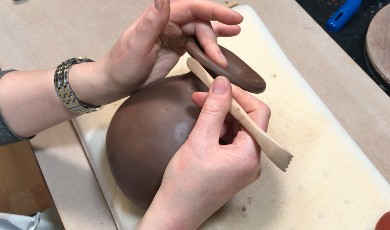
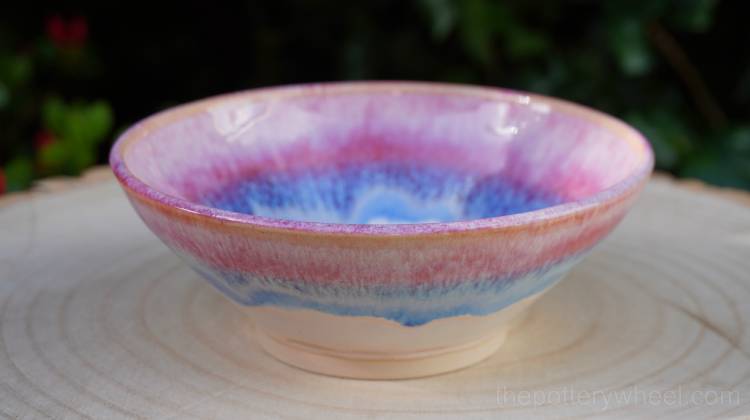
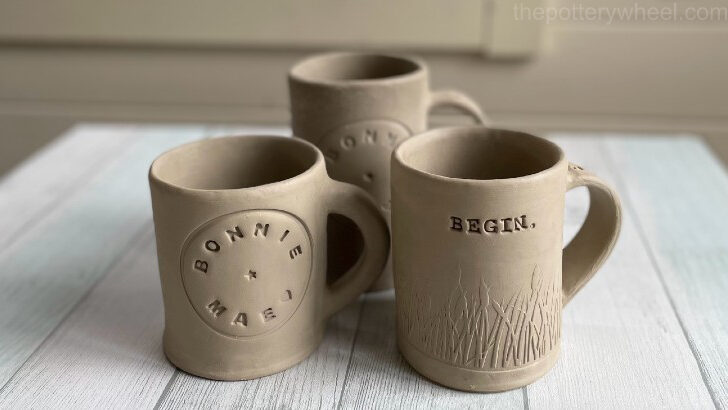
How to Decorate Your Pottery
There are as many different ways of decorating pottery as there are potters. Each potter has their own style, and you can be as creative as you like.
Decoration can involve carving, painting, slip trailing, drawing, using colored clay, and many more techniques.
Sometimes potters decorate their pots and then apply a clear glaze on top. Other times, the glaze itself is the main decorative feature. Finding your decorative style may take a bit of experimentation. You may need to try out different techniques before you find the look that you love.
Or perhaps you have a strong vision now of how you want your pottery to look, and you just need to learn how to create it.
Either way, the following guides are a good place to start.
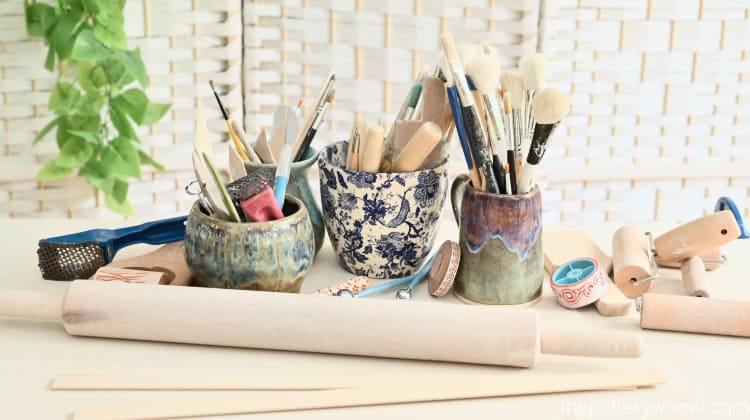
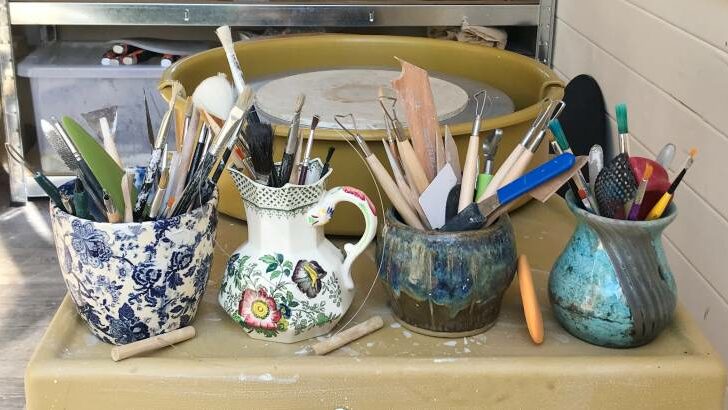
Pottery Making Tools
Lastly, whether you are wheel throwing or hand building you will find that there are pottery tools that make your life a lot easier.
I thought it would be helpful to give you an overview of the pottery tools that I use every day. There are lots of different tools available. I have some that I use now and then, but there is a group of tools that I reach for all the time.
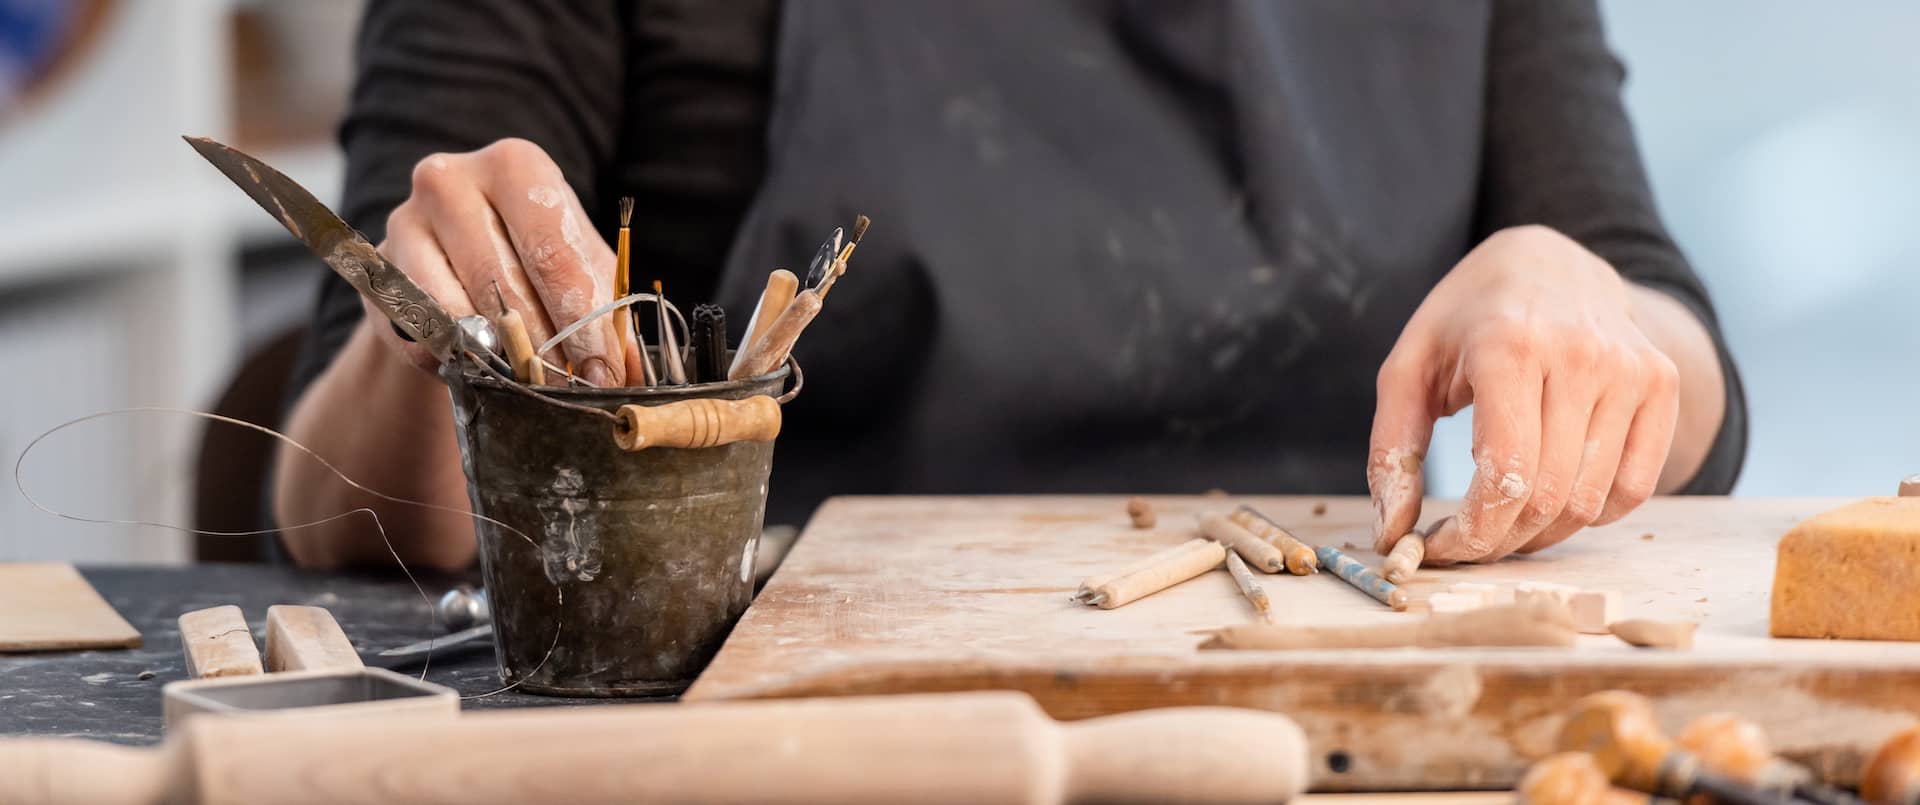
Top Pottery Tools for Hand Building
Don’t feel you have to buy all of them at once. You can buy them as and when you need them. But it’s helpful to get a bit of an overview of the tool situation as you start out.
Also, bear in mind that when you start out you will probably be able to find things lying around the home that will do the job too.
The links below are affiliate links which means, I may earn a commission from Amazon or other third parties. This doesn’t affect the price you pay.
- Canvas sheet (ideally stretched over a piece of wood)
- A wide rolling pin
- Clay knife (fettling knife)
- Needle tool
- Rubber rib tools
- Serrated rib tool
- Clay beveler
- Banding wheel
- Wooden pottery bats (ware boards)
- Small chamois leather
- Wooden modeling tools
- Small paint brush
- Clay Shredder or Surform
Top Pottery Tools for Wheel Throwing
A lot of the tools above will also be helpful for wheel throwing, but here are some additional tools that you will need for pottery making on the wheel.
- Clay wire
- Needle tool
- Sponges
- Sponge on a stick
- Wooden tool / foot shaper
- Metal rib tools
- Loop tool
- Ribbon tools
You can find a lot of the tools from both of these lists in action in the following how-to guides to pottery making. Check out these guides for more information…
Join The Pottery Wheel Newsletter
Interested in starting pottery? Never miss a post
