Your cart is currently empty!
What is Bisque in Pottery? – Key Features of Bisque
Published:
Last Updated:
Affiliate Disclaimer
As an affiliate, we may earn a commission from qualifying purchases. We get commissions for purchases made through links on this website from Amazon and other third parties.
During the process of producing a piece of pottery, the clay goes through different stages, and in one of those stages, the clay is called bisque ware. So, what is bisque in pottery? And why is it important?
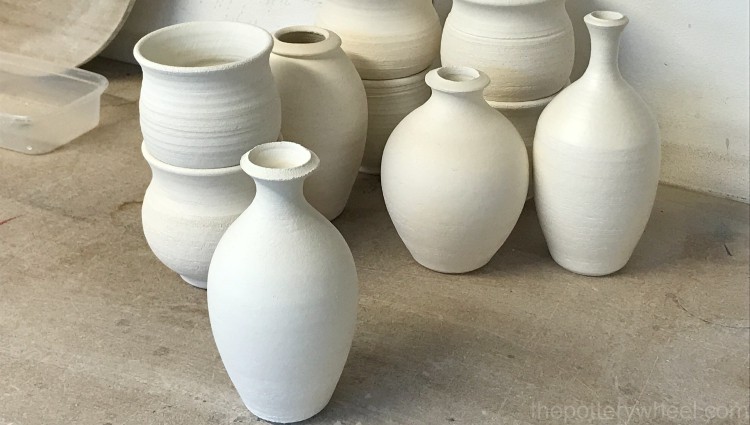
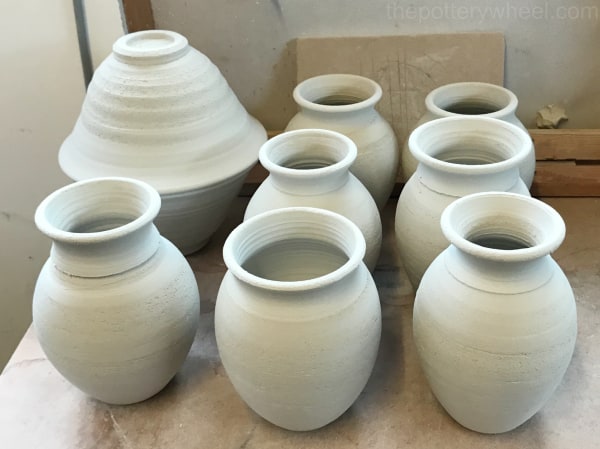
Bisque pottery has been fired once but has not been glazed. Usually, pottery is fired twice. The first firing is the bisque fire and the second one is for glazing. Bisque pottery is hard and insoluble. How porous it is depends on the type of clay you are using and how it has been fired.
What Is Bisque Pottery?
Bisque is a word that can be used to describe a piece of pottery, i.e. bisqueware. Bisque-fired pottery is also called bisque ceramics, or ‘biscuit‘.
However, the term bisque is also used to refer to a way of firing clay, i.e. bisque firing. Bisque firing is sometimes called ‘pre-firing’ pottery. This is because you are firing the pottery first before it is glaze-fired.
So, a bisque definition needs to include the bisque pottery itself and the process of bisque firing.
What is Bisque Firing?
Before a bisque fire, the clay is air-dried to get rid of its water content. The unfired pottery goes through the stages of being leather-hard (when there is still a little bit of moisture evident in the clay).
It then dries out to the point of being referred to as ‘bone dry’. Unfired pottery is called ‘greenware’. You can read more about the different stages of clay here.
Properties of bisqueware
If something is porous, it means that it will absorb water, like a sponge. Exactly how porous the bisqued clay is depends a couple of things.
- Firstly it depends on the type of clay used. Some types of clay are more porous than others. For example, unglazed earthenware like terracotta is very porous and will absorb water. Think of plant pots in the garden. By contrast, some clays like porcelain can become non-porous after a bisque fire and don’t need to be glazed (source).
- Secondly, porosity depends on the temperature used to bisque fire pottery. The higher the temperature of the bisque fire, the less porous the bisque ceramics will be. This is because as the kiln gets hotter the clay particles bond together more tightly, and the pores in the clay start to close up.
The Difference Between Greenware and Bisque in Pottery?
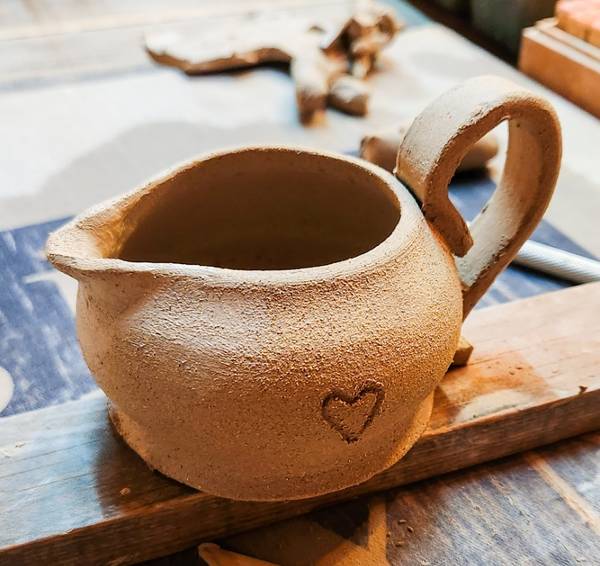
Greenware is clay that has been shaped into an object but has not yet been fired. Bisque is greenware that has gone through the first bisque firing.
Regardless of how dry greenware becomes, it can still be turned back into soft clay if it is submerged in water. Unfired clay pottery is still absorbent and will easily lose its shape if it is made wet again.
By contrast, during a bisque firing, the clay goes through physical and chemical changes that alter its structure forever. Once clay has been fired and become ceramic, it is hard and you can’t re-wet it and change its shape anymore.
Greenware may look and feel completely dry, once it has reached the bone-dry stage. However, even when it is bone dry, it will still contain some moisture. This is water that is chemically bonded to the clay particles.
During firing, the greenware goes through the following changes:
- As the kiln starts to heat up, the residual moisture in the clay evaporates.
- At around 450 F (232 C), organic matter (that is carbon-based compounds) in the clay starts to burn away.
- Then, the remaining water that is chemically bonded to the clay particles is driven out.
- Next, various chemical and mineral compounds are burnt off.
- ‘Sintering’ occurs, when the surfaces of the particles become more chemically active and bond with one another because of the heat.
- The next stage is called vitrification, during this process, the various ingredients in the clay body melt to form a liquid glass. Clay particles bond to the glass. If all the spaces between the clay particles are filled with glass the body becomes non-porous. However, most bisque ware is referred to as semi-vitreous, meaning that whilst some glass has formed, the ware is still porous.
Because the clay is undergoing such big changes, the bisque fire has to take a long time. Usually, a bisque fire takes around 8 to 10 hours.
This length of time gives the clay a chance to go through the changes described above. It also helps to avoid the clay being damaged during the firing. If you bisque fire too fast, the clay can crack or explode in the kiln, especially if it still contains moisture.
You may be wondering how long it takes, and that is what I will cover in the next section….
The Process of Bisque Firing
Bisque firing needs to be done according to a ‘firing schedule’. A firing schedule is like a timetable for firing pottery. The kiln’s temperature will rise during the firing. The schedule plots out how hot the kiln becomes and how quickly the temperature rises.
A firing schedule can make sure the clay is fired well and all the carbons and impurities are burned out of the clay. It can also stop the pottery from exploding or cracking in the kiln.
It is unavoidable that there is some moisture and chemically bonded water left in the clay. The water needs to evaporate and be driven out, but it needs to happen gradually. If the water expands and turns to steam too quickly it can damage the pottery.
If there are small air bubbles in the clay, the moisture evaporates and expands into the air pockets. As it does so, the steam puts a lot of pressure on the clay and can cause it to crack or explode in the kiln.
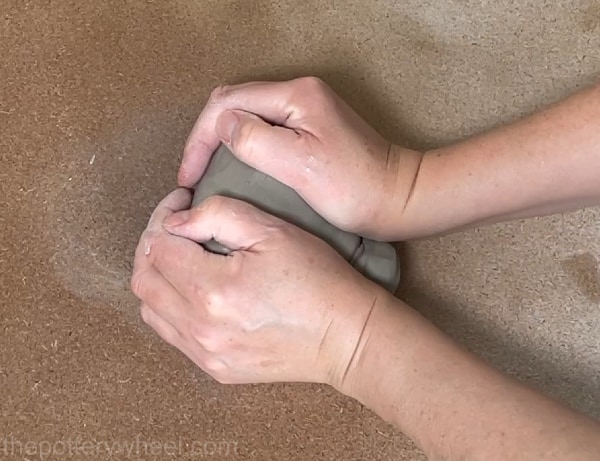
That is why potters ‘wedge’ their clay before using it. Wedging looks a bit like kneading bread. The difference is that when you knead bread, you are trying to fold air into the dough.
When you are wedging clay you are doing the opposite and trying to get rid of air bubbles in the clay. You are also trying to even out the consistency of the clay. You can read more about wedging and preparing clay for making pottery here.
The firing schedule refers to the stages that the firing process goes through and the different temperatures that the kiln will reach over a certain period.
The term ‘firing ramp’ refers to the rate at which the temperature in the kiln increases.
The Three Different Ramps in a Bisque Fire:
The Low Ramp
The low ramp is the first ramp. After the kiln has been warmed up, it needs to stay at a low temperature for two hours.
If the pieces of clay have thick walls, the length of the low ramp needs to be increased to either four or six hours, depending on how thick the clay is.
This ramp is sometimes called pre-heating or candling the kiln. It’s designed to drive out any dampness or water left in the pottery that hasn’t dried out naturally in the air before firing.
The Second Ramp
The second ramp is the medium ramp which also lasts for around two hours. As above, if the clay is thick, this stage may need to be doubled or tripled in length to six hours long.
Once the kiln is ‘red hot’ at the end of the medium ramp, then the final high ramp stage begins.
The High Ramp
During the high ramp, the kiln’s temperature, now at a high heat, continues to increase until ‘bisque temperature’ is achieved. This is the temperature at which the clay will have turned to bisque ceramics.
Usually, pottery is ‘bisqued’ to either cone 06 or 04. The term cone refers to pottery firing temperatures. Cone 06 is around 1830F (or 999C), and cone 04 is around 1940F (or 1016C). You can read more about pottery cones here.
Once the target temperature has been reached, potters sometimes hold the kiln at a high temperature for a while. This is called a hold time. Usually hold times are used on glaze fires rather than during a bisque fire.
However, if your bisque kiln is very full, it can be helpful to have a hold time at the end of a firing schedule. This can help make sure that all the carbons are burned out of the clay. And it can help to make sure that the heat is evenly distributed in the kiln.
Once the bisque fire has finished, the kiln will also need to cool down before you open it. As a rule, it takes the kiln as much time to cool down as it did to complete the firing. Including the pre-heat and cool down, a bisque fire can take a good 20-24 hours.
Given that it takes so long to bisque fire pottery, you may be wondering if it is necessary to do it. This leads me to the next section…
Do You Have To Bisque Fire Before Glazing Pottery?
Bisque firing gives pottery important properties. For example, it makes the clay harder and more resilient and it also makes it water-resistant
Another important reason to do a bisque fire is that it prepares the pottery ware for glazing. Not all bisque-fired clay needs to be glazed. For some purposes, being porous is a useful property. An example of this is terracotta plant pots. Likewise, fired porcelain may have reached the point of being 100% non-porous during the first firing so glazing is not completely necessary.
However, some clays do need to be glazed. The porous quality of some bisque-fired clay makes it perfect for the application of glaze. Because bisque is porous, it absorbs water from a liquid glaze on application. The glaze then sticks to the clay.
Water from a glaze mix is absorbed quickly by bisque pottery and wet glaze can feel dry to the touch after a few seconds after application.
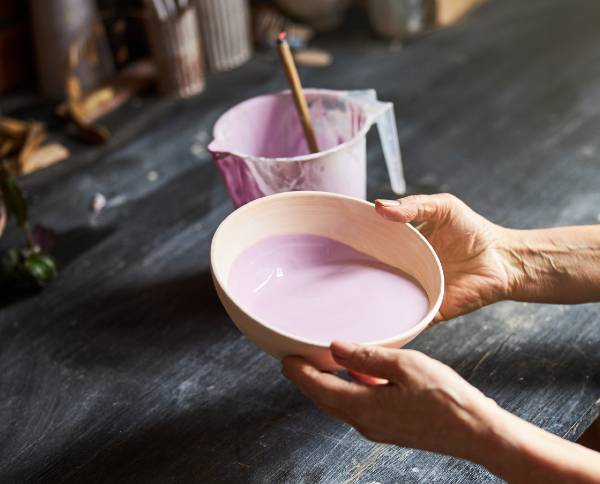
Different bisque ware will have different levels of porosity. The higher the temperature in a bisque fire, the less porous the bisque ware will be. This is sometimes done because it makes the bisque ware harder and less resistant to cracks.
However, different levels of porosity will require different kinds of glaze to be applied. For example, less porous bisque ware will need a glaze with lower water content as less water will be absorbed into the pottery on application.
Single Fire Glazing
Some potters choose not to bisque fire and apply glaze directly to unfired clay or greenware. This is known as single firing or raw glazing.
It is possible to apply glazes to unfired clay if the clay is bone dry when the glaze is applied and if the glaze has a high clay content. Having a high clay content in the glaze makes it less likely that the glaze will flake off during the firing process.
One of the disadvantages of single fire glazing is that the pottery ware has a higher chance of cracking or exploding in the kiln. Whilst bisque firing does require patience, you do stand a greater chance of your pottery remaining intact at the end of the process.
The topic of glazing greenware is topic all of its own. If you’d like to know more about it, you can check out my guide on glazing greenware here.

Final Thoughts
When pottery is at the bisque stage, it isn’t at its most exciting-looking. Bisqueware clay is usually matte, and the color is uniform across the piece. Bisque pottery is like an artist’s blank canvas, and it’s the surface that potters use to apply their decoration.
Nevertheless, bisque firing can feel a bit nerve-wracking. Lots of things can go wrong in a bisque fire. For example, cracks can appear in pots, or even worse, pots can explode whilst they are being fired. It’s always a relief to open the kiln and see that your bisque ceramics are ok. So, although they aren’t at their most exciting to look at, I still get a buzz when they survive the first firing.


