To survive the firing process, your pottery needs to be bone-dry clay. Firing damp pottery can cause it to explode in the kiln. But what does bone dry mean and how can you tell if your clay is dry enough to fire?
Clay is bone dry when it has lost all the moisture it possibly can before being fired. It is dry to the touch, and while it’s solid, it is very fragile. A common rule of thumb is that bone-dry clay feels room temperature when held to your cheek.
What is Bone Dry Clay in Ceramics?
Before clay has been fired, it is referred to as ‘greenware’. When clay is greenware it goes through different stages of drying out. The bone dry stage of clay is the final stage in the drying process before the clay goes into the kiln.
In its soft workable state, clay has around 20% water content. When exposed to air, it starts to lose its water very rapidly.
In the open air, outside of its plastic bag, clay will begin to dry out after 15-30 minutes. However, it normally takes a few days before it is bone dry, depending on how warm and dry the weather is.
One definition of bone dry clay is clay that has lost all the moisture it can lose before it is fired. The water in clay travels through the clay body until it reaches the pottery surface. It then evaporates.
While clay may feel dry to the touch, this does not necessarily mean it is bone dry. Deeper layers of clay may still be holding moisture.
The clay is said to be bone dry when the moisture from the deeper layers has evaporated too.
How Dry is Bone Dry Clay?
Even clay that is considered bone dry from a potter’s perspective, will still contain some water.
The moisture level of unfired clay will level out in line with how moist the surrounding atmosphere is. So, if you are in a humid environment, the amount of residual water in the clay will be higher.
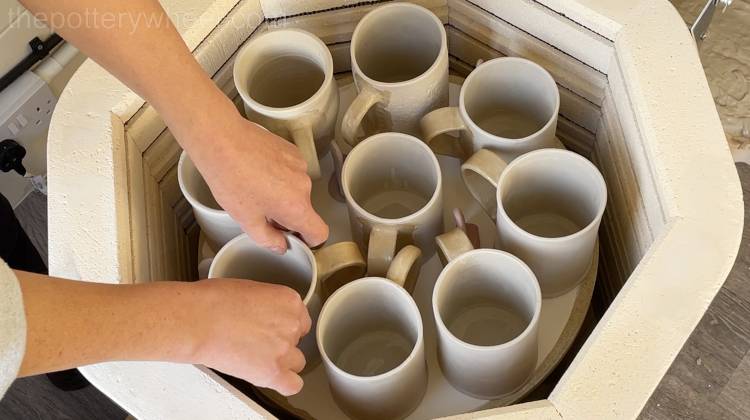
This is one of the reasons that it is a good idea to run a pre-heat on your kiln before you start a bisque firing schedule.
A pre-heat is when the kiln is heated up to a temperature around the boiling point of water. The idea is that the heat of the kiln causes the leftover moisture in the clay to out of the pottery before it is fired. This process is sometimes called ‘water-smoking’ or ‘candling‘.
It’s important to get rid of as much moisture as possible before the bisque fire begins. If there is water left over in the clay, it will turn to steam during the bisque fire.
When water turns to steam it expands. If there are any air bubbles or air pockets in the clay, the steam will expand into these bubbles. This puts a lot of pressure on the pottery and can cause it to explode during a bisque firing.
Some potters like to pre-heat their kiln at a temperature just above the boiling point of water. The reason for this is that water turns to steam and expands at 212F (100C). They want this to happen before the bisque fire begins and before the clay has started to turn solid.
However, many potters, including myself prefer to preheat at just under the boiling point of water. I tend to preheat for about 3 hours at 194F (90C).
Chemically Bonded Water
Even when all the moisture in the clay has evaporated during candling, it still contains water. When clay is completely dry, the free water in the clay has evaporated. However, at a molecular level, there is still water chemically bonded to the clay particles.
This water will only start to leave the clay when the kiln reaches around 660F (348C). It is at around this temperature that the clay starts to convert to its ceramic state.
When clay is bone dry it is very fragile and will crumble easily. Also, if you submerge it in water, it will dissolve and can be made back into workable clay. Once bone-dry clay has been made ceramic, it becomes hard and cannot be transformed into a workable material.
Bearing all this in mind, it can sometimes be difficult to gauge if clay is actually bone dry. This leads me to the next section, which tackles how to tell if your clay is bone dry.
How to Tell if Your Clay is Bone Dry
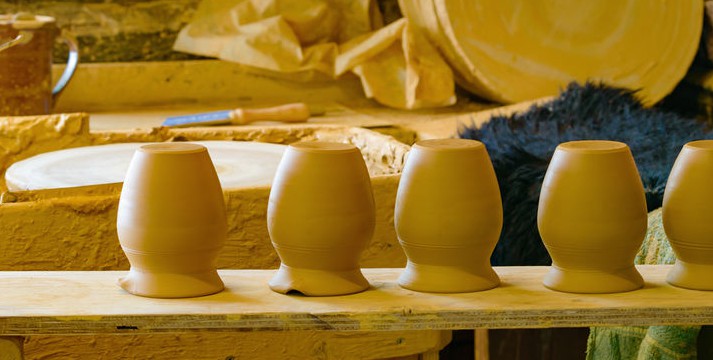
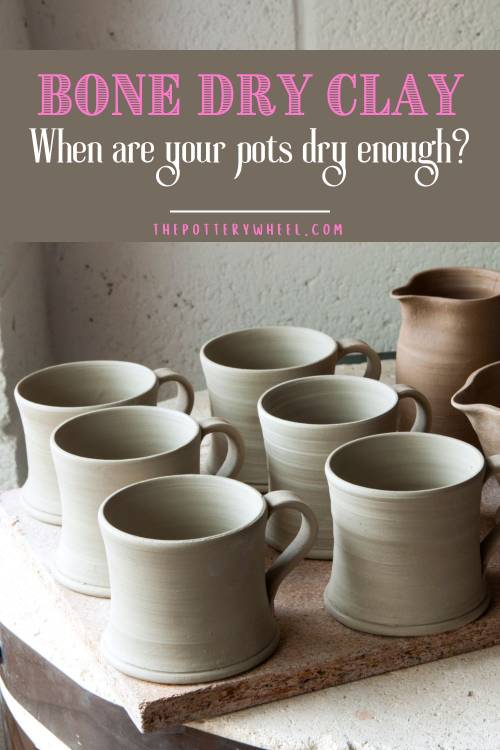
Bone dry pottery is lighter in color than in its workable state. It also feels a little bit lighter in weight than it was before because it has lost a lot of water content.
In addition to this, it is quite crumbly and fragile. It breaks easily if not handled with care. Handles can break off, and rims can be chipped when it’s bone dry.
However, whilst clay may look bone dry on the surface, it may still contain water underneath. One thing you can do if you are not sure if it’s bone dry is to try the cheek test…
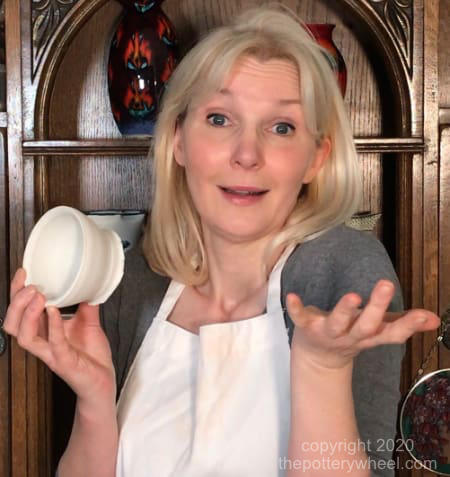
The Cheek Test!
Hold your greenware to your cheek or wrist and notice the temperature (source). Does it feel cold, cool, or at room temperature?
It is normally recommended that if your greenware feels room temperature, then it is bone dry.
While this is a handy technique, it can still leave you feeling a bit uncertain. If it’s a cold winter’s day, your greenware may feel cool even if it’s bone dry. In the winter, my pottery shed is usually about 35F (2C) and everything feels cold in there!
The reason the cheek test is recommended is that when water evaporates from greenware, it lowers the clay’s temperature. This is because evaporation uses up heat energy and the clay is left cooler.
Nevertheless ‘feeling cool’ is subjective, and if you want to avoid your pottery from exploding in the kiln you may want more certainty.
If this is the case, then you may want to consider some of the following tips:
Making Sure Your Clay is Bone Dry
- Once your pottery feels room temperature on your cheek, leave it an extra day or two to err on the safe side.
- When you are drying your pottery, wait until it is firm enough to be picked up without losing its shape. Then turn it upside down so it’s resting on the rim. This will expose the underside to air and ensure the base dries out too.
- Put plates and large flat items on a wire drying rack to ensure that air circulates the whole piece.
- Make dummy pieces out of the same clay body. These pieces need to be the same size and thickness as your actual pottery. At different points in the drying process, you can break the dummy pieces open.
The moisture level in the dummy ware will be similar to your pottery. If your dummy piece is still dark and cold inside, you know your greenware is not bone dry. - If you own a kiln, candle the greenware before firing. Thinner pieces may only need to be candled for an hour or so. Larger, thicker pieces may benefit from being candled overnight to make sure they are bone dry.
- What if you don’t own a kiln? Perhaps you are taking your greenware to a kiln firing service. If so, then you can still do a bit of DIY candling in your home oven.
Place your greenware in the oven if it fits. Set your oven to around 200F (93C) for a while. This will help evaporate residual moisture. Just remember to keep monitoring the situation.
Final Thoughts
With time potters get to know their greenware well and can gauge whether it is bone-dry clay more easily. Eventually, you will work out how long it takes, and you will be able to adjust your drying schedule.


