
The key to drying pottery clay without cracks is to dry it slowly and evenly. Mug handles are notorious for cracking at the joint because drying handles evenly can be tricky. So, what do you do if your mug handle has cracked at the joint? Here are some simple ways to fix handles that crack on mugs as clay dries.
Why do Handles Crack on Mugs as Clay Dries?
Before going over the fixes, let’s have a quick look at why handles crack on the joints of mugs.
Cracks happen because handles are usually made of thinner pieces of clay. Also, they are attached to the side of the pot, so there is more air circulating around them. For both these reasons, they tend to dry out more quickly.
If there is a difference in moisture content between the mug and the handle, cracks can occur. It may be that the handle is drying out more quickly than the pot. Or perhaps the pot has been left to dry and the body of the pot is now drier than the handle that is being attached.
It is not so important whether the handle is more or less wet than the mug when it’s attached. What is more important is that there is a difference in moisture content from the start.
This sets up a drying gradient, which is hard to even out and gets worse during the drying process. If the body of the mug has more moisture than the handle, it will shrink at a different rate.
This causes internal tension, which can lead to handles that crack on mugs as the clay dries. Handles crack at joints as they dry because the joint is the weakest part of the structure. You can read more about why clay cracks here.
So, the question is, what can you do if you have handles that crack on mugs? What can be done and what is the best fix?
How to Fix Handles That Crack on Mugs as Clay Dries.
Here are 8 ways to fix your cracked mug handle joints. Some work better for moist clay, others work best on dry clay.
Fix 1: Vinegar Slurry
Take a small amount of bone dry clay. The amount of clay you need will depend on the size of the crack. But normally about 100g or a quarter of a lb will be enough. You can always keep whatever is left over in a sealed jar for future use.
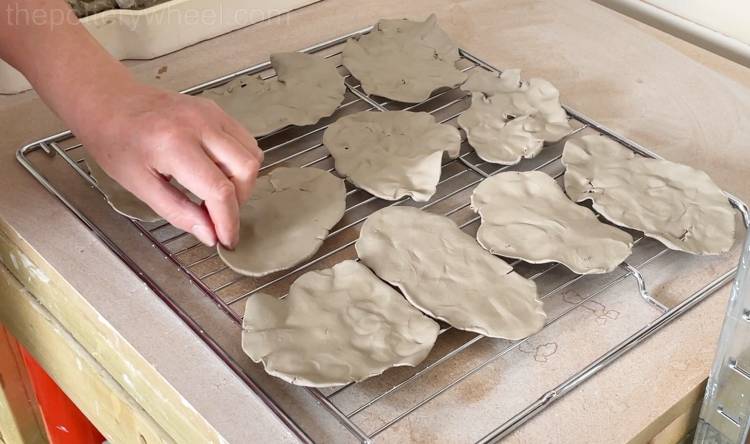
Use the same clay body that you have used to make your mugs. Allow your 100g of clay to dry out. A quick way to do this is to squash the clay into flat biscuit shapes and put them on a wire drying rack. The thin patties will dry out fast.
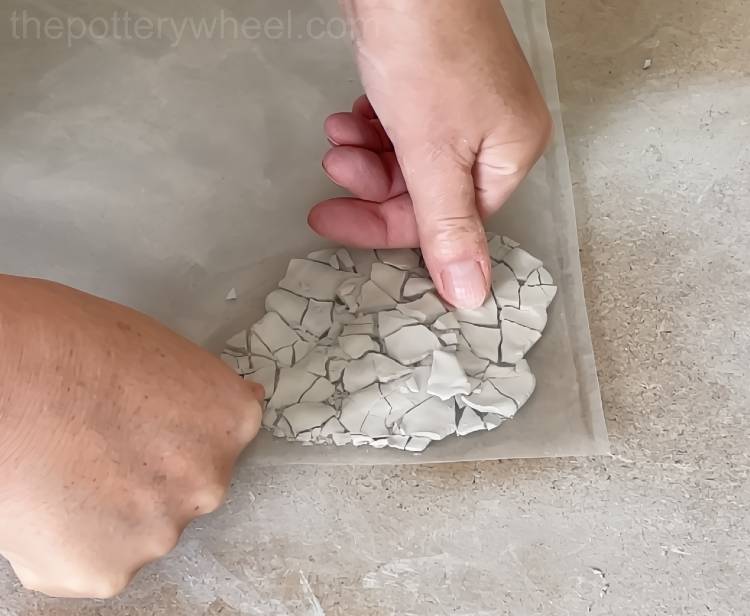
Once the clay has dried out, crush it into small pieces. I find the best way to do this is to put the clay in a plastic bag and squeeze it with my hand, knuckles or finger tips. Crushing it in a bag stops dried clay dust from getting into the air.
Transfer the crushed clay into a container and pour a small amount of ordinary clear vinegar onto the crushed clay. Don’t add too much vinegar, as you are going to be making a thick paste, rather than a thin slip.
If you make a mix that is too runny, just add more dried clay to thicken it up. It needs to be the consistency of paste, like butter, rather than liquid slip.
Vinegar is a flocculant, which means that it causes the clay particles to attract one another. It is often used to thicken clay slurries. (source).
How to Apply the Vinegar Slurry
Before applying the paste to the cracked joint, dab some vinegar on the joint with a sponge or a soft brush.
I then use a needle tool and scuff up the two surfaces of the join. Add little drops of vinegar as you work, scratching into the surface to create a paste on the dry clay.
When the two surfaces are damp gently work the paste into the crack with a modeling tool.
You can fill the crack a little like you would use plaster to fill a crack in the wall. Once you have worked the clay paste in, smooth the surface over with your finger.
The crack may re-open a little as it dries. Simply repeat the process again refilling the crack. Each time it opens, the crack will be a little smaller until eventually, it stays closed. You may have to repeat the filling process 3 or 4 times.
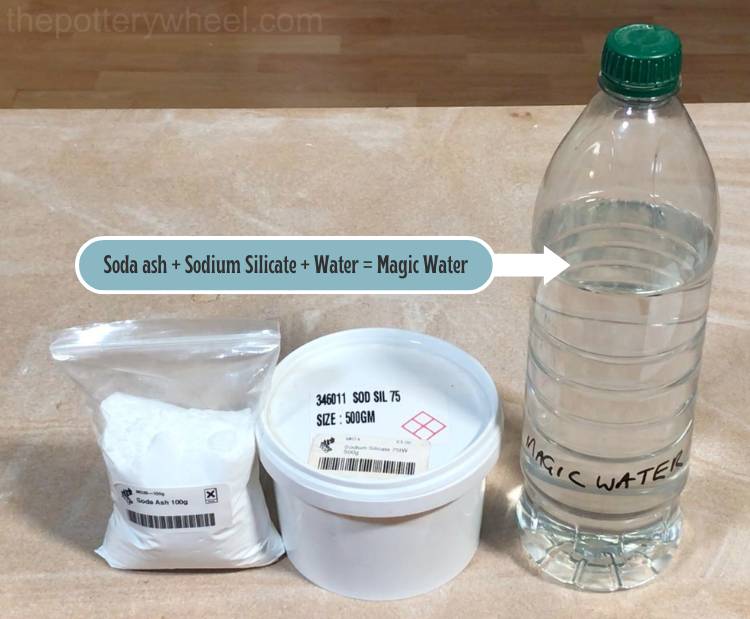
Fix 2: Magic Water
Instead of using vinegar, you can make a solution called Magic Water, which is great for bonding clay together.
What You Will Need for Magic Water:
- 1 gallon of water
- 3 tablespoons of liquid sodium silicate (9.5 grams)
- 1 ½ teaspoon of soda ash (3 grams)
You can read my step-by-step guide on how to make and use magic water here.
As with the technique described using vinegar, I’d recommend wetting the cracked join with the magic water and then scoring into the crack. Work the magic water into the two surfaces to create a paste in the clay.
If your clay is still a little bit plastic, you may be able to press the two parts of the pot together. This may be enough to fix the crack.
Soda ash and sodium silicate are both deflocculants. So, in contrast to vinegar, magic water is a deflocculant. This means that it causes the clay particles to repel each other. The magic water causes the clay particles to separate so that they can move about and mingle with each other.
Sodium silicate contains silica, which is a glass former. When it is wet, it is sticky. And when it dries, it is hard. So, the magic water creates a sticky surface when it wets the clay. And a hard bond when the clay and magic water dry together (source).
If your clay is so dry that you can’t press the two sides together, you will need to pack the gap with something. One option is to use something called paper clay slip. So, lets take a look at that now…
Fix 3: Paper Clay Slip / Magic Mud
Paper clay slip is also known as Magic Mud. This can be used to fix handles that crack on mugs as they dry. But it can also be used as a regular joining slip. It’s what I use to attach my handle all the time. It’s very strong and can help prevent handles from separating in the first place. I found the recipe originally described by Martha Grover who makes beautiful ceramics.
What You Will Need for Paper Clay:
- Some squares of toilet paper
- White vinegar
- A stick blender
- A mixing bowl
- Crushed bone-dry clay
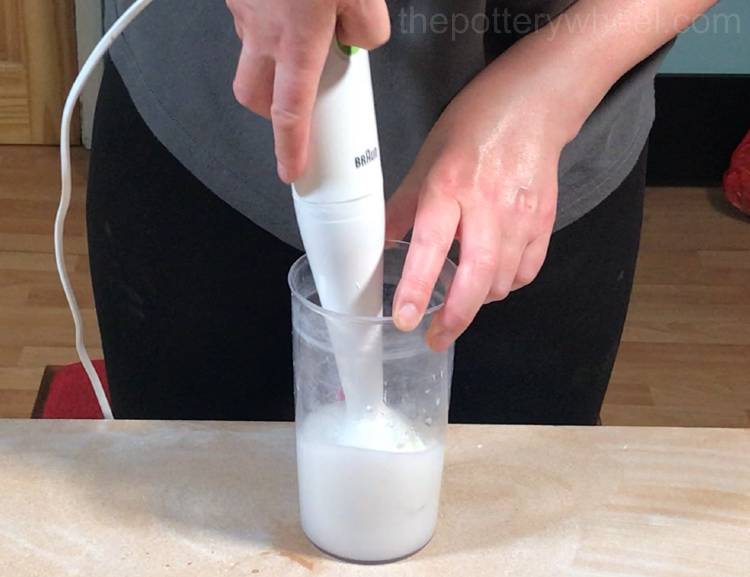
Tear up a few sheets of toilet paper and put it in a mixing bowl. Add a cup of vinegar and whiz it together into a pulpy mix with the stick blender.
Add some crushed bone-dry clay to the mix and stir it together until you get a thick paste. Remember to use the same clay as you used for your mugs. You have to be careful about mixing different clay bodies.
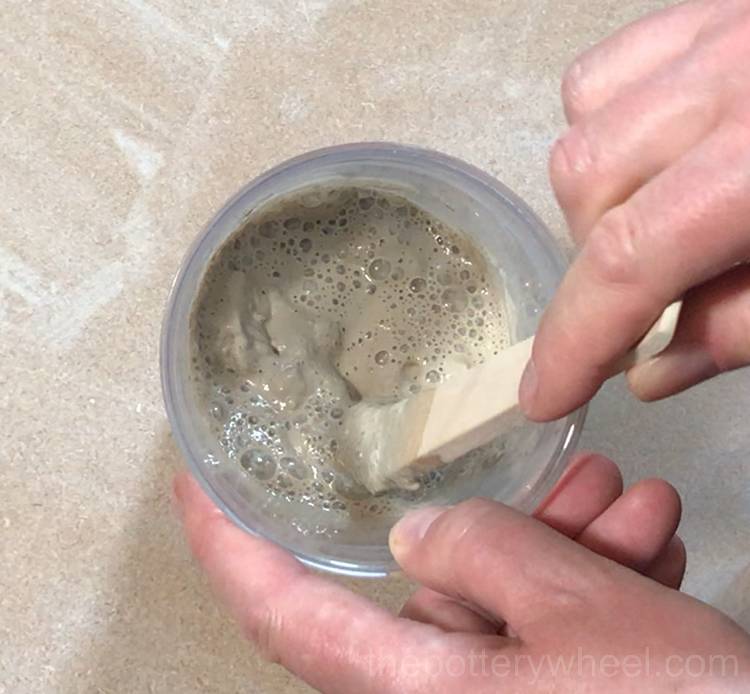
Cover the mix and let the paste sit for a few hours. You can read more about making paper clay slip here.
If your pottery is very dry and you can’t move the handle, you will need to wet the join using either vinegar or magic water. Score the wet surfaces and then paste some of the paper clay slip into the gap.
Allow this to dry and then sand the area that has been mended. If tiny cracks appear in the paper clay slip as it dries, you can repeat the process until the join is completely mended.
Instead of fixing a very dry mug, you can soften the pottery up again. When the clay is softer you can either bend the handle a little and slip and score the end that has cracked. Or you can slice the handle off completely and attach it again using the paper clay slip.
The best way to soften up greenware pottery after it has become leather-hard is to use a damp box. Read on to learn more about damp boxes and how to use them…
Fix 4: A Damp Box
Another way to approach fixing handles that crack on mugs is to rehydrate your greenware. One of the best ways of rehydrating pots and mugs evenly is by using a damp box.
A damp box is any sealed container that traps moisture in the atmosphere to keep the air humid.
You can make a simple damp box very easily. Simply pour a couple of inches of wet plaster mix into a plastic storage box. When the plaster has set, you keep it moist by adding water. Place your greenware on the plaster and put a lid on the container.
There needs to be enough water on the plaster to make it moist. But not so much that the greenware is sitting in a puddle. The water in the plaster will keep the atmosphere in the container damp. And it will rehydrate dry clay over a period of days.
Once the cracked piece has been rehydrated, you can re-attach the handle using slip, magic water, or paper clay.
Getting the handle and the body of the mug to a similar moisture level means it’s less likely to crack again.
You can watch the full step-by-step video on how to make a damp box for clay on YouTube.
If you don’t have a damp box, there are other ways you can rehydrate your mug to repair a handle. Here is one of them…
Fix 5: Re-Wetting the Mug and Handle
Another way to rehydrate greenware is to wrap it in a moist cloth and cover it in a plastic bag. It’s best if the cloth is lightweight and untextured. This reduces the chance of getting an impression of the fabric on the pottery surface.
Alternatively, you can wrap your pot in damp paper towels. You need to make sure the paper towels don’t dry out. If they dry out they can dry your mug out even more.
Once the clay is workable again and has an even moisture level, you can slip and score the cracked handle. And then reattach it to the body of the mug.
Fix 6: Spooze
Like paper clay, Spooze has a thick paste-like slurry consistency. It was originally the idea of a ceramicist called Peggy Heer and it creates hard bonds between cracks in dry clay. In addition to being good for fixing small cracks, it can be used to build up a thick layer to fill wider gaps.
What You Will Need for Spooze:
- 1/3 white vinegar
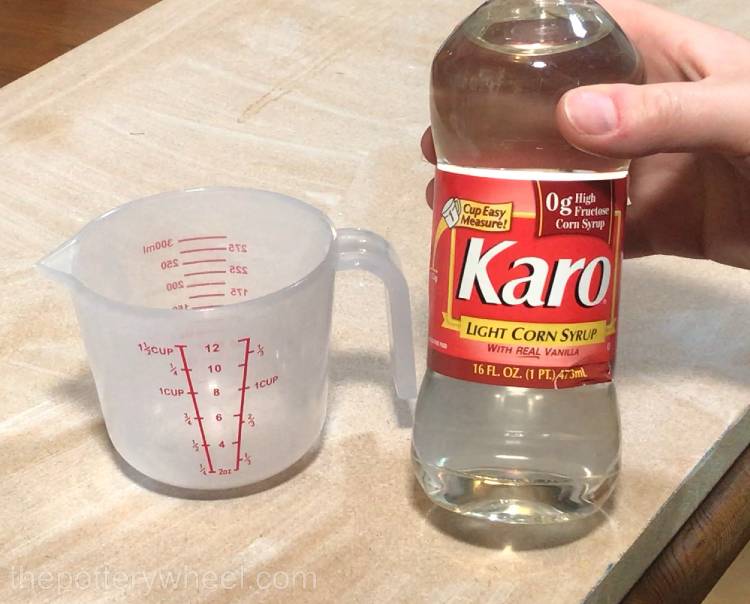
- 1/3 cheap syrup (Karo syrup or any kind of corn syrup is fine)
- 1/3 dried and ground-up clay
Mix the ground-up clay with the vinegar to make a thick slip. Then add the Karo syrup and mix the three ingredients well.
Some potters add a few drops of peroxide. The peroxide stops mold from growing and means you can keep any unused mixture. However, it’s so easy and cheap to make, I generally don’t do this.
To use the Spooze mixture, spray the two surfaces that you want to join with vinegar to moisten them. Then paste a bit of the Spooze onto either surface and press them together. Hold for half a minute and then let the join dry.
After the joint has dried you may need to sand off any Spooze that has squelched out of the join.
If you have a large crack, Spooze can also be used to build up layers. Simply spritz the surface of the crack, spread on some Spooze, and let it dry. Then repeat the process until the gap is filled.
Once the build-up layers have filled the gap, you will need to sand down the surface to make it flush. The dried spooze will be harder than the surrounding greenware, so sand carefully to get a smooth finish.
If you would rather not make your own paste for greenware repair, there are commercially made clay menders. Here are a few…
Fix 7: Mayco’s AC-306 Clay Mender
Mayco’s clay mender can be used on greenware or bisque, though Mayco does state that it’s best for greenware repairs. You can take a look at it on Amazon here.
To use Mayco’s Clay Mender you simply apply a little to the two surfaces to be joined. Then score the moistened surfaces. Once you have scored the surface with a needle tool or similar, apply another generous layer of the clay mender.
Press the two surfaces together and hold them for about 10 or 20 seconds. Once the join has dried, you can sand away the excess that has squished out of the join.
You can also use Clay Mender for larger cracks and holes by adding some of the clay you are using. Crush up some dried clay and mix it into the Clay Mender, until you have got a putty-like consistency. Then you can use the paste to build up layers, letting the layers dry between applications.
The Clay Mender can dry a slightly different color to the piece you have mended. Also, glaze will sometimes not stick to the mended area. You can fix both of these issues by concealing the patched area with underglaze before glazing.
Fix 8: APT II
APT II is an additive that thickens slip and clay. It can be used on greenware, bisque, or glazed pieces.
To use APT II, you simply pour some slip into a container and add a small amount of APT II. As you mix the two together, the slip will start to thicken up.
If it gets too thick, you can just add a little more slip. Don’t thin it out with water, because adding water to the mix will make it shrink as it dries.
You can use this slip on wet or dry greenware. The mixture is applied directly to the two surfaces to be joined. You don’t need to score the surfaces, simply apply to both and press them together. The APT II slip will act as an immediate gluing agent.
It’s a good idea to wipe any excess off from the outside before it hardens. Wipe it off with a damp sponge, but make sure not to make the area too wet. Water makes the APT II mix shrink and will cause the crack to reopen.
Visit The Pottery Wheel Store
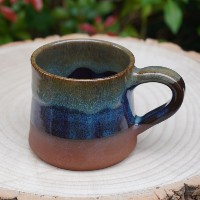
Fancy treating yourself to some homemade pottery? Looking for a unique gift? Check out my handmade pottery store…
How to Avoid Cracks in the First Place
Here are some future tips to help you avoid handles that crack on mugs as the clay dries:
- Don’t wait too long before you attach your handles.
- Make sure that the mug and the handle are of the same moisture content before you attach the two.
- Dry your mugs upside down and with the handles pointing towards one another. Cover the mugs with plastic sheeting to help slow the drying process down.
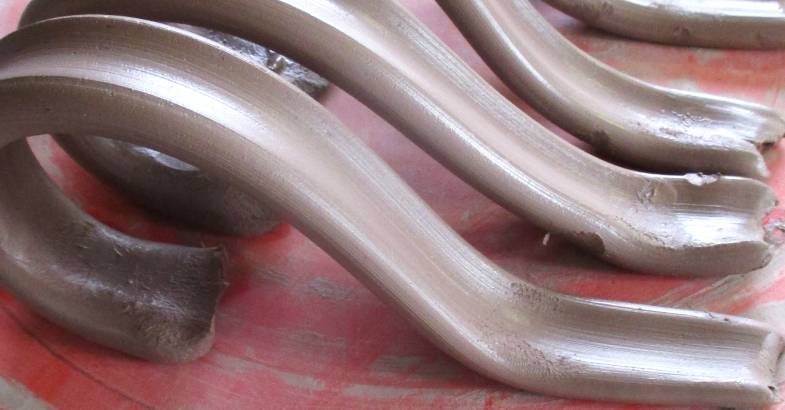
- Clay has a memory and wants to return to its original shape as it dries. It’s a good idea to let your handles set in their curved shape before you attach them.
- It can help to over-curve the handle a little bit before you let it set. This means that if the clay handle tries to straighten as it dries, it won’t pull at the joint.
- Wrap your handles in plastic to stop them from drying out too quickly.
- Paint wax resist on the handle and join when the clay is leather hard. This stops it drying out too fast.
- Make a batch of paper clay slip and use this to attach your handles in future.
Final Thoughts
Whichever one of these fixes you decide to try, handles must be attached to mugs firmly. While you can fix handles that crack on mugs when the clay dries, remember to make sure that when they are reattached the join is solid. The last thing you want to happen is for the handle to come off when someone is using the mug.
Also, while you may love your mug and want to save it, your time is precious too. It can be hard work trying to fix handles that crack on mugs. Decide if your time is best spent fixing the problem, or recycling the clay and moving on to the next project.


