Clear glaze is often used to enhance the colors of underglaze and slip decoration. It is also used to bring out the natural beauty of a particular clay body. But even a little cloudiness can ruin the look of a piece. So, what does turn clear glaze cloudy, and what can you do about it?
The main factors that make a clear glaze cloudy are underfiring and applying glaze too thickly. Glaze can also be milky if its chemical balance is not quite correct. Clear glaze is transparent if it is free from particles and bubbles that prevent light from passing through it.
A clear glaze that has been fired correctly will protect the piece from discoloration and moisture. It will also enhance the look of the colors if they have been used.
Think about the last time that it rained heavily and you went outside. The wet trees, roads, and everything else probably looked more alive and saturated.
That is because the water enhances colors and patterns. Dark colors look even more dark and bright, cheerful colors look even more bright and cheerful.
In short, this is what a clear glaze does, it protects the piece of pottery or ceramic and enhances the colors and patterns.
What are the Different Kinds of Glazes?
Not all glazes are clear. Here are some different types of pottery glaze…
Opaque Glazes
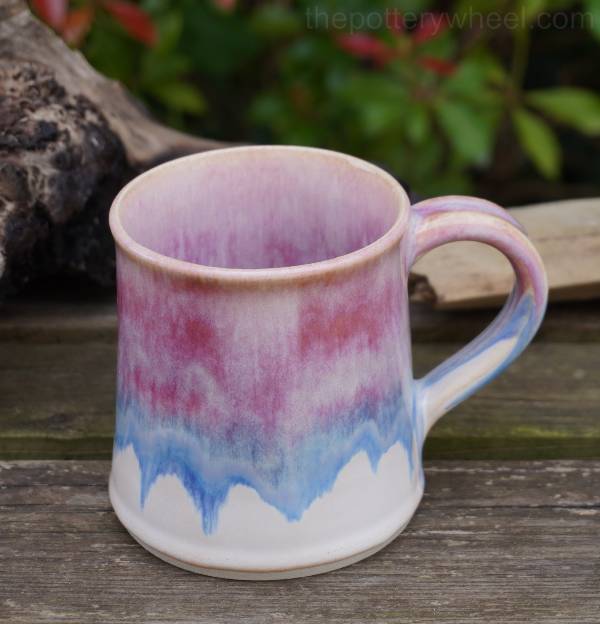
An opaque glaze is the opposite of a transparent glaze. You can’t see through it because it is a solid color. This kind of glaze is useful if you want to add dramatic color to a piece of pottery.
Translucent Glazes
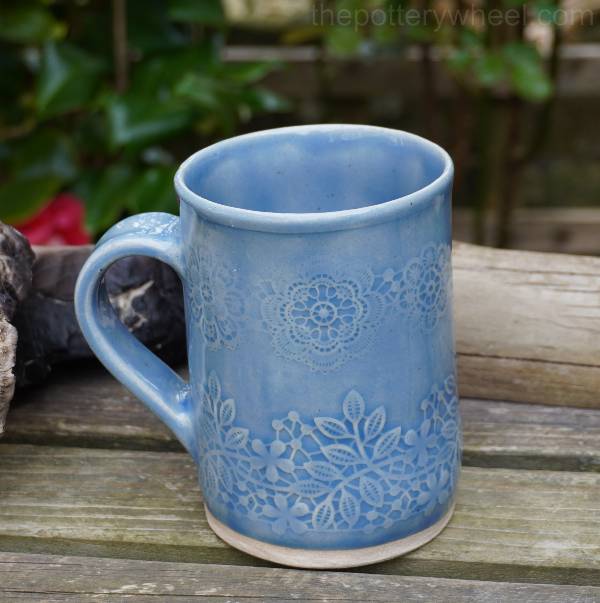
A translucent glaze is in between an opaque glaze and a transparent glaze. Light can pass through it and you can see through it but it is not completely clear.
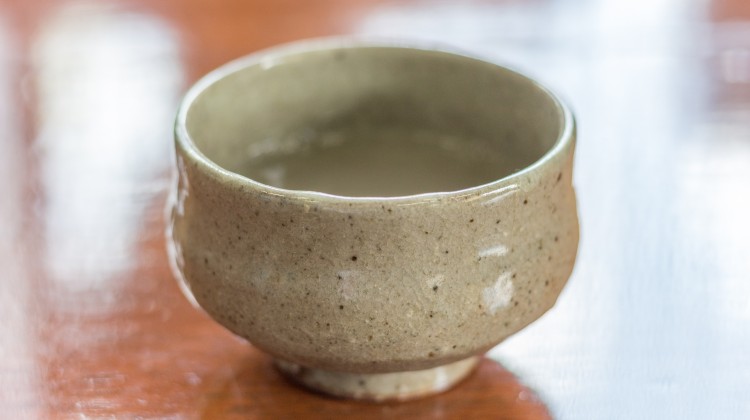
A good example of a translucent glaze is a celadon glaze like the one in the picture above. Celadon glazes are colored and semi-transparent. Color pools in recessed parts of the pottery surface and highlights textured designs.
Matte glazes are translucent by nature because they contain small particles that refract light and cause a matte look.
Clear Glazes
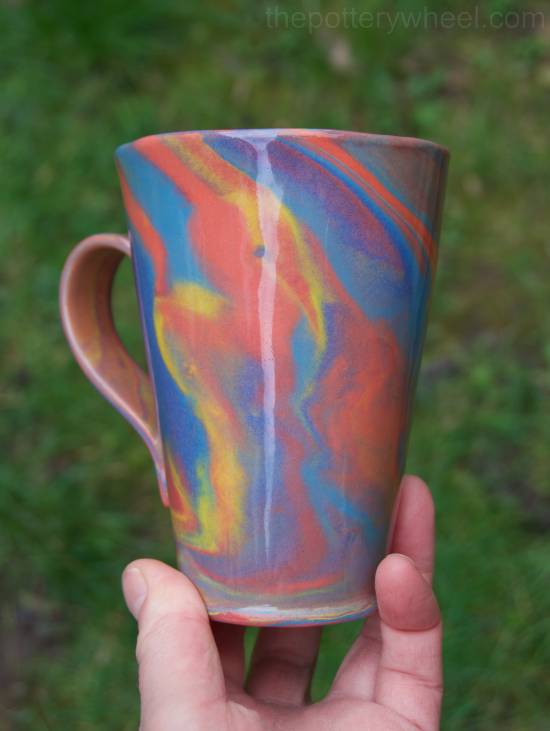
The clearest glazes are completely transparent. They allow the most light to pass through and enhance all the detail underneath.
Particles and bubbles in a glaze prevent the light from passing through easily. And this will make a clear glaze cloudy. Some processes contribute to the presence of these impurities, so let’s take a look at those now…
What Makes Clear Glaze Cloudy or Milky?
There are three main reasons why your glaze turns out milky or cloudy. They are…
1) Under Firing Can Make Clear Glaze Cloudy
A glaze is made up of particles that melt in the kiln when being fired. The problem is that if they are not completely melted, it can cause the glaze to look milky or cloudy in appearance. This is because the unmelted bits of glaze are blocking the transmission of light.
In addition to this, you can also have hot and cold spots in your kiln. You might find that some of your pots covered with clear glaze have fired well, whilst others are cloudy and dull. One possible cause for this is that some of your pots are being fired in a cooler spot in your kiln.
Solution:
You can check if your kiln has cooler spots when it’s firing. Place witness cones throughout your kiln to monitor the temperature.
When you are checking for cool spots, it can be helpful to put cones on each shelf and also at different points on each shelf. You can read more about how to use witness cones, also called pyrometric cones here.
If the cones indicate that there are cool spots in the kiln, this can be caused by a few reasons. It’s normal for the center or top of the kiln to be a bit hotter than the bottom of the kiln (source).
But if there is a wide variation in the temperature, it may be that one or more of your elements aren’t working as they should. This can be fixed by changing the elements.
Or it may be that there is damage to the insulating brick on the kiln. This can also be fixed using kiln brick cement. Either way, the first step is to identify if there is a cool spot in the kiln and then try to diagnose the cause.
If the witness cones indicate that there isn’t enough temperature variation to cause the glaze issues, it could be the glaze itself. Make sure that you’re using a glaze that will melt at the temperature you’re using.
2) Applying Glaze Too Thick Can Make Clear Glaze Cloudy
No clear glaze is going to be completely free of little bubbles and particles. But if the glaze is thin enough, you won’t notice these areas and light will be transmitted just fine.
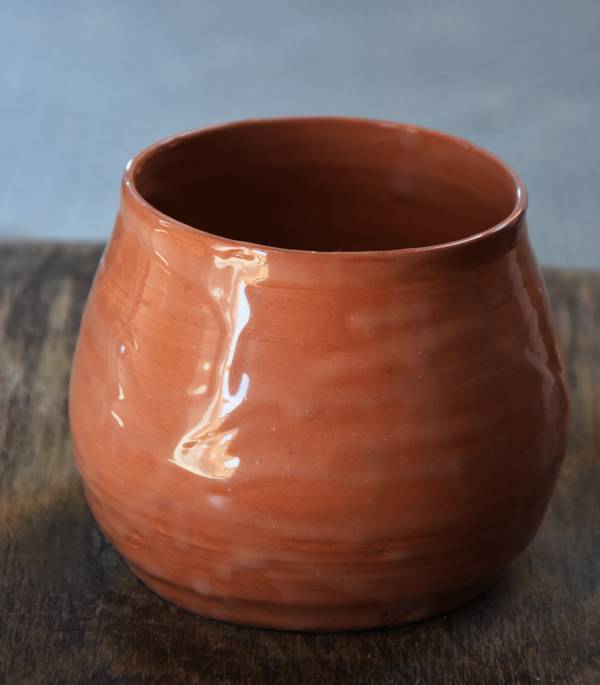
The problem is that if you use the same clear glaze and apply it too thickly, these little bubbles and particles add up and create a slightly milky or cloudy look.
This can cause an overall milky hue, or cloudy drips and ripples.
Solution
All glazes have something called a specific gravity or SG (source). This is a measure of how dense a liquid is compared to water. The specific gravity of a glaze depends on how many particles of glaze material there are per unit of glaze.
The thinner a glaze is, the more water it contains per measuring unit. The thicker it is, the less water it contains. Thick glazes have an increase in specific gravity.
Specific gravity is important because if a glaze is too thin, it won’t cover your pottery enough. A thin glaze can look washed out and streaky when it’s fired. But if it is too thick, it won’t bond properly to your ceramics.
Also, during firing, gasses are created and released from clay and glaze. If the glaze is too thick, the gasses can’t pass through the glaze and escape. This can make a clear glaze cloudy or milky. You can read more about what happens if you apply too much glaze here.
Finding the right thickness for your glaze can involve a bit of trial and error. It’s usually a good idea to use test tiles to find the right glaze application.
If you are brushing on your glaze, you can experiment with the number of coats you apply. And if you are dipping your glaze, you can try changing the number of seconds you dip your piece for.
In addition to this, you can thin your glaze down by adding some water. If you are using dipping glaze, increasing the water content of your glaze to about 1.4 g/ml, you should get a consistently thin glaze that will be more transparent.
3) Is Chemistry Making Your Clear Glaze Cloudy?
Sometimes a glaze and a particular clay body don’t work well together. This is often referred to as clay/glaze fit.
Different clay bodies and glazes are made up of a range of materials and they aren’t always compatible. If your clay and glaze don’t interact well together, you can encounter a number of problems with your glaze.
Some common problems that can occur in glaze when it doesn’t get on well with the clay are pinholes, crazing, and cloudiness. The incompatibility between clay and glaze is partly to do with chemistry.
Solution
If you are scientifically minded and you want to get into the nitty gritty of glaze composition, then you can try adjusting the glaze recipe. And if you make your own glazes, then it’s important to carefully weigh each ingredient. A small imbalance in the glaze materials can be the difference between a clear glaze and a cloudy one.
However, if you are using ready-mixed shop-bought glazes, the simplest solution is to try another clear glaze or use another clay body. You might need to try a few combinations of clay and glaze to find a pair that works well together.
Also, it’s best to use clay and glaze that fire at the same temperature. If you use a low-fire clear glaze on high or mid-fire clay, the glaze will often be crazed and cloudy after it has been fired at earthenware temperatures. You can read more about using low-fire glaze on high-fire clay here.
Final Thoughts
Glazing is one of those processes that can either go very right or very wrong. Sometimes you can pull something from the kiln and get a feeling of delight that makes you go ‘ooooh’. Other times, you can unload the kiln and have that heart-sink experience of disappointment.
Working hard on a piece, firing it, and then finding that the clear glaze has gone cloudy is one of those heart-sink moments.
Making pottery requires patience and a bit of resilience. If things go wrong, remember that each firing is a learning opportunity. It can take time to identify the reason why your clear glaze is cloudy. And it can take a little longer to find the solution. I hope this article helps you pinpoint what the issue might be and will help you find a solution a little bit faster.

