There are a few situations where you might need to rehydrate bone dry clay. Perhaps you have a bag of unused clay that has dried out in a big block. Maybe you have some dry unused clay scraps, or perhaps your pottery has become too dry to trim. Either way, there are some simple ways to rehydrate clay.
How to Rehydrate Bone Dry Clay
There are a few different methods that you can use when rehydrating clay. The best method to use depends on whether you have a big block of dry clay, clay scraps, or dry greenware.
Here are the methods we will look at, you can use the links below to jump to that section if you like:
Let’s take a look at each situation and go over the best way to soften pottery clay whatever stage the clay is at.
Method 1: Rehydrating a Block of Clay
Clay dries out over time, even when it is wrapped in a plastic clay bag. If you’ve forgotten about an old bag of clay, or the clay bag has a hole in it, then the clay can become completely solid over time.
Simply throwing this clay away is a waste of money. Also, it pains me because the earth took thousands of years to produce the clay particles that go into the pottery clay we make things from. It’s much better to revive the clay if you can.
Here is how to rehydrate dry clay when it’s in a big block…
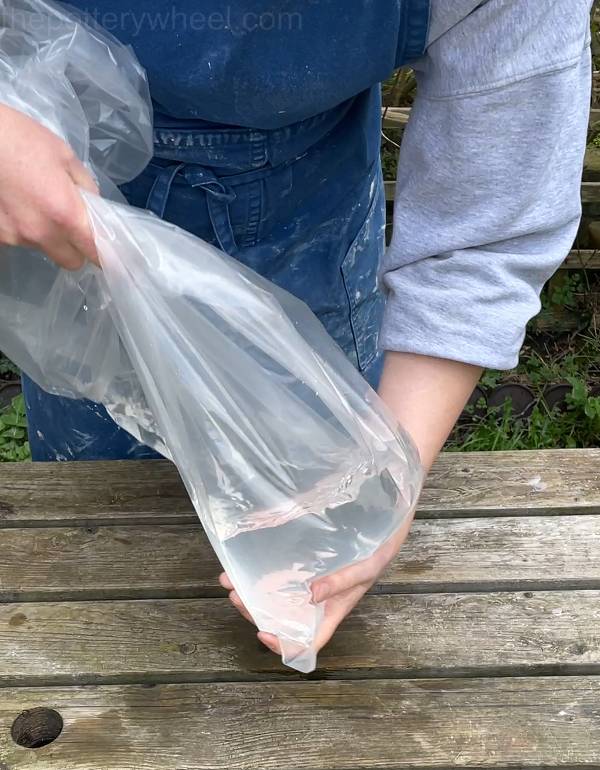
Step 1 – Check Your Clay Bag For Holes
Take the clay out of the clay bag, and check it for holes. One way to do this is to fill the bag with a bit of water and see if it leaks.
Step 2 – Adding Water
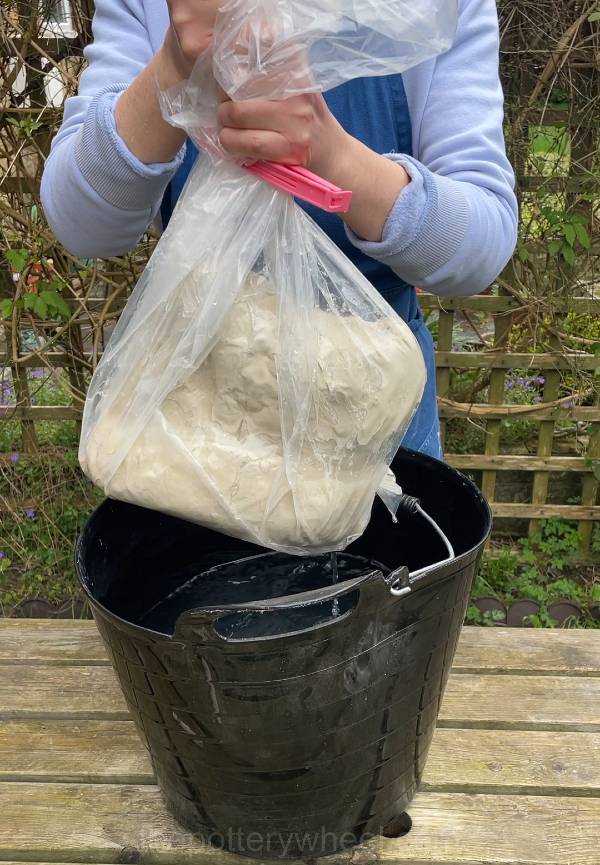
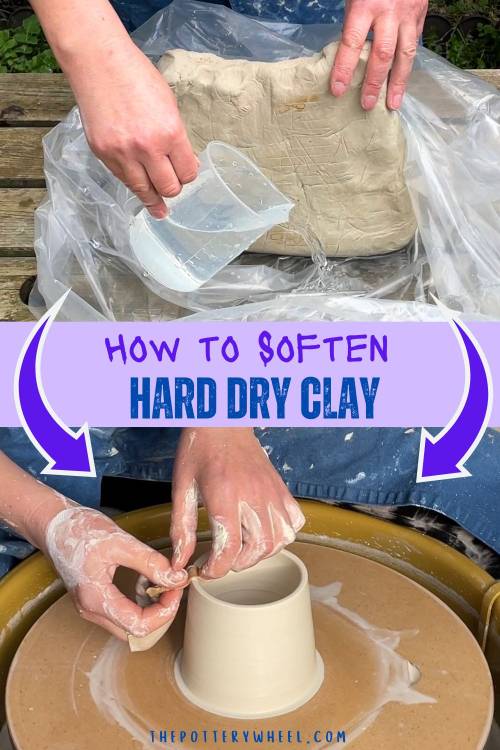
If the bag has holes in it, find another strong plastic bag. Put the hard dry clay into the bag and rest the clay in the bag on a worktop. Pour some water into the bag.
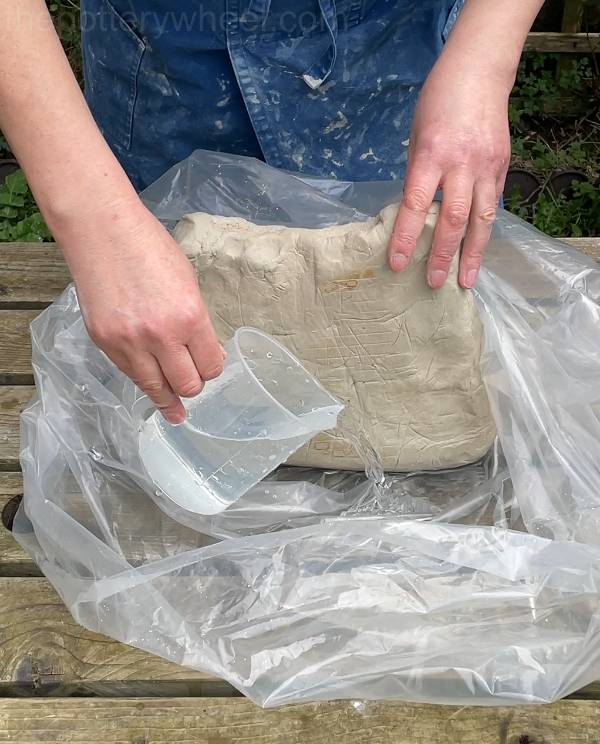
The amount of water you add depends upon how much clay you want to revive. If you add too much water the clay will turn into mush. If you don’t add enough, the clay will stay hard and unusable.
This is how I calculate how much water the clay needs to be revived…
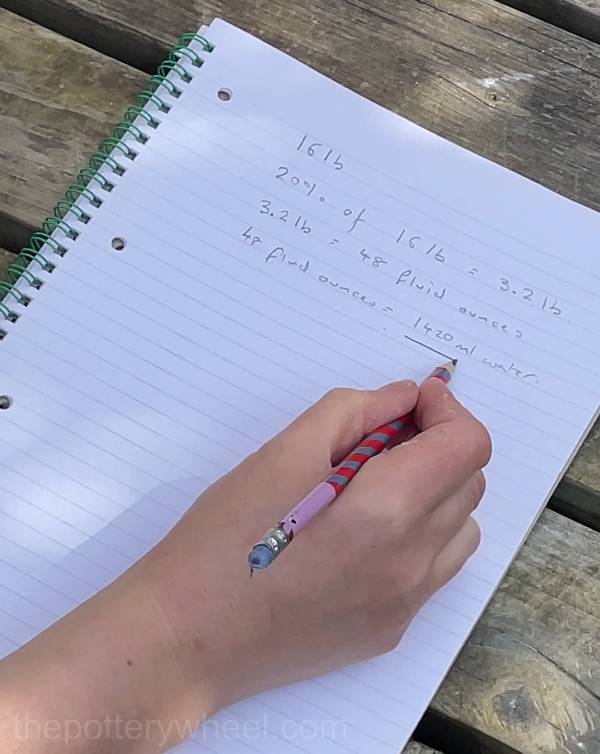
Working Out How Much Water to Add
- Workable clay is around 20% water (source)
- I weigh the dried clay
- Let’s say the dry clay is around 16lb
- 20% of 16lb is 3.2lb
- 3.2lb of water is 48 fluid ounces
- 48 fl oz of water is 1420 ml
- So, for 16lb of dry clay, I’d add just over 1420ml of water
I tend to add a little bit more than 20% as I’d rather that the revived clay was a bit on the soft side. You can always wedge it a little to dry it out if the clay is a bit too soft.
Step 3 – Let the Water Work Its Magic
Find a bucket that is large enough for the clay. Fill the bucket halfway with water. Dunk the plastic bag containing the clay and water. The pressure of the water in the bucket will press the water in the bag against the clay.
When the clay is in the bucket, seal the plastic bag with a bag tie or clip. I tend to leave the edge of the bag draped over the side of the bucket so that water from the bucket doesn’t get into the bag too.

The water in the bucket makes sure that the water in the bag is distributed evenly about the clay. If you simply pour a cup of water into the clay bag, the water will pool at the bottom of the bag. Usually what happens is that the clay at the bottom of the bag will be soggy and water-logged. With this technique, the water should absorb into the clay evenly.
Step 4 – Leave the Clay to Soften
It will take the water some time to absorb into the clay. How long it takes for the clay to soften up again depends on how large the piece of clay is. If it’s a big block of clay, between 11-26 lb, I leave it for a week for the moisture to even itself out.
Step 5 – Check the Clay
After a week or so, take the bag out of the water bucket, open up the bag, and check the clay.
At this point, the clay should have reabsorbed the water you poured into the bag and should be soft and workable.
You might find that a bit of the water hasn’t been absorbed. This doesn’t matter. Because the clay has been sitting in the bucket of water, the bottom half of the clay won’t have been sitting in a puddle. You can discard the water that hasn’t been absorbed.
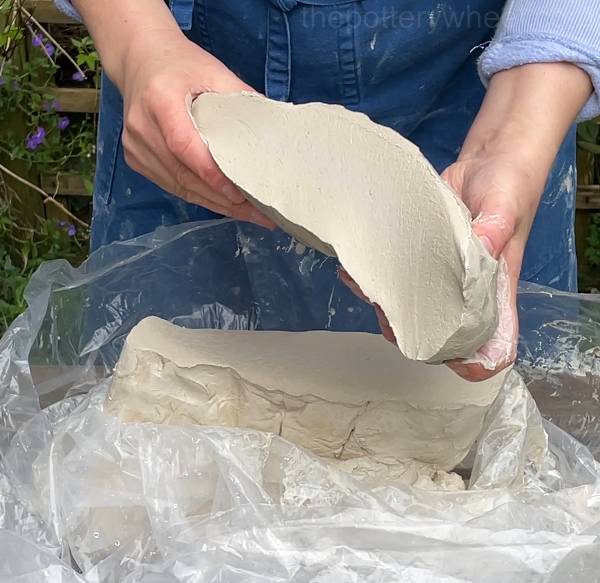
Slice the clay to check and see if it’s soft enough now. It should be softened and easy to flex like this…
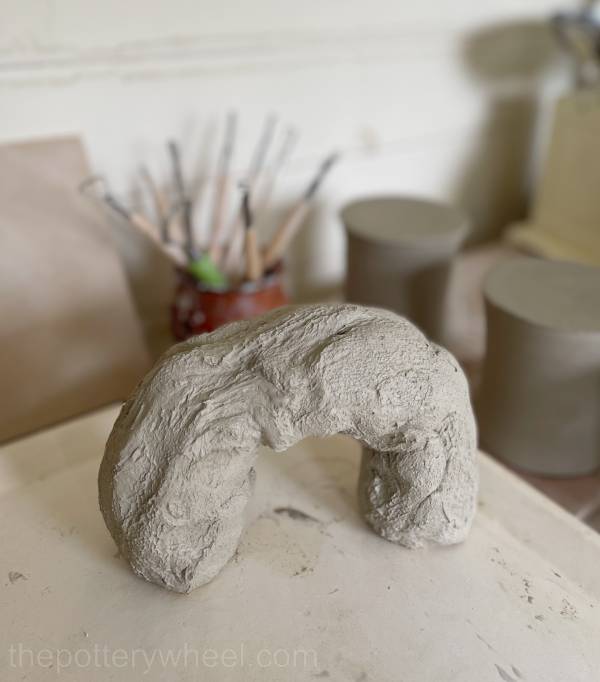
If you have overdone it with the water, you can roll the clay into a few fat coils. Curve these into the shape of a horseshoe, and stand them up so that the air can circulate round the clay. This will help the clay firm up again.
Equally, if the clay isn’t quite soft enough, you can add a little more water to the bag and let it sit for a few more days.
Tip:
This technique works well if you want to soften smaller amounts of bone dry clay too. Simply put the clay into a sealable bag, add a smaller amount of water, and seal the bag up.
Put the bag into a bucket of water and let the water pressure in the bucket push the water into the clay evenly. It should take less time to rehydrate a small piece of clay, so check it regularly to see when it’s workable.
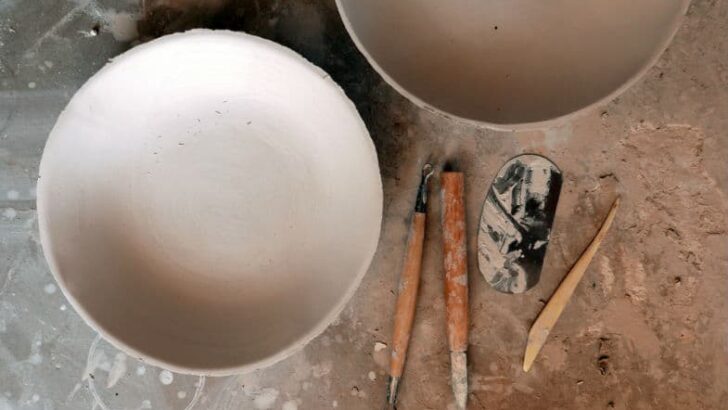
Method 2: How To Rehydrate Scraps of Bone Dry Clay
When you are making pottery, you inevitably end up with small scraps of clay. Perhaps you have offcuts of clay from hand-building, or trimming scraps. Or maybe you have a piece of broken greenware. Either way, these dry clay scraps can be revived.
One way to do this is to have a bucket in your pottery space that contains some water. As you are working, you can simply tip any scraps into the bucket. This is sometimes called a reclaim bucket.
I know that potters often have separate buckets for wet clay that they want to reclaim and dry clay. I just have one bucket and all my scraps go into it, regardless of whether they are wet or dry!
The Benefit of Letting Your Clay Scraps Dry Out Completely
When clay is completely dry, or bone dry, it breaks down in water very quickly and evenly. This is called ‘slaking down’. If you dry your clay out completely it will reabsorb the water evenly and your mixture will be smooth. However, if you have a mixture of clay that is dry and workable, the reclaim bucket will be a bit lumpy.
Rehydrating Clay Scraps
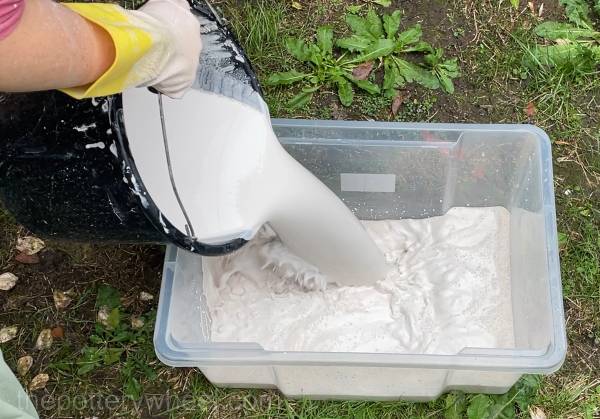
Don’t worry if you don’t have a reclaim bucket on the go. Simply put your dry clay scraps into a bucket or a container of some kind. Pour some water onto the dry clay scraps and leave it overnight.
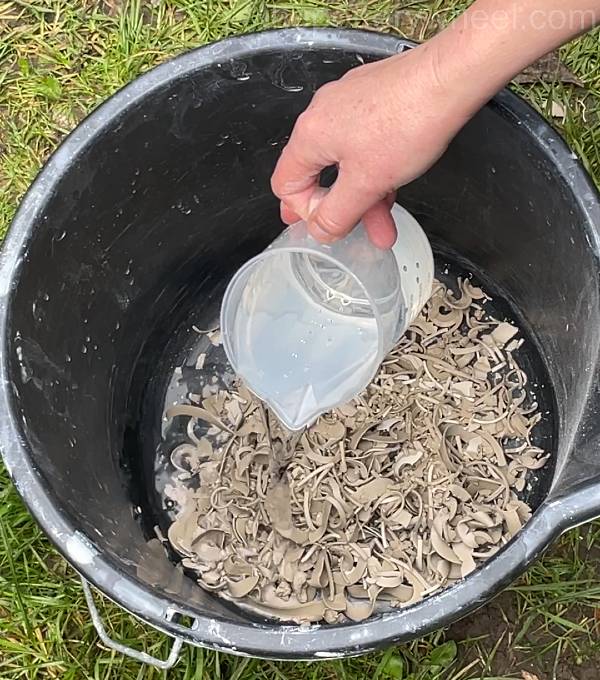
Because dry clay breaks down in water quickly, it won’t take long before the clay has reabsorbed the water.
It’s best to add enough water so that the clay becomes a soft pulpy mush, sometimes called slurry. This is the consistency of chocolate pudding.
When the clay has become slurry-like, transfer it onto a plaster slab to firm up. Here is how I make my plaster slabs (it’s very easy).
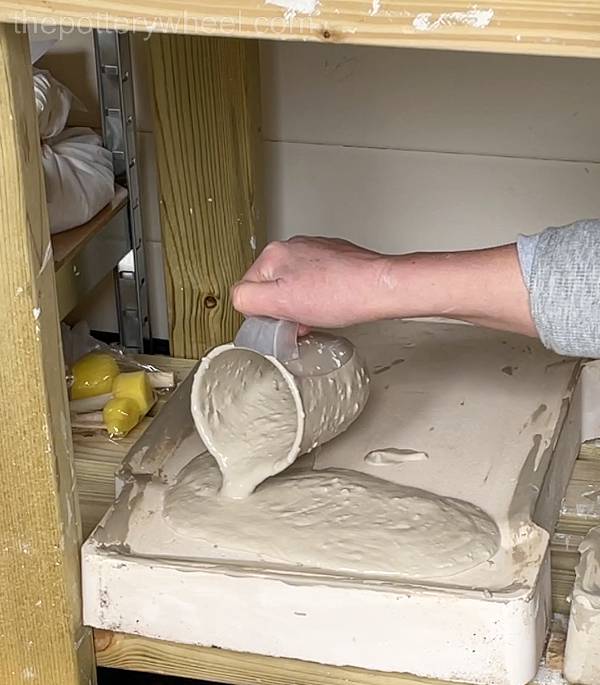
If the weather is warm and dry and the plaster slab is quite dry too, it should only take an hour or so for the clay to become firm enough to wedge. In cold or damp weather it may take a bit longer to firm up.
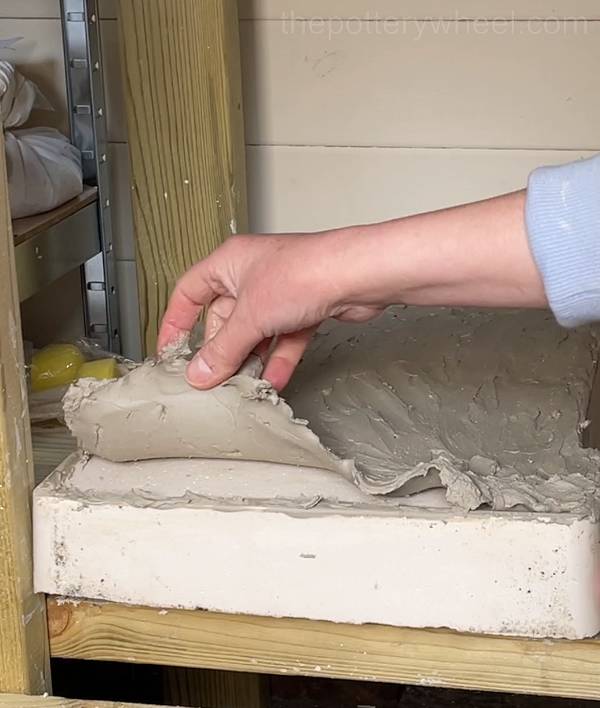
Once the plaster slab has reabsorbed some of the excess water, you can peel it off the plaster bat. This clay will need to be wedged to get rid of any air pockets and to make sure that the clay is of an even consistency.
Method 3: How to Rehydrate Bone Dry Greenware
Perhaps you forgot about a piece of pottery that isn’t quite complete, and when you remember about it, it’s much too dry to trim or add a handle. Don’t worry. All is not lost, this dry clay pot can be revived.
There are a few ways you can rehydrate dry clay pieces. I’ve used a few of them over time, and some are more successful than others. Here are a few options…
The Best Way to Fix Dry Clay Pots
To my mind, the best way to fix dry clay greenware is to use a damp box. A damp box is any kind of container where you can create an atmosphere with high humidity.
One of the easiest ways to make a damp box for your home pottery setup is to get yourself a plastic container box that has a well-fitting lid.
Mix up some Plaster of Paris with water and pour the plaster mix into the container so that the base is covered by about 1-2 inches of plaster. You can see my complete step-by-step guide on making a damp box for pottery here.
Allow the plaster to cure (harden). When the plaster is dry, wipe the top surface down with a damp sponge. Freshly cured plaster sometimes has a soft skin of plaster on top that you want to get rid of so that it doesn’t transfer onto the base of your pots.
Then pour a bit of water onto the plaster slab. Don’t use too much. Only enough water so that it absorbs into the plaster and doesn’t make puddles on the surface.
You can then put your dry pottery onto the plaster slab and put the lid on top of the damp box.
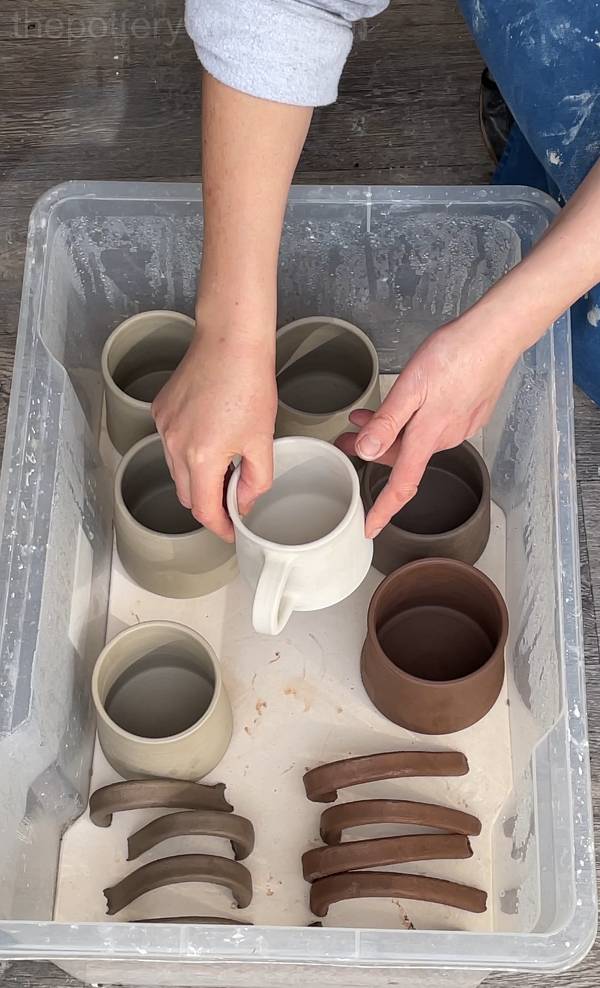
Over a few days the pottery will absorb water from the plaster and slowly rehydrate.
The Benefits of Rehydrating Dry Pottery in a Damp Box
- Pottery rehydrates evenly
- The surface of the pottery isn’t damaged
- Pottery can become leather hard again
One of the downsides of this method is that it does take time. You need to be patient and let the clay re-absorb the water slowly. It will take a week or more for the pottery to be wet enough to work on.
Can You Rehydrate Clay Pottery Fast?
There are other ways to rehydrate bone dry greenware clay that are a bit faster. Here are a couple of suggested ways to fix dry clay:
Spray and Wrap
One way to soften clay is to wet a sheet of paper. Spray your dry pottery with water using a spray bottle. Wrap the sprayed potter in the damp paper and leave it for a while.
When the paper feels like it’s starting to dry out, unwrap the pottery. Wet the paper again, spray the pottery with water, and wrap the pot back up in the re-wetted paper sheet.
Repeat this process until the pot feels moist enough to work on.
This method can be quicker than using a damp box. The problem with it is that you are handling the pottery a lot and as it softens up, you can damage the shape and surface. Plus the wet paper on the clay surface can leave unwanted textures on your pottery.
Rinse and Wrap
Another quicker method of rehydrating clay that I tried only once is to run your put under the tap and then wrap it in a damp cloth.
Let the pot sit in the damp cloth for a short while and then check to see whether the clay is softening.
Be sure not to let the clay sit for too long on the damp cloth, as if it’s sitting in water the base of the pot will become soggy.
I’ve heard of potters using this method successfully. Honestly, it didn’t work especially well for me. I found that the outside surface of the greenware became soft and pulpy, and the deeper layers stayed hard.
But if you want to give it a go, you might find that you have more success with it than me. For my part, I think I will be sticking to using a damp box, even if it does take longer.
Final Thoughts
It can take a little time to rehydrate bone dry clay. My experience is that there is no fast way of softening clay. However, it is worth the effort. Clay is relatively costly and it’s a shame to spend money needlessly when you can revive the dry clay you have.
Plus, if you want to rehydrate bone dry greenware pottery, it’s a way to salvage your hard work too. But remember, in the same way that it’s better to dry clay out slowly and evenly, you need patience when you are rehydrating dry clay too.


