Your cart is currently empty!
How Thick Should a Pinch Pot Be? – Pinch Pot Walls
Published:
Last Updated:
Affiliate Disclaimer
As an affiliate, we may earn a commission from qualifying purchases. We get commissions for purchases made through links on this website from Amazon and other third parties.
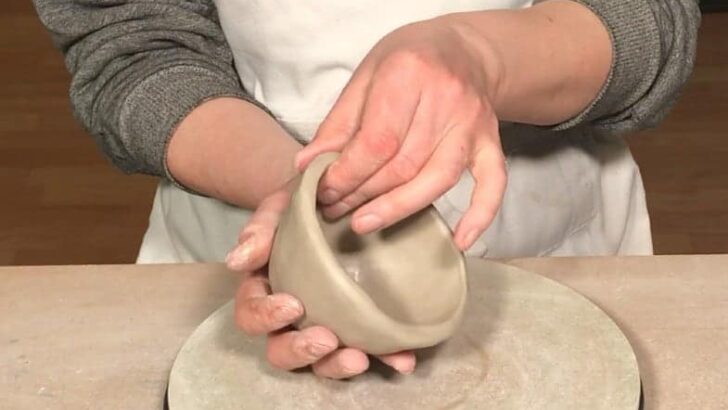
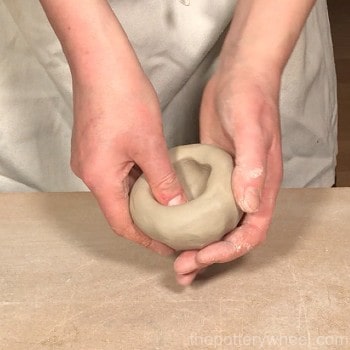
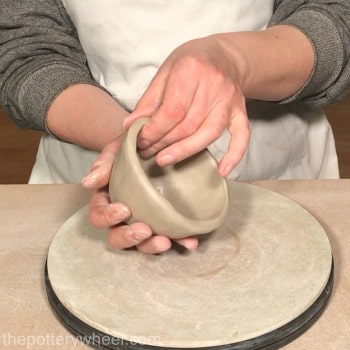
Making pinch pottery is very tactile. As you pinch your pot you will feel the thickness of the clay between your fingers and thumb. But just how thick should a pinch pot be? Exactly how thick you want your pinch pot to be is a matter of personal choice and taste. However, there are a few things to bear in mind…
A very thick pot is at higher risk of exploding in the kiln. And a very thin pinch pot will be trickier to work with when you are learning. When you start out, it’s best to aim for a pinch pot that is around ¼ inch (6mm) thick.
But is this written in stone? What are your options when making pinch pottery? And, just how much can you play around with the thickness of your pinch pot?
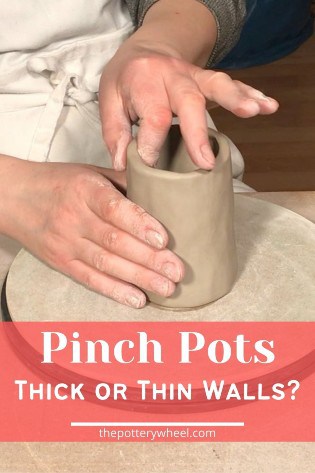
Here are some practical things to consider when making a pinch pot:
Thick Walled Pinch Pots:
It’s often said that as a rule of thumb your pottery should be no thicker than your pinky finger. The reason for this guideline is that clay contains moisture. Even bone dry clay which looks and feels completely dry will still contain a little water.
Sometimes this moisture is nestled in the deeper layers of the clay. As clay dries out before firing, most of the water evaporates into the surrounding air.
The moisture at deeper levels of the clay will move towards the surface of your pot and exit the clay. However, the thicker the clay, the longer this takes. And the more likely it is that there is still some residual moisture lurking in your pot.
If you fire clay that is still damp, once the kiln reaches 212F (100C), the moisture turns to steam. Water expands very quickly when it turns into steam.
In the wall of a pot, the steam will expand into any gaps it can find in the clay. If you have any little air bubbles in your clay, the steam expands into those. This puts a lot of pressure on the clay and can cause your pot to explode in the kiln.
This is one of the reasons it is recommended that the walls of your pottery are not too chunky. And generally, a wall is considered quite chunky if it’s more than ½ inch thick.
Firing Thick-Walled Pinch Pots
It is definitely possible to fire thick-walled pots without having them explode in the kiln. You just have to leave them to dry in the open for a few days. Exactly how long it takes to make clay bone dry depends on the temperature and humidity in your room.
And if you aren’t 100% certain the pottery is dry, you can pre-heat the kiln for a few hours. This is also known as candling. Basically, you set the kiln to heat up to around 194F (90C). Then you hold the kiln at that temperature for around 3 hours.
This should ensure that all the moisture has gone from your pots. And it will most likely be safe to start the proper firing schedule without any pots going pop.
Thin-Walled Pinch Pots
Pinch pots are one of the first things that most people are taught in pottery classes. And for that reason, they are sometimes thought of as being chunky or crude.
But, once you have mastered the basic pinch pot technique, you can make delicate refined pieces.
Some ceramicists who handbuild make a lot of their pottery using the pinching technique. And they make beautiful, finely crafted pottery and sculptural pieces. The ceramicist that I’m thinking of as I write this is Mary E Rogers. She produces beautiful, delicate thin-walled pots by hand building and pinching the clay.
So, it is possible to make such thin-walled delicate work using the pinching technique. However, working with very thin clay when you start out can be tricky. As the clay gets thinner, it also gets floppier and can lose its shape more easily.
Therefore, when you are learning the craft, it’s best to stick to a pot wall that is around 1/3 or 1/4 inch thick. As you get more confident with the clay you can experiment with making the walls of your piece thinner.
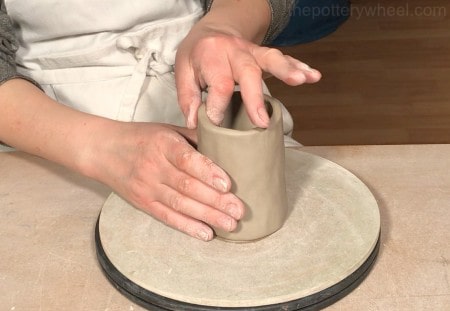
How to Make Pinch Pots with Thinner Walls
Here are some tips on making the walls of your pinch pots thinner:
- When you start to feel the wall getting a bit floppy, take a break. If you leave the pot to one side for a little while, the clay will firm up. When it is firmer, you can carry on working on the pot and it is less likely to lose its shape.
- Use a combination of pinching and coiling. If you want to make a larger thin-walled piece start by pinching out the base of your pot. Leave the base for a while to firm up. Then add a coil of clay to the rim of the pot. You can then blend and pinch the clay coil to build up the wall of the pot. If you repeat this process you can build the depth of the piece, without needing to have thicker walls.
- When you are pinching your clay, it’s better to use lots of little gentle pinches. If you make big firm squeezes, it’s harder to keep the walls of your pot even. So, try to keep the pinches even, often, and regular.
Final Thoughts
So, if you are wondering how thick should a pinch pot be, it depends on how new you are to pottery. If you are brand new to pottery, it’s best to just get used to the feel of the clay. Stick to making pots with walls that have a bit of body and strength. Then, once you are familiar with clay, you can start to experiment with thinner forms.


