Your cart is currently empty!
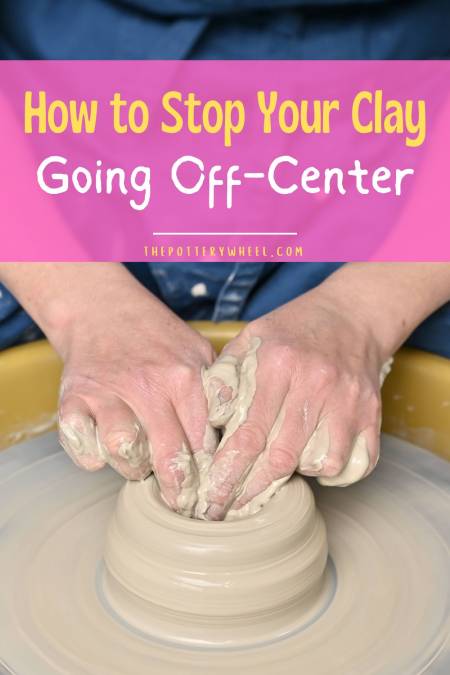
12 Reasons Why Clay Goes Off-Center When Opening
Published:
Last Updated:
Affiliate Disclaimer
As an affiliate, we may earn a commission from qualifying purchases. We get commissions for purchases made through links on this website from Amazon and other third parties.
We have all been when we are learning to throw. We are sure that the clay is centered. It’s looking good and it feels smooth and even. Then moments later your pottery is wonky and bumping around beneath your fingers. So, what is going on? Why does clay go off-center? and what can you do about it?
Clay can go off-center on the wheel for several reasons. It can be to do with your technique or it can be related to problems with the clay. It can also be affected by your state of mind. Each of these factors is fixable, so read on.
Table of Contents
show
Why Does Clay Go Off-Center?
Learning to center clay is a bit like learning to ice skate. It feels all wobbly and wrong, and you will never get the hang of it. Then one day things stop wobbling so much and you start to get the hang of it.
What worked for me was lots of practice. But there are a few things to look at if you find that your clay keeps going off-center.
Is Your Technique Causing Your Clay to Go Off-Center?
There are a few things that might be going on with the way you are centering that is causing your clay to wobble. Here are some things to consider…
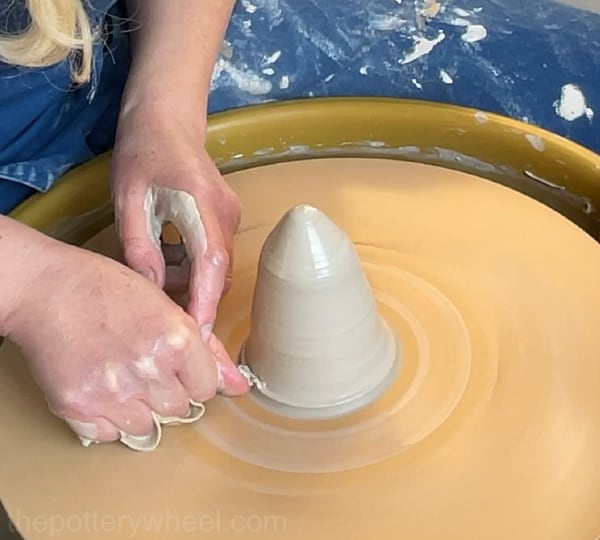
1) Are You Coning The Whole Length of The Clay?
Whilst you are centering, make sure that you cone the whole length of the clay. Make sure that the bottom of the clay cone is getting narrower in diameter too.
If your hands are positioned above the bottom of the cone, the base may not be centered. It may feel like the clay is centered where your hands are at work. But it may be wonky at the base where the clay joins the wheel head.
This can cause problems when you start to open the clay up. Any small wonkiness in the base of the clay will get worse as you start to make your piece.
The deeper you get into the clay as you open up, the more obvious the wobble will become. This is because as you get deeper into the clay, you get closer to the base that isn’t centered fully.
Solution 1
Focus on including the base of the clay as you cone up. One suggestion that can help is to think about coning the clay in sections. You can focus on coning the first ½ inch of the clay and then move up to the next ½ inch and so on.
By doing this you make sure that the whole cone of clay gets your attention. This method sounds a bit awkward, but with time it is something that becomes automatic.
2) Is the Clay Spreading Out Over the Surface of the Wheel Head?
Sometimes when you are centering your clay, the clay can spread out over the surface of the wheel head. This means that you get a thin layer of clay fanning out from the base of the piece like a skirt.
The clay layer can be uneven, or it can get dry and sticky and grab at your hand. This can cause your hand to wobble, making the clay you are centering wobbly.
If your hand is moving over an uneven surface this will cause unevenness in your clay. Ideally, your hands need to be in contact with the surface of the wheel head.
Solution 2
You can try and avoid making a ‘clay skirt’ by pushing the edge of your hand down onto the wheelhead. But once the clay skirt is there, it can be hard to get rid of by pushing your hands onto the wheelhead. Plus this can be tough on the skin on the edge of your hands.
Another way to tidy up the base of your clay ball is to use the back of your thumb to scrape the skirt off. Or you can use a wooden tool to do this too. You just need to scrape enough of the clay off to tidy up the base, where the ball of clay meets the wheelhead.
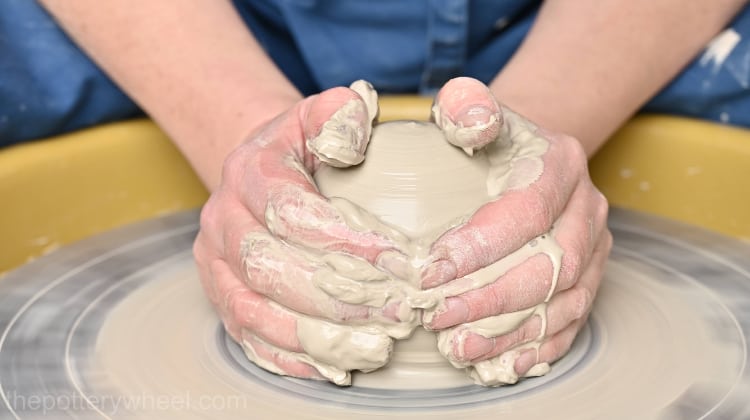
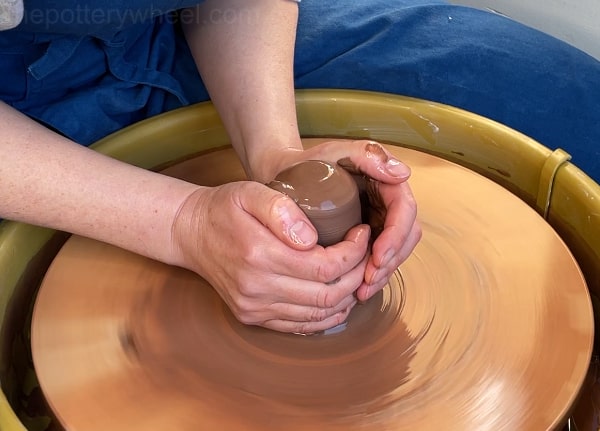
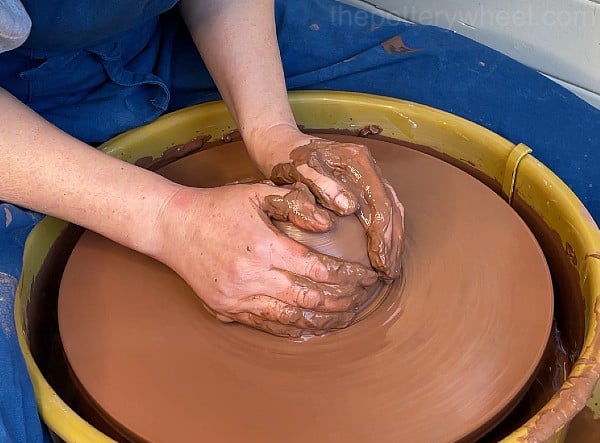
3) Is Your Clay Centered?
Sometimes, clay can look and feel centered, but still be a bit off. If that is the case, then as you work on it the wonkiness will become more apparent.
Solution 3
So how do you tell if your clay is centered? Cup your hands over the clay and look closely to see if your fingers are moving. If your fingers are moving up and down a little then the clay isn’t centered.
Sometimes it’s hard to tell if your fingers are moving. This is especially true if you are using a throwing bat. If you are using a bat, don’t look at the bat to see if the clay is centered, instead focus on your fingers and hands. I find it helpful to close my eyes and feel if my hands are moving.
Also, when you are centering your clay, make sure that your arms are anchored into the side of your body. A good place to anchor your elbows is to nestle them into your hip joint. If you tuck your elbows into your hip, your arm will be locked and stable.
Locking your arms in this way will let you make use of your body weight and strength to center the clay. If your arms aren’t braced against your hip joint, you are trying to center the clay with your arm strength alone. As a result, your arms will move about on top of the clay rather than bringing it to the center of the wheel.
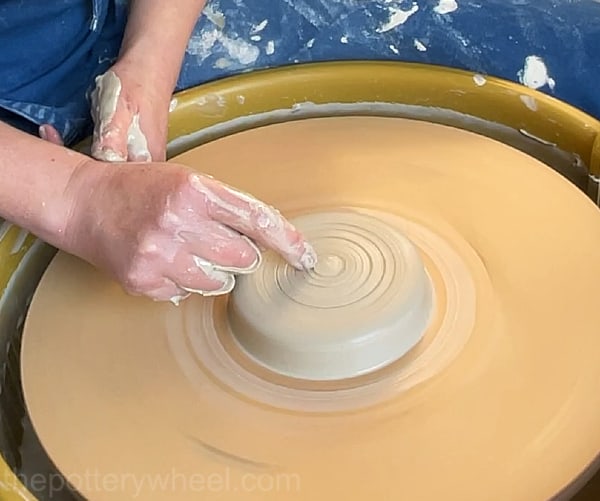
4) Are You Opening Up Your Clay Right?
Once you’ve centered the clay, you need to make a hole in the middle of the clay so you can start opening the form up. There are different ways of doing this, using either your fingers or thumbs.
Sometimes if you press your fingers or thumbs straight down into the clay at a 90% angle, the clay can get sticky. This happens especially if you aren’t using much water. If the clay is sticky and a bit dry it can grab onto your finger or thumb and twist.
If the clay grabs and puts a twisting force on your finger or thumb, it can knock your clay off-center.
Solution 4
Go into the clay at a bit of an angle. Somewhere between 30 and 60 degrees to the wheel head. Use the pad of your thumb or finger if you prefer. Angle your thumb (finger!) so that it creates a V shape in the clay, rather than a thumb-shaped hole.

5) Are You Opening Up Your Clay Dead on Center?
If you start to open the clay up and your thumb is not in the center, this can introduce a wobble. A little bulb of clay may form in the middle if your thumb is not close enough to the center.
Equally, if your thumb is too far over the center, a ridge can form in the clay. This ridge can introduce a wobble to your piece.
Solution 5
There are a few ways to find the dead center of your clay. One way is to use a needle tool. Steady your arm on the splash pan, and stabilize it with your free hand. Hover your needle tool over what looks like the center of the clay and trace a circle around the clay as the wheel head rotates.

Alternatively, you can find the center of the clay by resting your index finger or nail on the centered clay. Lightly trace your finger into the center of the clay as the wheel turns. This will make a faint spiral in the surface of the clay. The center of the spiral is the exact center of the clay.
6) Are You Pulling Your Hands Away Too Quickly?
Removing your hands quickly from the clay can throw your piece off. After working hard to center your clay, it can be tempting to whip your hands away in triumph. But this quick action can cause your clay to wobble and throw it off center again.
Solution 6
Once you have centered the clay, remove your hands slowly and carefully from the piece
7) Is Your Wheel Moving at The Right Speed?
When you are centering clay, it’s best to have the wheel moving fast. If the wheel is moving too slowly, then you will find it hard to put much pressure on the clay to move into the center.
Usually, I have my wheel going at the fastest speed when I’m centering. Then I slow it down a little when I’m opening the clay.
Solution 7
Having the wheel go at a decent speed will help the clay stay centered as you are opening it up.
What Condition is Your Clay In?
It may not be your technique that is causing the clay to go off-center. It might be more to do with the clay you are using. So it’s worth considering some of the following points…
8) Air Bubbles can Cause Your Clay to Go Off-Center
There are two ways that air can interfere with your throwing:
Firstly, air can get trapped between the clay and the wheelhead. If you trap an air pocket under the ball of clay when you are starting this can cause a bump in the base of your pot. One side of the pot stands up a bit higher than the other and this can make the whole pot a bit uneven and wonky.
Secondly, air bubbles that are trapped in the clay can show up in the walls of your pot as you are throwing. These feel like little pebbles in the clay as the clay passes under your fingers. Air bubbles can make the walls of your pot uneven in thickness, and they can give you an uneven rim.
Solution 8
Wedge your clay well before you throw. This will get rid of air bubbles in the clay and will make it much easier to throw.
Make sure the clay is smooth and ball-shaped before you slap it onto the wheel head. If it is concave or lumpy, you will likely trap air as you drop it onto the wheel.
If you do get an air bubble in the wall of your pot, you can stop the wheel head and carefully locate the bubble. Take a needle tool and pop the bubble, then run some water over the place where the bubble is located.
When you start throwing again, the water should fill the area where the pocket of air was. This can help you recover your pot from a trapped air bubble in your clay.
9) Dry Clay
Throwing with too much water can make your clay soggy and collapse. But if you don’t use enough water, the clay gets sticky and friction between the clay and your hands will cause the pot to grab onto your palms and fingers. This can drag the clay off-center.
Solution 9
Without water logging your piece, be sure to use enough clean water so that your clay moves beneath your hands freely. This will prevent your hands from snagging the clay. Also, change your throwing water when it starts to get muddy with slip.
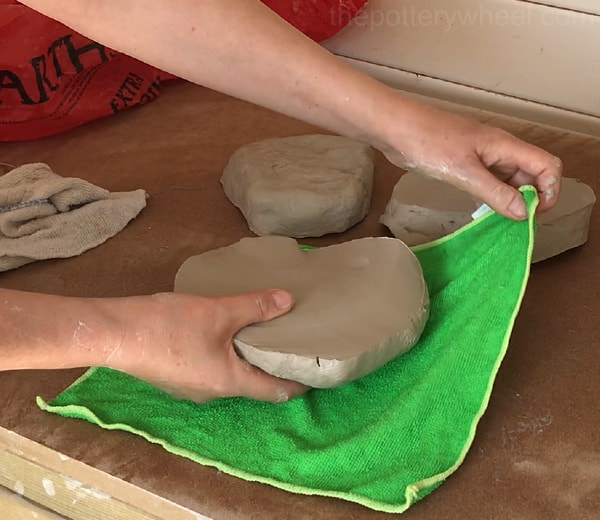
10) Hard Clay
If your clay is hard, it can be tough on your hands to wrestle it into place. Not only that, hard clay is difficult to work with. You may manage to center a piece of hard clay. However, you will have to use more effort and force to work with it. This can, in turn, cause the clay to move off-center.
Solution 10
If your clay is hard, cut it into slices that are about the size that you want to throw with. Then wrap each slice in a damp cloth.
Stack the wrapped slices together and then put them in a sealed plastic bag overnight. This will soften off the clay and make it more workable. You can read more tips on how to prepare your clay for making pottery here.
11) Is Your Clay Lumpy?
If your clay has some hard areas and some soft areas, it will be harder to throw with. Once you start opening it up, the harder patches of clay will probably stay a bit thicker. This is the start of an uneven wall.
Solution 11
Wedging gets rid of hard lumps in your clay and gives it an even consistency. This is often referred to as making the clay homogenous. Be sure to wedge your clay well before you start throwing. There are different wedging, so I’d recommend finding a technique that you like and using that.
Is Your Stress Affecting Your Throwing?
Pottery requires motor skills and creative instinct, and both of these can be thrown off by stress.
12) Are You Getting Frustrated and Tense?
When you are learning how to center clay on the wheel, you might find yourself feeling a bit stressed out after a while. It takes concentration and skill to center and you need to take breaks.
If you are starting to feel tense and upset with yourself, this will get transmitted to the clay. The more stressed you get, the more likely it is that your throwing will start to go off beam.
Solution 12
If you start to feel stressed, step away from the wheel. Take a break, stretch your legs and breathe. It’s helpful to remember that learning to throw is like playing an instrument. No one would expect to sit down at a piano and play straight away. Playing well takes practice and throwing on the wheel is the same.
If you find yourself getting wound up and despondent, take a break. Either take a moment away from the wheel to relax or come back another day feeling more hopeful.
The good news is that making pottery can feel quite meditative and can have some of the benefits too.
Final Thoughts:
There is a lot to be aware of when you are learning how to center clay. It is like any skill that involves coordinating a lot of different physical activities. It takes time and practice. You can use the above checklist as a way of trying to isolate why your clay might be going off-center. Good luck!