Your cart is currently empty!
Making a Plaster Slab for Drying Clay – Step-by-Step
Published:
Last Updated:
Affiliate Disclaimer
As an affiliate, we may earn a commission from qualifying purchases. We get commissions for purchases made through links on this website from Amazon and other third parties.
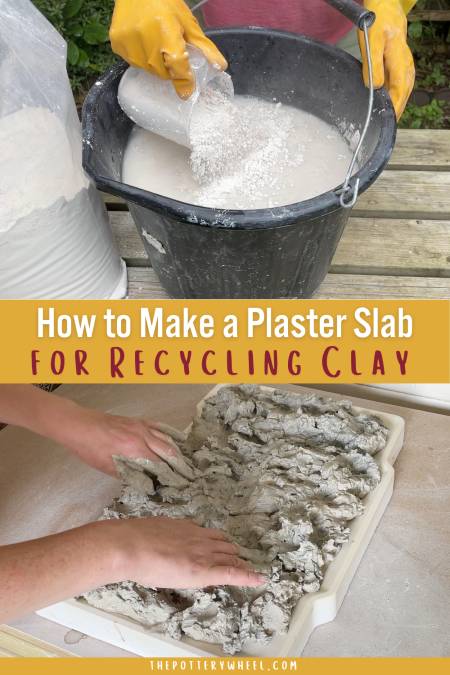
One way to recycle your clay is to spread the wet clay over an absorbent surface. I’ve found that the best surface for reclaiming clay is a plaster slab. Making a plaster slab for drying clay is very simple. This is the process that I use, step by step.
How to Make a Plaster Slab for Drying Clay
It’s possible to use a range of surfaces for drying clay. Other options include plywood, clean concrete, a canvas sheet, and Hardie Backer board, to name just a few.
But drying clay on a plaster slab is by far the quickest and most efficient way to recycle your clay. A plaster slab is also handy for wedging clay.
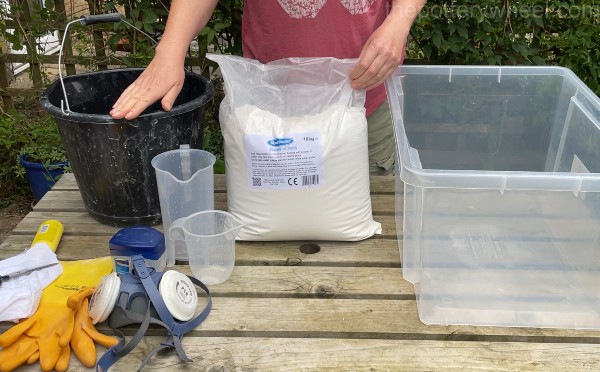
You will need:
- A plastic container
- Petroleum jelly
- Plaster of Paris
- Bucket
- Measuring jug
- Rubber gloves
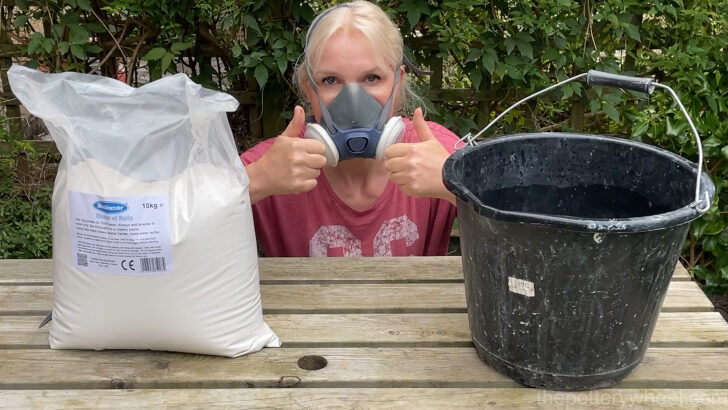
- A dust mask that filters particles
Step 1 – Preparing the Plastic Container
Choose a square or rectangular plastic storage container that has a base the size that you want the slab to be.
Ideally, you want to choose a container that has sides that slope outwards slightly. This will make it easier to remove the plaster slab later.
Spread a thin layer of petroleum jelly on the bottom and lower sides of the container.
Step 2 – Mixing the Plaster and Water
You can use Plaster of Paris or Pottery Plaster. Usually, Plaster of Paris is a little cheaper, and it does just as good a job.
You need to figure out how much water to add to the plaster. Most often the ratio recommended to mix plaster is to mix 70 parts of water to 100 parts of plaster.
Working out the Ratio of Plaster to Water
I find that a 10kg bag of plaster is a good quantity for making a plaster slab for drying clay. This is quite handy because it makes working out the quantity of water that you need fairly easy.
1 liter of water weighs about 1kg. So, if you have 10kg of plaster, you will need to mix it with 7 liters of water.
If you are using imperial measurements this means that if you have 22lb of plaster, you will need to add 12.3 pints of water. If you have a package of plaster that is more than 22lb, weigh out the correct amount. Some heavy-duty scales help with this part of the process.
For example, if you have this 25lb bag of plaster, an easy approach would be to remove 3lb of plaster from the package. Then you have 22lb left to mix with the water.
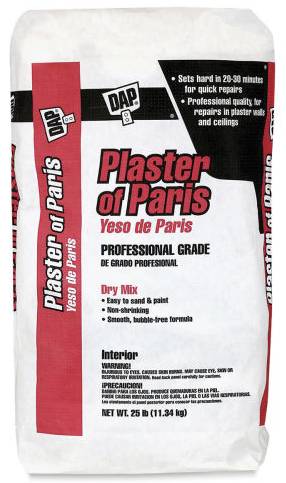
Plaster of Paris – View on Blick
How to Add the Plaster
First of all, you need to put on your dust mask. If you get a dust mask, be sure to buy one that removes airborne particles.
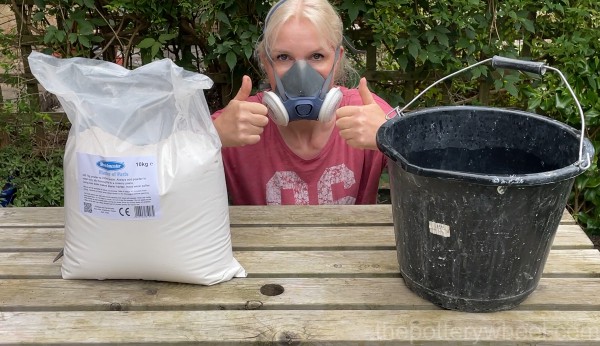
Dust masks are sometimes called filters or respirators. Either way, they are an important piece of a potter’s tool kit.
I like to mix my plaster and water outside, as it can get quite messy.
But even if you are mixing the plaster outside, it’s advisable to wear a dust mask. You want to avoid breathing in any airborne particles.
Transfer your water to a bucket. A 3 or 4 gallon bucket should be big enough. It’s best to use an old bucket, as it can be hard to get all the plaster off it later. Or you can line the bucket with a strong plastic bag if you prefer.
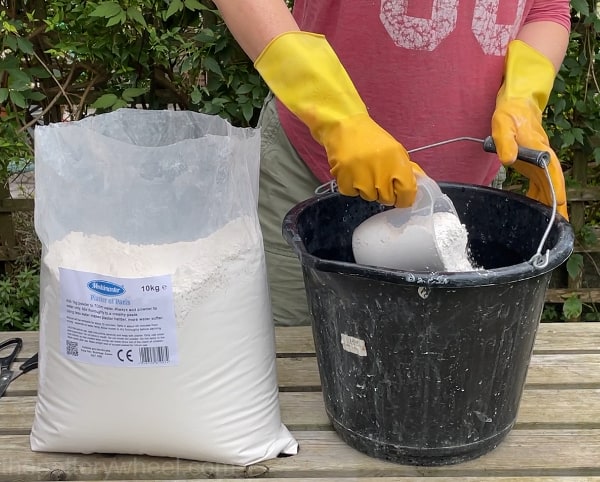
With a plastic jug, transfer scoopfuls of plaster into the water gradually. Sprinkle the plaster into the water rather than dumping a big chunk all at once. If you dump a lot in one go it will form a big solid lump in the water.
By the time you have transferred all the plaster into the water, you should start to see ‘plaster islands’ poking out of the top surface of the water.
In fact, it is possible to mix water and plaster by eye rather than measuring quantities. You can do this by looking out for when the plaster islands start to appear. Once they start to poke through the surface, you know that you have used enough plaster.
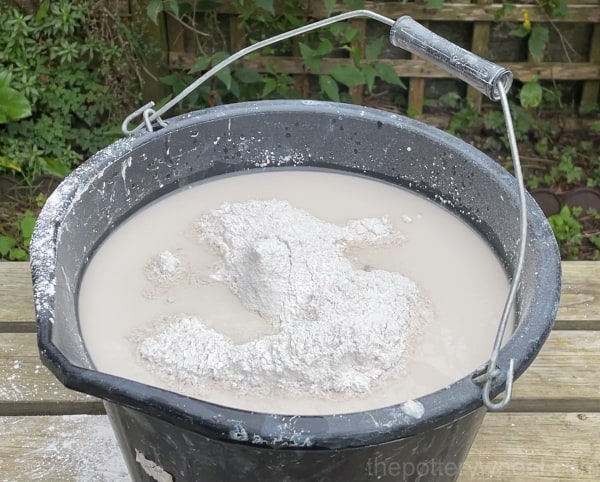
Nevertheless, it’s better to use measured quantities, as you are more likely to get a nice tough plaster slab for drying clay.
Top Tip!
Use cold water. If you use warm or hot water the plaster will set more quickly. Using cold water will give you more time to work before the plaster sets.
Step 3 – Blending the Plaster and Water Together
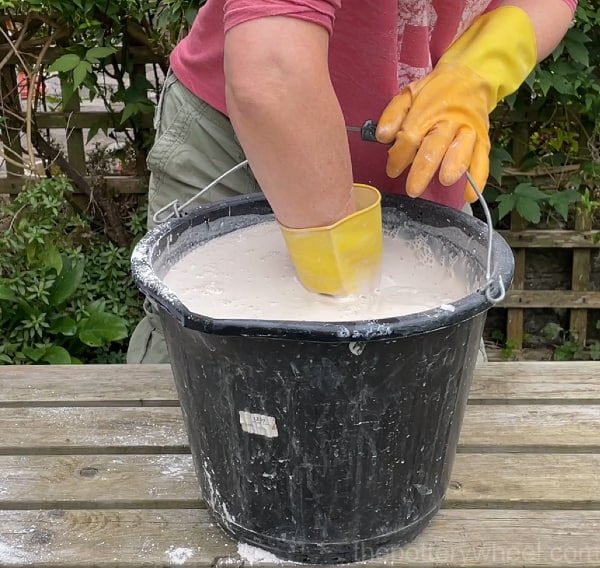
Put on your rubber gloves and gently stir the water and plaster together. You can feel if there are lumps of plaster in the water. Gently break these up with your hands and try to create as smooth a mixture as you can.
Avoid stirring too vigorously as you will create air bubbles in the plaster mix. It’s best to avoid mixing it with a drill bit or an electric blender for this reason too. Stirring gently with your hand will mix it enough.
Step 4 – Pouring the Plaster into the Container
Use the measuring jug to pour the plaster into the container. Pouring the mixture against the side of the container helps to reduce the number of bubbles in the plaster. Think of pouring a fizzy drink. If you pour a fizzy drink against the side of a glass you get fewer bubbles.
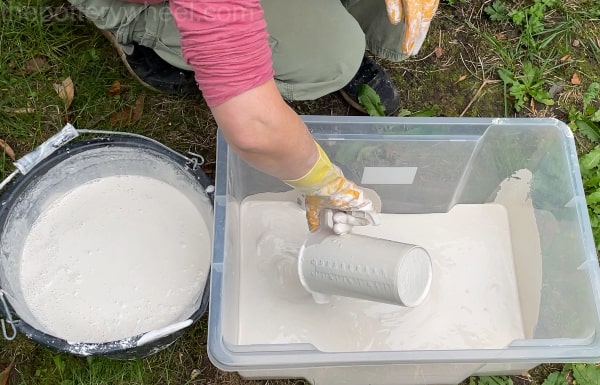
Likewise, it’s best to avoid pouring the plaster into the container directly from the bucket. Doing this pulls a lot of air into the mix and will make the plaster very bubbly.
Step 5 –Checking for Lumps of Plaster
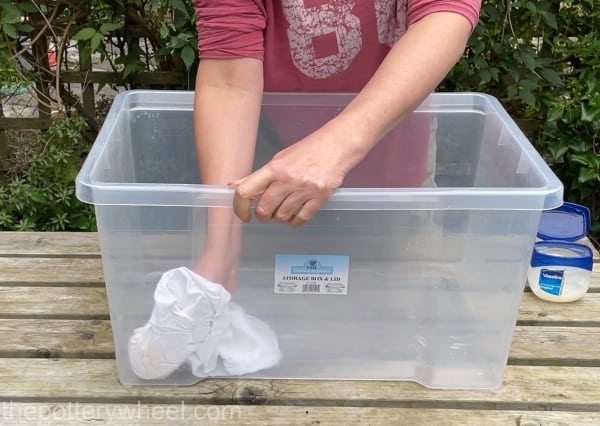
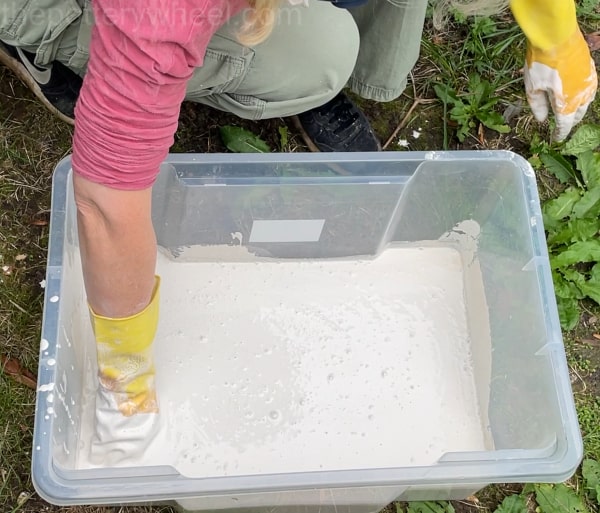
Put your gloved hand into the container and move it about slowly to feel for any lumps of plaster that you’ve missed. If you come across any, you can break them up with your fingers.
Also, if you jiggle your fingers a little this will loosen any air bubbles that might be clinging to the surface of the plastic container.
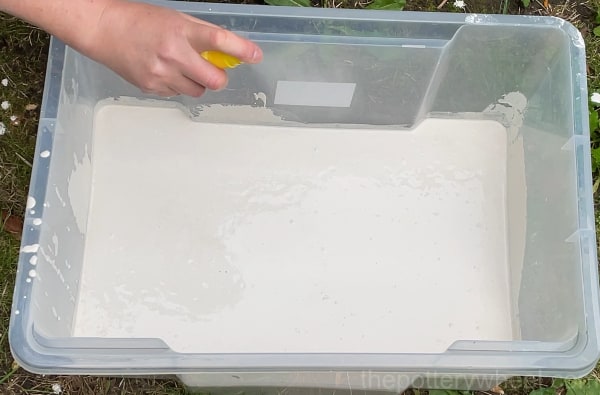
Probably some bubbles will form on the surface of the plaster. You can spray these with a little bit of rubbing alcohol. The rubbing alcohol gets rid of the surface tension on the bubbles and they will burst.
Step 6 – Let the Plaster Set
Leave the plastic container on a level surface for a couple of hours. This will be enough time for the plaster to set. After a couple of hours, the plaster will be solid. However, it will still contain a lot of water, and it will have a ‘cheesy’ consistency.
This means that if you were to scrape it, you would be able to scratch it. So, it’s solid but still soft.
Step 7 – Removing the Plaster Slab
Put a towel or something soft onto the ground and turn the plastic container over. Press on gently but firmly on the bottom of the container. The plaster slab should slide out of the container and fall to the towel.
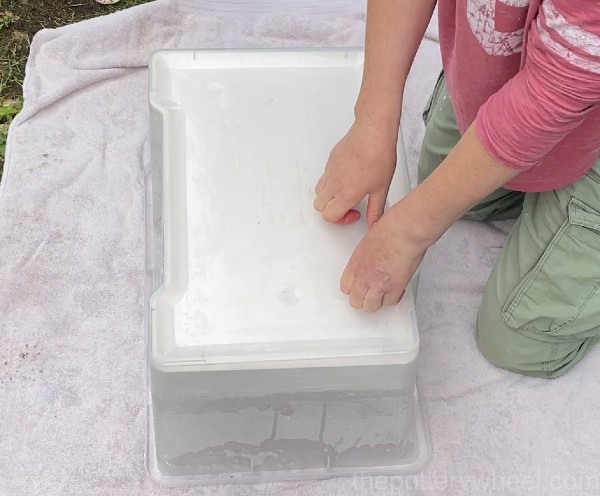
I allow the plaster slab to dry out a little overnight. It will actually take the slab a couple of weeks to completely dry out, depending on the humidity levels where you are.
Step 8 – Tidying Up the Plaster Slab
Once I’ve left the plaster slab overnight, I rub it down with a wet green scrubby. I pay particular attention to the edges which will probably have loose flakes of plaster that need to be removed.
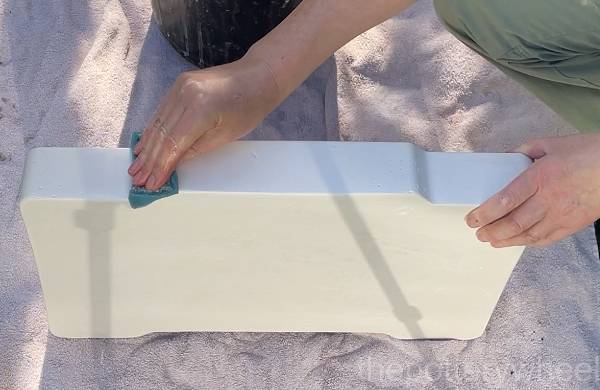
It’s important to avoid plaster debris transferring from the slab into your clay as it’s drying. If plaster contaminates your clay it can cause problems when the clay is being fired.
For example, sections of the pot might pop off during firing (source). Or your pot may break into pieces as the pot is fired.
I also run the scrubby and a damp sponge over the flat surfaces of the plaster slab. This gets rid of any loose plaster particles that are sitting on the surface of the slab.
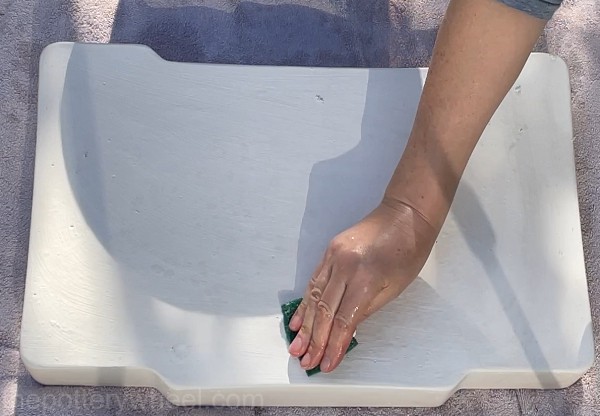
Step 9 – Mopping Up Any Loose Plaster
As a final precaution, I take a handful of clay slip from my reclaim bucket and spread it over the surface of the plaster slab.
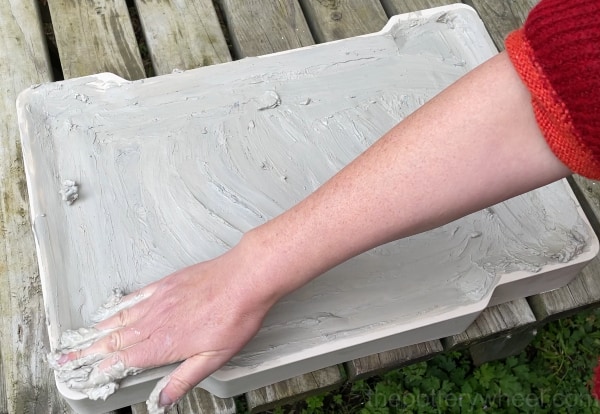
I wait until the clay slip has started to dry out, then I peel it off. If the slab is still quite wet it will take a while for the clay slip to dry.
You can speed up the process of removing the clay from the slab by dabbing the slab with a small quantity of clay.
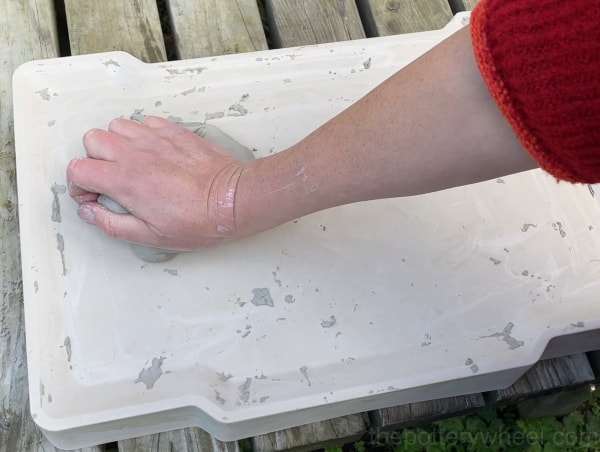
By dabbing the clay slip off the plaster you also remove any small quantities of plaster that may be nestled on the surface of the slab.
Once you have removed the clay slip, you need to dispose of the clay that has been used to dab the slip off. This is because it will probably be contaminated with small pieces of plaster.
Step 10 – Drying the Plaster Slab
Allow the plaster slab to dry for a couple of weeks before using it to recycle your clay or for wedging.
You can read more about how to recycle your clay here.
One Final Tip on Making a Plaster Slab for Drying Clay
Use fresh plaster. Once plaster is opened, it will last for between 3-6 months as long as it is kept somewhere cool and dry. If plaster is left to sit for longer than this or in damp conditions it will set very quickly once you add water.
Final Thoughts
A plaster slab is a great way to reclaim your clay. However, even when it’s cured and dried, plaster crumbles quite easily. When you are using plaster in your pottery space, be sure to wipe up any plaster crumbles to avoid contaminating your clay.
If you observe these safety precautions, making a plaster slab for drying clay will help you reclaim your clay scraps and save you a ton of money.


