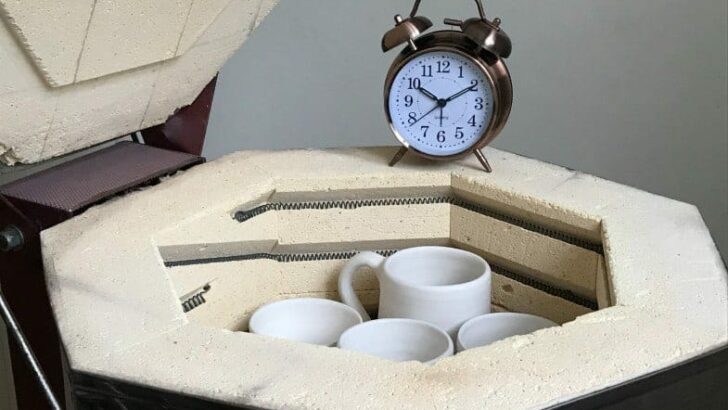
When I first started firing my own pots, one of my questions was how long does a bisque firing take? This can be a pressing question if you are up against a deadline or excited to see your fired ware. Over time, this is what I have learned about bisque firing pottery…
A bisque firing takes on average around 10 hours. However, bisque firing can take more or less time depending on the size, age, type, and make of kiln. It also depends on the firing schedule and how tightly packed the kiln is. Using a preheat also lengthens a bisque fire.
The time it takes to bisque fire pottery can vary from potter to potter, and kiln to kiln. So, I thought it would be helpful to look at some of the factors that affect bisque firing time.
How Long Does a Bisque Firing Take?
It takes me almost exactly 10.5 hours to bisque fire in my kiln. This time is measured from the moment I switch the kiln on, to the moment kiln switches off. This is a more or less average time to bisque fire. However, some potters report bisque firing in 7 hours and others take up to 13 hours. So, what factors can affect the length of time taken to bisque fire?
Factors Affecting Bisque Firing Time
The following factors all affect the length of your bisque fire:
1) Using a Pre Heat
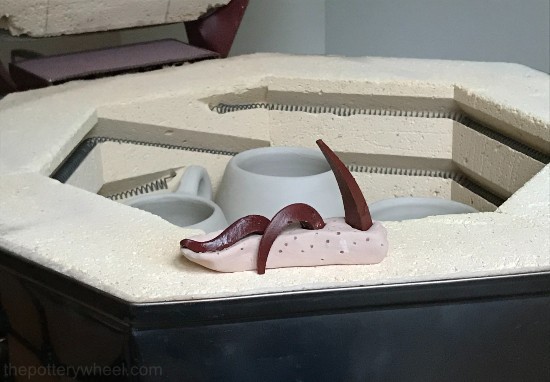
Even if your greenware feels bone dry, there will still be moisture nestled in the deeper layers of the clay. This water needs to evaporate from your ware slowly.
At 212F (100C), water turns to steam. When it turns to steam, it expands rapidly. If your pottery has small air pockets in it, the steam will expand into those gaps. This puts your fragile greenware under a lot of pressure and your piece can explode in the kiln.
Pottery is more vulnerable to exploding in the kiln if the walls are thick or unevenly made. This is because it’s harder for the residual moisture to migrate to the surface of the piece.
Working in a humid or cold environment can also affect how ‘bone dry’ your pottery becomes.
The solution to this is to add a ‘pre-heat’ to your bisque firing schedule. A pre-heat is basically a period of time before the official firing schedule starts. During the pre-heat, the kiln is held at a temperature below the boiling point of water. The kiln is warm enough for pottery to dry out thoroughly, but not hot enough for moisture to turn to steam.
Candling and Pre-heating
Pre-heating is referred to in a number of different ways. One term is ‘candling’. This term is often used to refer to leaving a kiln on a very low heat overnight.
During candling, potters will leave often leave the lid of the kiln propped open an inch. This allows any moisture to leave the kiln, rather than corroding the kiln elements.
The term ‘pre-heating’ is often used to refer to a shorter period prior to the start of the firing schedule. For example, a kiln might be held just under the boiling point of water for a few hours. I pre-heat my kiln for 2 hours at 175F (80C).
If you are firing work that is thicker, or a bit damp, you might want to preheat for longer. School teachers firing student’s work will often preheat for a good 4 hours before bisque firing. And potters sometimes pre-heat for a little longer in the winter or humid summers, when pots retain more moisture.
Usually, I pre-heat my kiln for a couple of hours the day before bisque firing. This helps keep the actual bisque firing schedule a bit shorter when it actually gets underway. So, let’s take a look now at bisque firing schedules…
2) Choosing Your Firing Schedule
A firing schedule is the rate at which a kiln temperature rises per hour during firing. The schedule will be divided into different segments, and the rate of increase will vary between segments.
Sometimes the rate will increase fast, other times the temperature increase is slow. At other times you might hold the kiln at a particular temperature for a certain length of time.
It would be nice for beginners if there was a definitive bisque firings schedule that was right for all kilns. It would make learning to bisque fire a lot easier.
However, firing schedules vary according to the type of kiln and clay you are using, and your own personal preference.
Bisque Firing Your Greenware Slowly
Although firing schedules vary, there is one point on which most potters agree. That point is that it is best to fire your bisque ware slowly. At least in the first part of the firing schedule.
There are two important windows in the first half of a bisque firing. The first temperature window, as stated above, is the temperature at which water reaches its boiling point. This is at 212F or 100C.
The second window is around 1063F (573C). This is the temperature at which the pots go through the quartz inversion (source). During the quartz inversion, the pottery expands in a tiny but rapid way.
At this point, the ware is vulnerable to cracking. And, it helps if the rate of temperature increase is slower when the inversion occurs.
So, it’s helpful to bisque fire at a slower rate in the first half of the bisque firing schedule.
By the time the kiln has reached 1112F (600F) the clay will have gone through these two windows. Also, a significant amount of the carbons and organic materials will have been burned out of the clay. So, around this time the rate of temperature rise can be increased.
Kilns with Digital Controllers:
If your kiln has a digital controller, you can pre-program the kiln to bisque fire with specific segments. If you have the manufacturer’s manual, they may have recommendations about what schedule to use for your bisque fire. Some digital controllers will come with a bisque firing schedule pre-programmed into the kiln.
However, some digital controllers need to be programmed. If that’s the case, you’ll need to decide on a bisque firing schedule and program that into the controller.
I bought my kiln second hand. And though it has a digital controller, it didn’t come with a pre-programmed bisque schedule. So, I had to figure out the bisque firing schedule on my own. When I first started bisque firing, I sought advice from a few different local pottery suppliers. I also consulted with some local potters that I knew.
Then, through a process of trial and error, I figured out which firing schedule worked best for my kiln. This process of trial and error involved bisque firing my ware and seeing how successful the schedule was. I use pyrometric cones whenever I fire my kiln. Using cones enabled me to see exactly what was going on in the kiln.
After some experimentation, I found the following bisque schedule worked for me. Here are the temperatures in Celsius.
| Segment | Rate | Target Temp |
| 1 | 80C p/hr | 600C |
| 2 | 150C p/hr | 1070C |
This is the same schedule in Fahrenheit.
| Segment | Rate | Target Temp |
| 1 | 175F p/hr | 1112F |
| 2 | 302F p/hr | 1958F |
If I use this schedule my kiln bisque fires to cone 04 in 10.5 hours.
If you do some research, you will find that other potters have different schedules. In fact, you will probably find that there are as many bisque firing schedules as there are potters. You may need to experiment a little to find what works for you, your kiln, and your clay.
Older Kilns with Switches and Dials
Not all kilns have digital controllers. Some are manual and require that the potter adjusts temperature dials during the bisque firing schedule.
Usually, manual kilns have 3 sets of dials, including one at the bottom, middle and top. These dials can be set to low, medium, and high temperatures.
During the first part of the bisque fire, the dials are set to a low-temperature setting. How long you keep the kiln at a low temperature is a matter of choice. If your pottery is dry, evenly made, and not too thick, you can keep it on low for 2 hours. However, if your pottery is chunky, or possibly damp, you might want to extend this by a few hours.
Through the bisque firing schedule, the switches are gradually turned from low, to medium and then high. As a rule of thumb manual kilns are often kept at a low temperature for 2 hours, then switched medium for 2 hours. Following which they are switched to high until the kiln reaches its target temperature. This can take around 3-6 hours once the kiln is on high.
So, all things being equal the bisque firing would take up to 10 hours to complete. However, like digitally controlled kilns, manual kilns are individual, and you may need to experiment to find the right schedule.
Bisque Firing to Cone 04 or 06
Another factor that affects how long it takes to bisque fire, is the temperature you want your kiln to reach. This is known as the target temperature. Usually, a bisque firing target temperature will be somewhere between 1852-1958F (1011-1070C).
Firing temperatures are referred to using the ‘cone system’. Cones can seem a little complicated at first glance, but they are actually quite simple to understand. If you want to know more about them, check out this article.
Typically, greenware will be bisque fired to either cone 06 or 04. I have found that the time difference that firing up to cone 04 makes is not very large.
Cone 04 is only around 106F (59C) hotter than cone 06. If you’re firing at 302F (150C) per hour, it only takes an extra 20 minutes to reach cone 04. So, the difference between firing to cone 06 and 04 is not that great in terms of time taken.
3) The Cooling Time
A complete answer to the question of how long does a bisque firing take needs to include the cooling time. It takes a long time for kilns to cool. The exact length of time depends on a few factors. Some of these factors are:
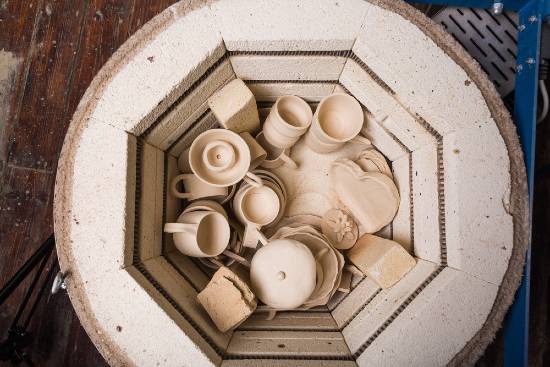
- How much ware you have in your kiln. If your kiln is tightly packed with bisque, then it will take longer to cool off. This is because by the time the kiln has reached temperature, the pottery is hot too. And so, there is more material in the kiln to cool down.
- How well insulated your kiln is. Some kilns have 3 inches of insulation on the walls and lid. Others have 2 inches. The more insulated the kiln, the longer the cool-down period.
Generally, it takes at least as long for the kiln to cool down as it did to heat up. So, if it took 10.5 hours to reach the target temperature, it will take that long to cool.
If your kiln is tightly packed, it can take 1 and a half times as long to cool down. I like to wait until the kiln is room temperature before I open it. If I’m in a rush, I will open it at 122F (50C), but no sooner. When my kiln is full, it takes 20 hours from the time the kiln switched off to drop to 122F.
Another factor that can affect the time it takes for the kiln to cool is the size of the kiln. In fact, kiln size is an important factor all around, so read on….
4) Kiln Size
The size of your kiln can affect how long it takes to heat up and cool down. Not surprisingly, usually larger kilns take longer to heat up and cool down. This is because they require more energy to heat a greater volume and mass of material. And it takes longer for the contents to lose the heat that they have absorbed once hot.
For example, a very large gas kiln that’s large enough to walk into can take 20 hours to heat up. And another 3 days to cool down completely. Whereas, a smaller 2.6 cubic foot hobby kiln can bisque fire start to finish in 24 hours.
5) Age and Condition of the Kiln
Kilns work hard, and some of their components, experience wear and tear when they are fired. One of the components in an electric kiln that wears out is the elements. These are the coils of metal that run around the wall of the kiln. An electric charge flows through the coils causing the coil to heat up. This in turn heats the kiln.
Over time elements corrode and degrade and become less efficient. Sometimes they stop working altogether. Replacing elements after they are no longer working well is an unavoidable part of general kiln maintenance.
Nevertheless, over time, elements and other parts of your kiln will start to work a little less efficiently. This can affect the time it takes for your kiln to reach its target temperature. Generally, old elements will take longer to heat up the internal chamber of the kiln. This in turn affects the length of time it takes to bisque fire your greenware.
6) Ambient Temperature
Another factor that can affect how long your bisque firing takes is the ambient temperature in your workspace. This is not the most critical factor in figuring out how long your bisque fire will take. However, it does play a role.
Kilns are highly insulated, but no kiln insulation is 100% efficient. There will be some heat loss even with the newest of kilns. And if you are firing your kiln on a cold winter’s day, it will take your kiln a little longer.
Final Thoughts
The answer to the question, how long does a bisque firing take depends on the factors described above. If you’re thinking about a smaller hobby kiln, the actual bisque firing schedule is likely to be around 8-10 hours. However, the complete bisque firing cycle might include a pre-heat. And it will definitely include the time taken for the kiln to cool. So, in total, from start to finish a bisque fire can take a good 24 hours.


