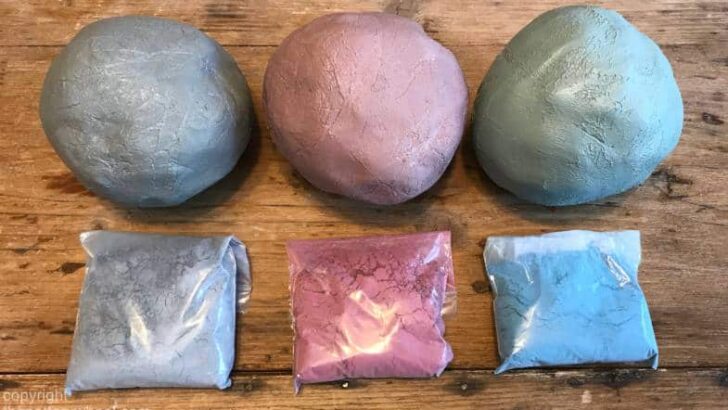
It is simple to make colored clay, and the results can be really stunning. It is one of my favorite ways of decorating my pottery. You can make lovely marbled agateware or nerikomi from the clay you have colored.
To make colored clay, you need to add a stain or oxide to your clay. Stains and oxides come in powdered form. They can be added to the clay as a powder, or they can be made into a paste or slip. And then added to the clay in liquid form.
This article is a step-by-step guide about how to make colored clay using 3 different methods. Try them out and see which one you prefer. These are the 3 methods. If you want to jump directly to any of the methods, just click on the link in this list:
- Adding dry stain to your clay
- Mixing wet stain with your clay
- Making a colored slip and mixing this with your clay
You can make colored clay with mason stains or oxides. The difference between stains and oxides is that oxides are simple metal elements. Whereas stains are oxides that have been processed and have added ingredients that make their colors more stable and consistent.
Because the color results of stains are easier to predict than oxides, I will be using stains in this article. However, some potters use oxides with the same techniques.
How do you Make Colored Clay? – The Basics
When you make colored clay, you basically need to get this powder into this piece of clay.
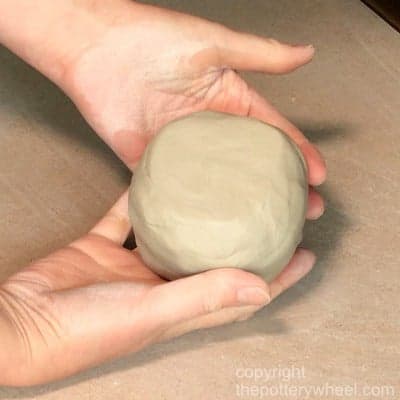

And you need to mix it in evenly. Otherwise, small unmixed chunks or bits of stain will cause a speckling effect when your clay is fired.
How Much Stain to Add When You Make Colored Clay?
Whichever of the methods you choose, you need to think about how much stain to add to your clay. Normally potters think about this in terms of percentages. The weight of the stain will be a percentage of the weight of the clay.
Strictly speaking, it’s more accurate to make your stain a percentage of the weight of dry clay. But that means making your clay bone dry, or buying clay powder. And then mixing the dry clay with water to reconstitute it.
The reason this is more accurate is that about 20% of the weight of clay is water (1). So, 1lb of wet clay contains fewer clay particles than 1lb of dry clay. If you add 10% of stain to wet clay, the ratio of clay to stain will be higher.
However, in practice, most potters simply add a percentage of stain to wet clay. I have found that mixing stain in with wet or dry clay does not make too much difference. And you only really need to be completely accurate with quantities if you want to repeat an exact color later.
What Color Stain Are You Using?
Bear in mind that certain stain colors are paler than others. You will need to add a larger amount of the paler stains to get a rich color. The paler colors are stains like yellow and violet. These tend to disappear into the clay body easily, particularly if you are using off-white clay.
With lighter stains, I tend to use, at least 10% of stain per weight of the clay. If your clay is very white, like white porcelain, it will show up more than with tan clay. Never the less 10% or more is recommended for paler colors.
Darker colors like black, dark blue, or deep red will show up with smaller percentages. I find anything from 5% up is normally good. However, some potters will use as little as 2% of darker stains for a subtle coloring effect.
Mess and Safety
You are always going to get a bit of a mess when you make colored clay. This is because mason stains are intensely colored fine powders. These powders get into the air and onto surfaces. So, when you make colored clay, be sure to wear a respirator. And give your surfaces a good clean afterward. With that said, let’s have a look at the first way to make colored clay.
Here is a quick video preview. If you want to watch my full video you can check it out here on YouTube.
Method 1: How to Make Colored Clay with Dry Stain
First off, you need to weigh out your clay and stain. For each of these different ways to make colored clay, I’m going to color 2 lbs of clay.
Then you need to choose the color of your stain. In each of these methods, I’m using darker-colored stains like turquoise. That is because the colors will show up more clearly in the pictures.
Because I’m using darker-colored stains I’m going to add 8% of stain to the clay. If I was using a paler color like yellow, I may add closer to 15% of stain. But for this example, using turquoise, I’m sticking with 8%.
Next, you need to work out the weight of 8% of 2lb of clay. It is this quantity of stain that you will be adding to your clay.
Calculations
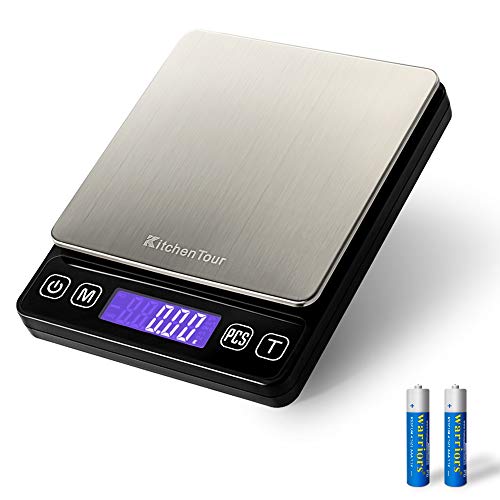
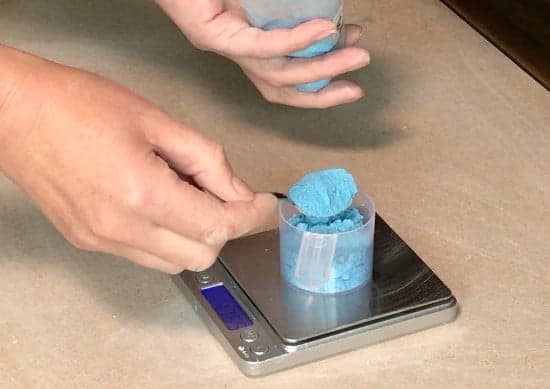
2lb is 32oz. 8% of 32oz is 2.56oz. Therefore, I’m going to weigh out 2.56oz of stain. You can use ordinary kitchen scales, but it helps if your scales measure 0.01oz.
Some kitchen scales only measure to one decimal point. If that’s the case, then you would need to round the weight of your stain up from 2.56oz to 2.6oz.
Alternatively, you can buy some precision scales. These are really quite inexpensive, and very handy to have for pottery.
I use one very similar to this one. It measures from 0.05g to 500g. And you can switch between grams and ounces.
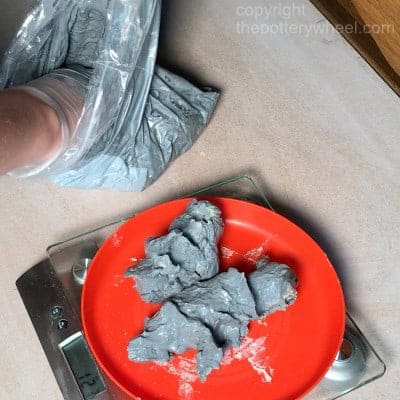
Weighing out your Clay and Stain
Weigh out 2lb of clay, and 2.56oz of stain (or whatever percentage you choose). Remember to put your respirator on as soon as you start handling the stain.
Mixing the Stain into Your Clay
The thing to remember about this method is that you are adding dry material to your clay. So, it is going to dry your clay out.
Avoiding the Crumble!
If your clay is already a bit dry when you start out, it will get drier. You might find that as you add the stain the clay gets very crumbly and dry. Adding 8% of powered stain is a lot of extra dry material for your clay to cope with.
To avoid this, I like to make sure the clay is quite wet before I begin. I usually weigh out the clay and then wrap it in a wet cloth or towel. Put this in a plastic bag and let it sit for a few hours or a day if you can. This will ensure that your clay is at least soft and moist.
Adding the Stain
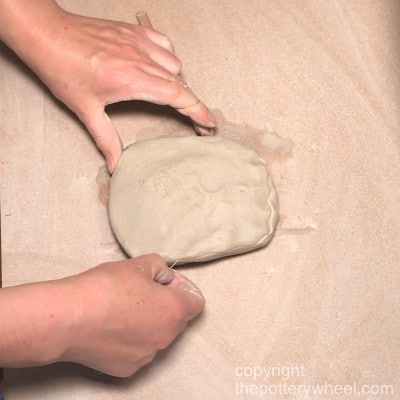
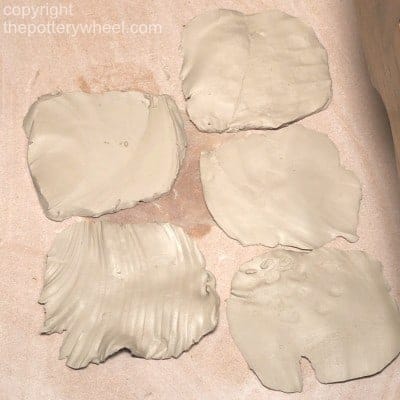
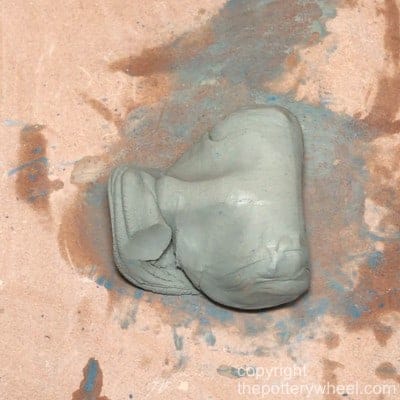
Once it feels moist, I wedge it a little and then pat it into a flat round shape. I then slice it into pancake-like sections. The reason I make the shape flat and round is so that the surface area of the pancakes is large.
Then spray or sprinkle some water onto the surface of the clay pancakes.
Next, transfer even amounts of the stain onto the slabs of clay. Spread the stain out over the surface of the slab. And give the stain a spray of water too. Adding water at this point will prevent your clay from getting very dry.
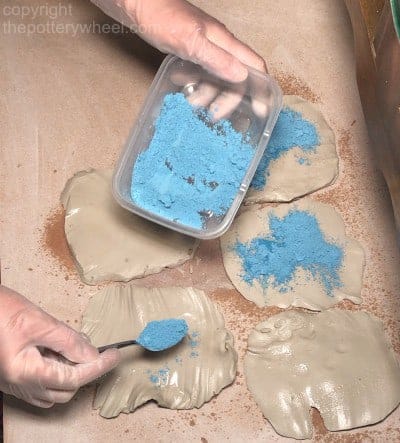
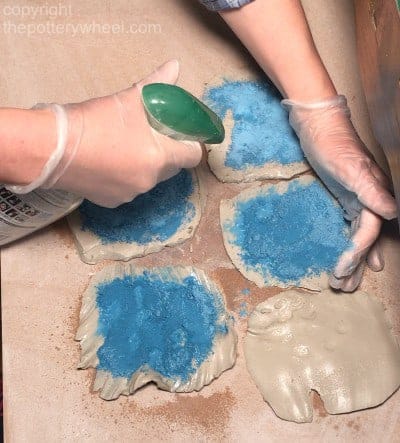
Keep one of the slabs clear of any stain.
Then stack the slabs on top of each other. Put the slice with no stain onto the very top of the stack.
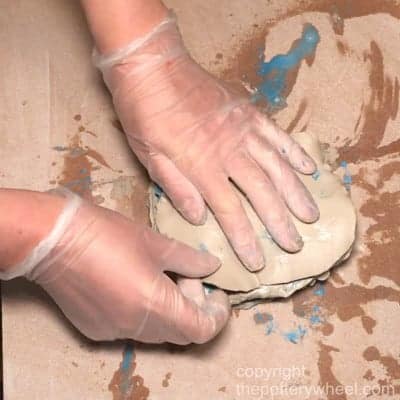
Pat the stack together so that the slices press up against each other and sandwich the stain.
Mixing in the Stain
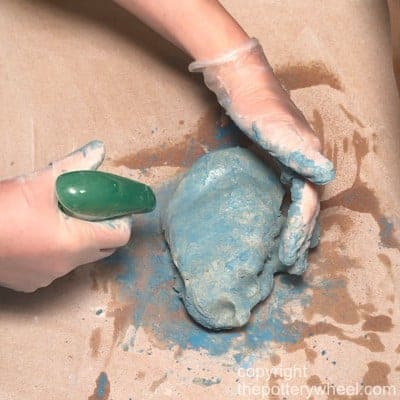
You then need to start mixing the clay and stain together. Before you start wedging properly, you really just need to try to get the clay and stain mixed together. This is where it gets a bit messy.
For the first part of mixing the stain, I usually put gloves on. Once the stain is more or less mixed in, I take the gloves off to wedge the clay.
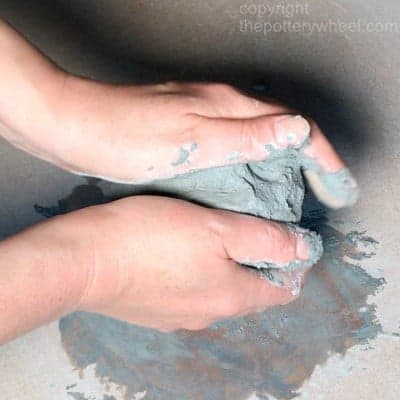
I start by squeezing and rolling the clay together. It’s not really wedging at this point. It’s more like just smushing and mixing.
You will probably find that as you mix it up, patches of dry stain look a bit crumbly. Don’t worry, it will all get mixed in.
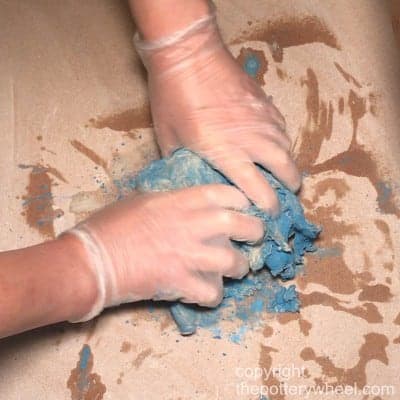
Just keep mixing until the stain seems to be mixed up with the wet clay. You may find that you need to spray on a bit of extra water to keep the clay workable.
Wedging the Stain In
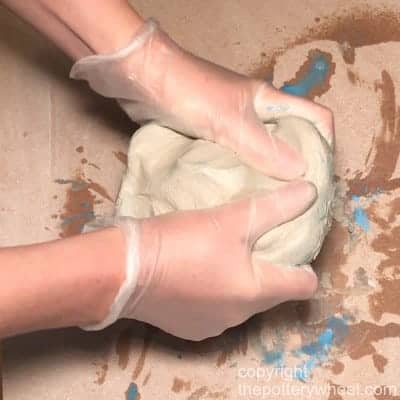
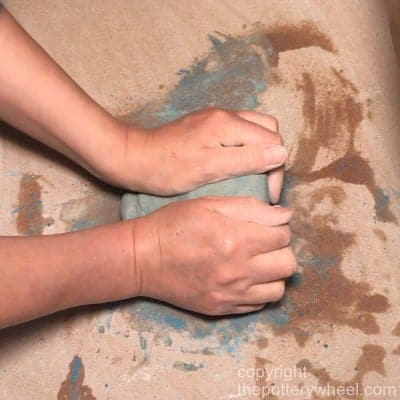
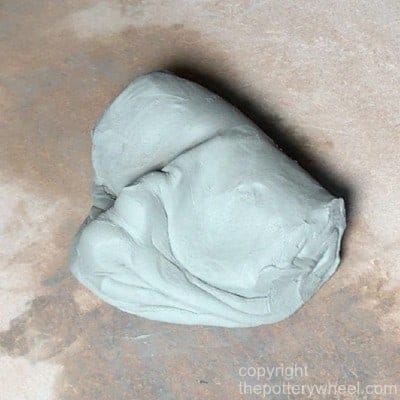
Once the crumbly bits of dry stain look like they are mixed in, you can start to wedge your clay.
Really the process is very simple now, you just keep wedging until the stain is evenly mixed into your clay.
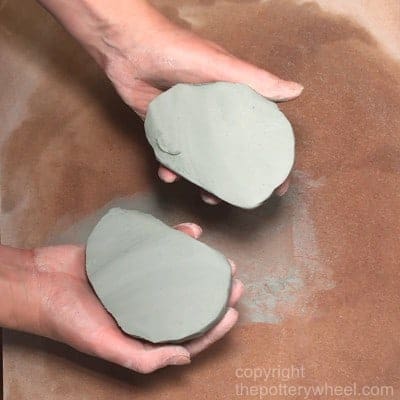
You need to keep checking to see if the stain is all blended in. The easiest way to do this is to slice the ball in two with a wire clay cutter. Have a look at the smooth flat surface. Do you see dark spots of stain in there? If so, then keep wedging until they have gone.
This can take some time, and I find that with that much wedging the clay can get a little dry. If the clay starts to get dry, I will spray the wedging surface to stop it from absorbing more moisture from the clay.
If you want the color of your clay to be darker, then you can add a little more stain. Bear in mind that the color will usually darken when it is fired and also when it is glazed.
Because this method involves a lot of wedging, I find it can leave the clay a little dry. Even if I have sprayed water on the clay when mixing in the stain. For that reason, I often wrap the colored clay in a damp cloth and a plastic bag.
If it sits overnight in a sealed container, then the clay will be soft and moist to use. I find this easier on my wrists, especially after all that wedging!
The next way to make colored clay involves less wedging. Also, this second method helps you avoid handling the dry stain as much in its powdered state.
Method 2: How to Make Colored Clay with Wet Stain
As with the above method, you start off weighing out your clay and stain.
In this example, I’m going to use 2 lbs of clay and pink stain. It’s quite a vibrant pink, so again, I’m using 8% of stain to mix this batch too.
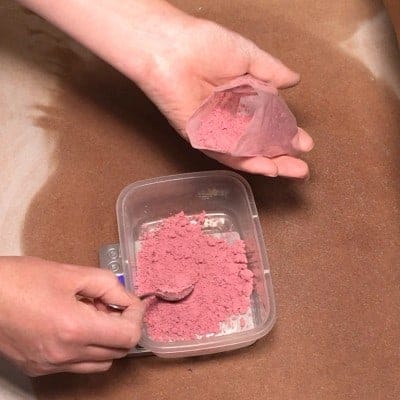
With the respirator on, transfer 2.56oz of stain into a plastic bag. I like to use a clear one so I can see what I’m doing.
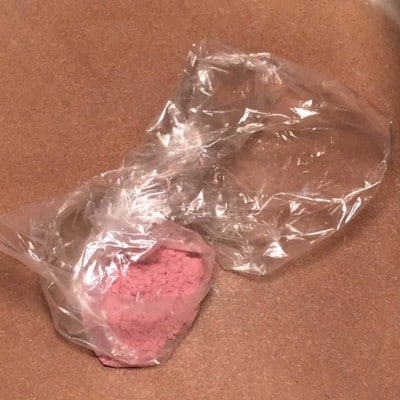
Add a little water to the bag and then massage the bag so that the stain dissolves in the water. You need to add enough water to dissolve the stain. But not so much that you end up with a large amount of liquid.
I don’t measure the water, instead, I do gauge it by eye. For 2.56oz, I would use about an egg cup full of water.
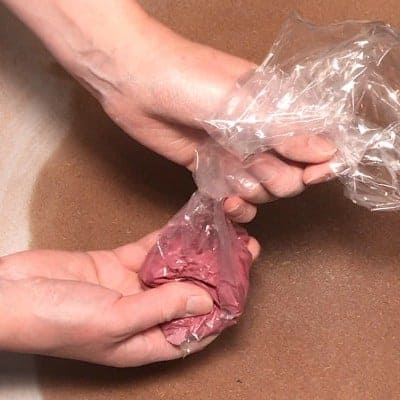
The stain can take a little while to mix in. It can feel quite hard and lumpy for a little while. Then all of a sudden it will all have dissolved. It feels a bit like mixing cornflour. So, don’t be tempted to add too much water to speed it up.
This paste is going to be mixed into the clay. So, the reason you don’t want a lot of liquid is that it will make your clay very wet.
Mixing in the Stain
Once the stain has dissolved in the water, put your bag of mixture to one side.
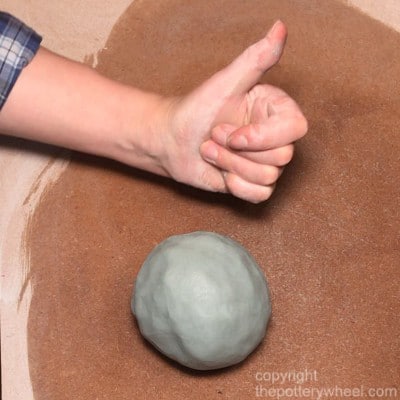
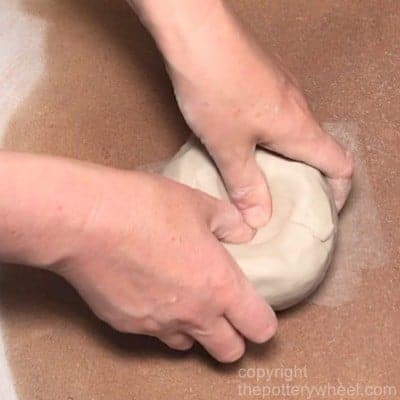
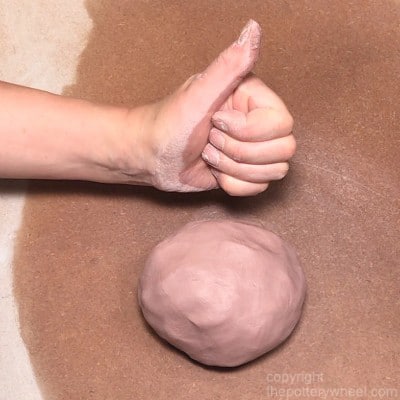
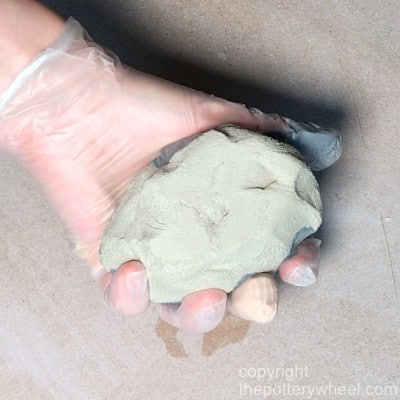
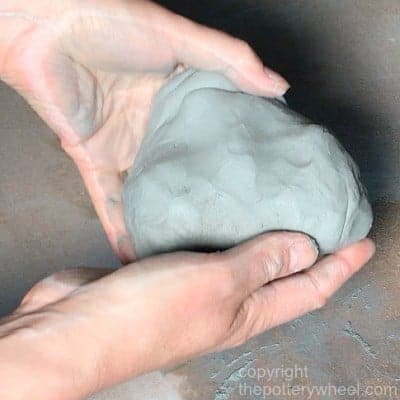
Using your thumb, make your ball of clay into a rough bowl shape. A bit like making a pinch pot.
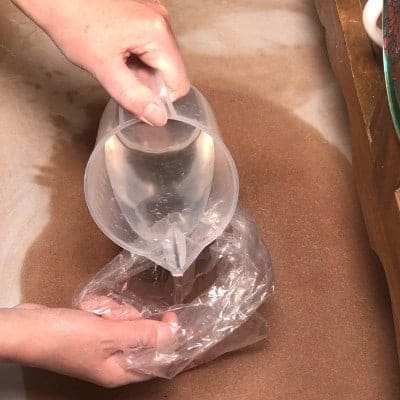
Then snip a small hole in the corner of the bag that contains your stain. Squeeze the liquid stain out of the bag into the dip in the clay.
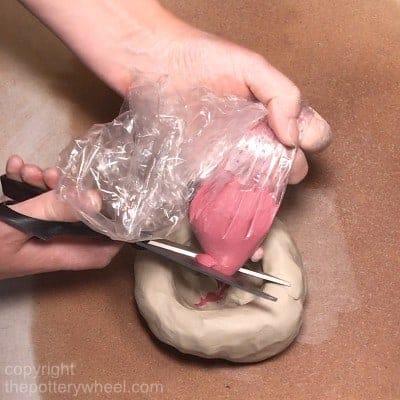
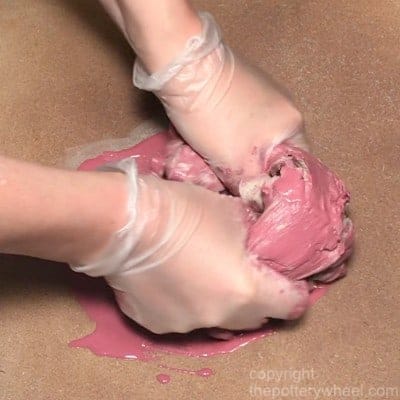
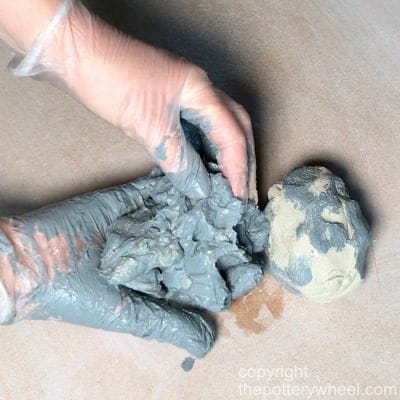
Now, this is the messy bit. You are going to mix the clay and the paste together. Whichever way you approach this, it’s going to be squelchy. But hey, that’s part of the reason ceramics is fun I think. So, embrace the squelch!
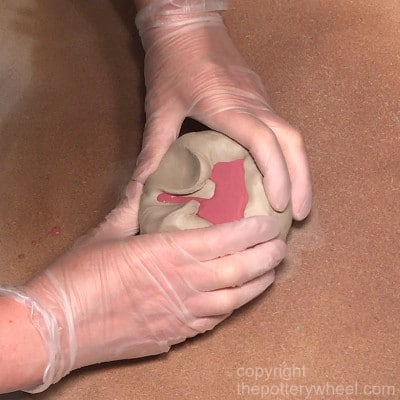
Again, I tend to wear gloves for the initial part of mixing this clay and stain together.
You are really just crushing the stain into the clay and trying to even out the color. I’ve seen some potters doing this in a bowl. But I don’t bother with a bowl as I just find it bangs around.
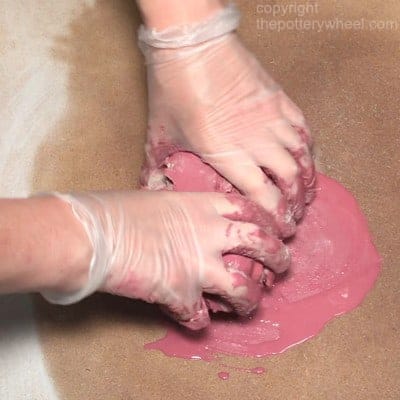
Some of the liquid will spill out onto your surface, but you can scoop it up and mix it in.
Wedging your Clay?
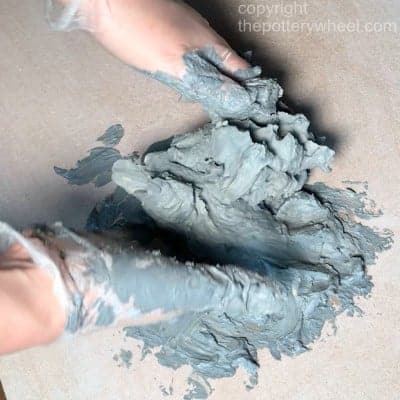
Once the liquid stain is mixed into the clay I take my gloves off. Now, you want to try and blend the stain into the clay as evenly as you can.
I do this using a wedging technique. The clay is still quite wet at this point, so technically it’s not really wedgeable. But I find using the wedging motion will mix the stain in well.
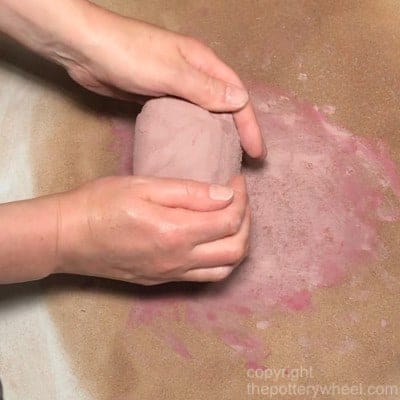
So, you simply wedge until the stain is mixed in. Another reason wedging helps at this point is that it does help to dry the clay out a bit more.
Tip!
It’s a good idea to clean your surface down to get rid of bits of dry clay and stain. If you have little clumps of stain on the board, they will keep getting into the clay as you wedge. Whilst you want to use as much of the stain as you can.
There comes a point where the color of the clay is quite smooth and even. At this point getting a lump of dark dried stain into the ball of clay is not what you want. So, clean your surface and keep wedging.
Letting the Clay Settle
Once the stain has been mixed in thoroughly, I wrap the ball in a couple of plastic bags. Then put the covered clay into a sealed box. I let the clay sit for a couple of days, sometimes a week to let it dry out a little.
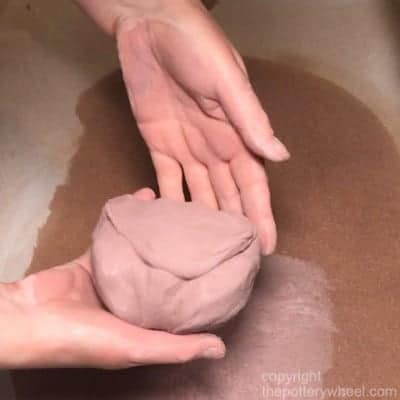
Just after it has been mixed, it is too wet to use for throwing or hand building. But if you let it sit for a while it will lose enough moisture to be workable.
Method 3: How to Make Colored Clay with Slip
With this third method, you are first adding your mason stains to clay slip. And then adding more clay to the colored slip.
When you make colored clay this way, it’s harder to control how intense the color of the clay will be. This is because you are adding your mason stain to clay slip first.
Different slip contains different amounts of water. So, you don’t know how much your stain will be diluted. Nevertheless, I use a mixture of weighing the materials and gauging by eye, and it seems to work out fine.
Mixing the Stain into the Slip
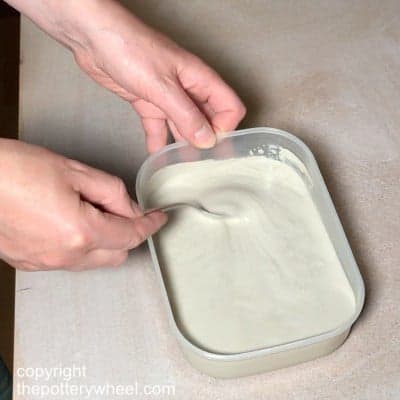
You can either source some clay slip from your scrap bucket. Or you can make some. The best way to make slip is to let small pieces of bone dry clay sit in water overnight. Then use a hand blender to mix this together 24 hours later.
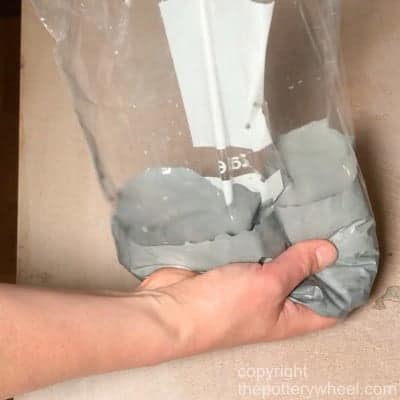
I weighed out around ½ lb of clay slip and poured it into a plastic bag. Seal the bag and put this to one side whilst you prepare the stain.
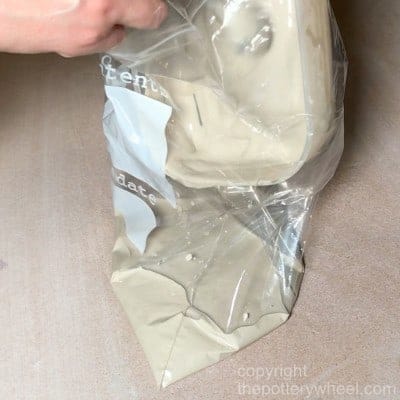
As with the methods above, I weighed out 2.56oz of colored mason stain. Then, wearing my respirator, I added the stain to the plastic bag of slip.
I gently squeeze the bag of slip until the stain seems to be evenly mixed in with the slip.
Adding Bone Dry Clay to the Slip
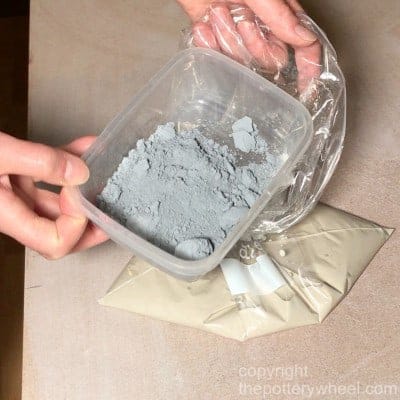
Then weigh out around ½ lb of bone dry clay. You can make little patties of bone dry clay out of the same clay body. This is simple to do, just break off pieces of clay and shape them into rough biscuit shapes. Let these dry out for around 48 hours.
You may, of course, have some dry clay scraps lying around, which is fine to use too. Just make sure that the bone dry clay is the same clay body as the clay slip. You don’t want to mix different types of clay by mistake.
Small flat biscuit shapes are good for this method, as they fit flat in the bag easily. And will absorb the colored slip well.
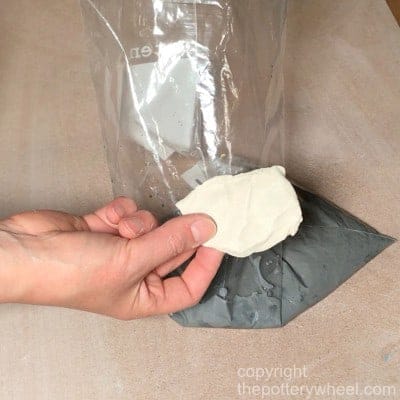
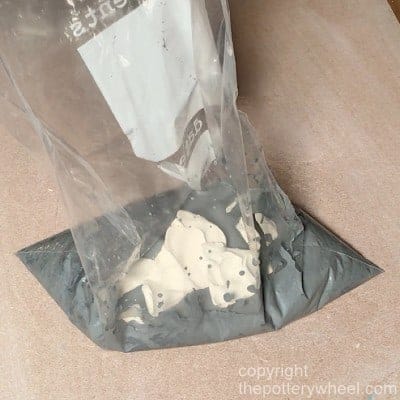
Add the pieces of bone dry clay to the bag of slip. Make sure the pieces are all completely covered by the colored slip. Then let this sit for 24 hours to let the dry clay absorb the color.
Mixing Up the Colored Clay
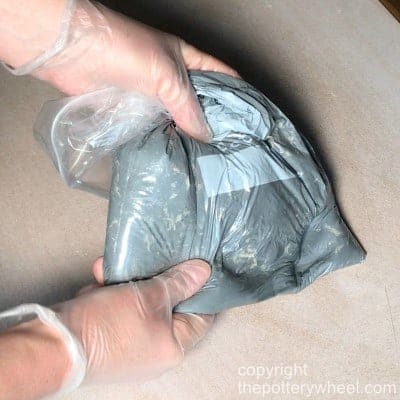
After 24 hours, gently squeeze the bag containing the colored slip. If all the clay that was dry, feels soft, then spend some time massaging the bag.
This will make the mixture smoother and give it a more even consistency. Do this until any remaining lumps of clay feel like they have broken down.
Then weigh out 1 lb of the colored clay slip.
Next, weigh out 1lb of your clay body. Now, you are going to mix in the contents of the bag with this 1lb weight of clay.
This is going to be quite messy to start with. Although wearing rubber gloves can feel awkward when handling very wet clay, it does protect your hands a bit.
There is no elegant way of doing this! You simply have to scoop the sticky colored mixture onto the lump of clay and start mixing it. At this point, it will be like mixing sticky cake batter together with your hands.
Eventually, once the colored batch is mixed in quite well with the extra clay, shape it into a ball.
Wedging the Colored Clay
At this point, I take off my gloves and scrape down the wedging table. Then I’m ready to start getting rid of some of the water in the clay. You can do this by using a wedging motion to knead the clay.
The clay will still be soft and sticky, but it gradually starts to dry out a bit and firm up. A tip is to wedge on different parts of your wedging surface.
Dry parts of the wedging table absorb water from the clay. So, moving the clay about on the wedging surface will help make it less sticky quicker.
After around 5 minutes of wedging, you should have a soft ball of colored clay. This is still a bit too soft to use. So, I would recommend putting it in a couple of bags and letting it sit for a few days. After it has settled for a few days, it should be fine to use for throwing or hand building.
One Last Tip
You can stop the stain from coloring your wedging surface by stretching some canvas tightly over the surface.
Alternatively, you can wedge on a piece of spare plywood or MDF. I do this by clamping the board to my wedging table. This keeps the board steady whilst I’m wedging. But can be removed and kept to one side, especially for coloring clay.
Final Thoughts
Each of these ways of making colored clay is pretty easy to follow. My preference is method number 2, where you make the stain into a paste and then add it to your clay.
I don’t have especially strong wrists. Adding the dry stain to your clay involves more wedging. And you have to wedge extra moisture into the clay, which I find tougher on my wrists.
Either way, I recommend you try each method out and choose your own favorite way to make colored clay.


