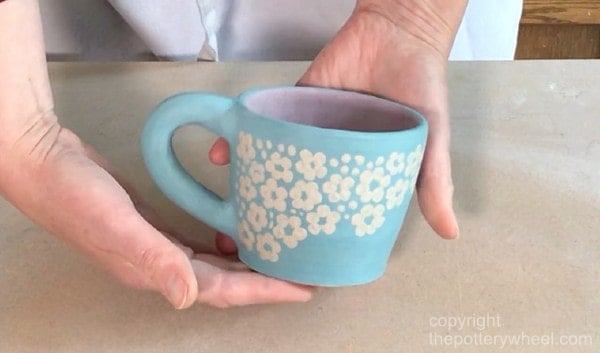
I love using colored slip to decorate pottery. It has a velvety finish that you don’t get with most underglaze. If you want to make your own decorating slip, you’re probably wondering how much stain to use in colored slip?
How much stain to use in colored slip, depends on a few factors. They are the color of the stain and the color of the clay you are making the slip from. Sometimes light-colored stains like yellow and violet may need around 15-20% stain. Darker colors like black and dark blue may need between 5 and 10%.
Whilst these percentages are helpful figures to bear in mind, ceramic stains can be pricey. So, it’s a good idea to take the guesswork out of how much stain to use in colored slip. This will help you avoid wasting time and money. So, read on…
Factors that Affect How Much Stain to Use in Colored Slip
Some factors that affect how much stain to use in colored slip include:
- Percentage of stain added
- Color of the clay body you are using to make the slip
- Whether you are weighing wet or bone dry clay when working out percentages
How precise you need to be depends upon whether you need to make the same color slip in the future. You may want to make exactly the same colored slip again. If so, then it’s best to know exactly what percentage of stain you used.
However, if you are making a small one-off project, you may feel happy adding your stain bit by bit and mixing it in. You can gauge by eye whether you have added enough to be happy with the color.
So, there are a couple of ways you can decide how much stain to use in colored slip. You can either gauge it by eye. Or you can test different percentages and see which one you like best. The best way to test different percentages is by making a test tile for colored slip.
The most well-known brand of stain is Mason Stains. However, there are other brands available. And, the methods below apply to ceramic stains whether you are using Mason Stains or another brand.
Gauging the Amount of Stain by Eye
Adding your stain by eye involves mixing a little of your stain powder in and checking the color. If you want it darker, you add a little more. Simple!
However, if you’re choosing how much stain to add to colored slip this way, you need to remember the following:
- Most stains do get a bit darker when they are bisque fired, and also when they are glazed.
- Unlike oxides, most stains are the same color before they are fired as they are after. But not all of them are easy to gauge by eye. Dark blue stain can look purple or mauve before being fired. This makes it harder to gauge by eye.
- Some stains will flux a bit when fired if they are added in larger amounts to clay. Fluxing means they melt a bit and can behave a bit like glazes. So, if you are adding larger percentages of stain to your slip, the slip may run when it’s fired.
- Repeating colors in the future is harder if you gauge how much stain to use in colored slip by eye.
If you are using a new stain to color your slip, making a test tile can be very. They are simple to make and you can use them as a reference for your future work.
Making a Test Tile for Colored Slip
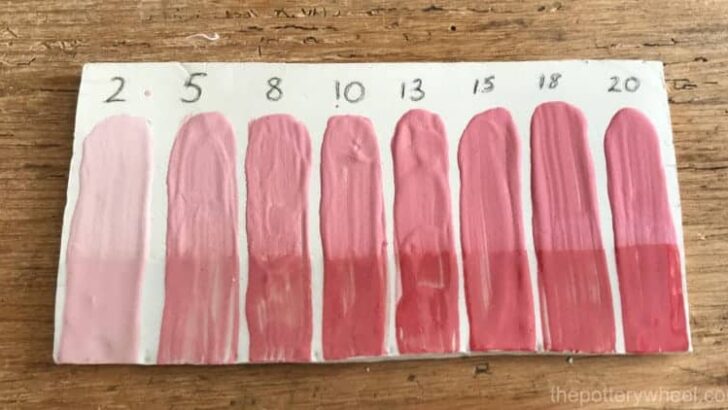
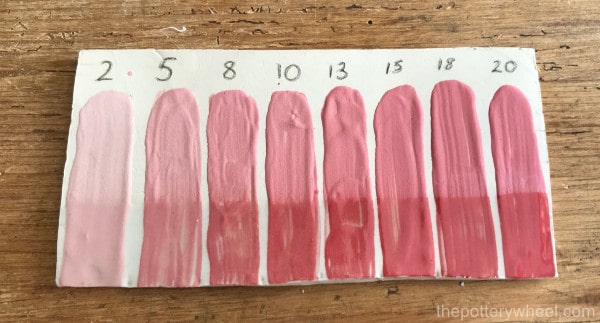
When I’m making a test tile for colored slip, I like to test about 8 different percentages of stain. I test different percentages of stain in the slip and these range from 2% to 20%.
Obviously, 2% is very light and 20% is very dark, and it’s unusual to want to use either of these extremes. But you never really know what a stain is going to look like until you’ve tested it. So, it’s good to have a reference.
Here is a video clip overview of the steps involved.
Steps for Making a Stain Test Tile for Colored Slip
Make a slab of clay to use as your test tile. I normally make mine about 8 inches wide and 3 inches tall. It can be about ¼ inch thick. About the thickness of a wall tile.
Let the slab of clay settle. I leave it to dry for a day or so. That way, it’s leather hard when I’m making the tile and it’s easier to handle.
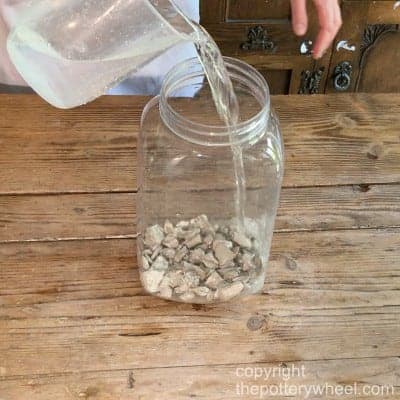
Collect some bone dry out of the same clay body. This is the clay that you are going to make the colored slip from. If you don’t have any bone dry clay, you can make some by breaking off small chunks of your clay body. Let these dry out on a tray until bone dry.
Once your pieces of clay are bone dry, weigh out an amount of dried clay. You can weigh out whatever quantity you like. Just choose an amount that it’s going to be easy for you to work out percentages for.
I usually weigh out 1lb (16 oz), but you can use ½ lb. if you want to make a smaller amount of slip. If you use a smaller amount of clay, you can use a smaller quantity of stain for your test tile.
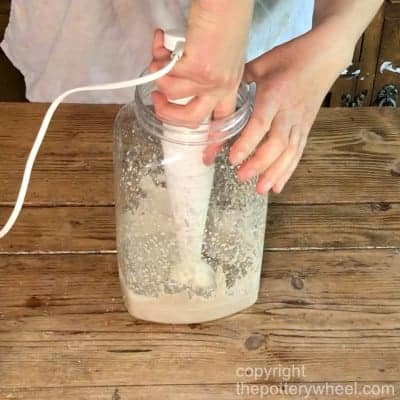
When you have weighed out your clay, break up the pieces and put them in a container. Then add enough water to cover each piece of clay. Let this mixture sit for a couple of days to slake down.
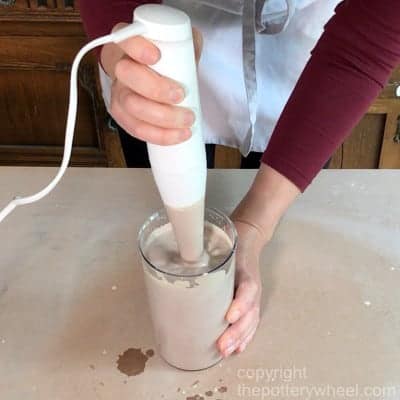
Once the bone dry clay has broken down in the water, blend the mixture with a hand blender.
Getting The Right Thickness of Slip
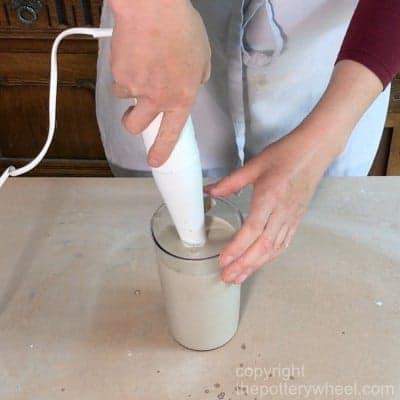
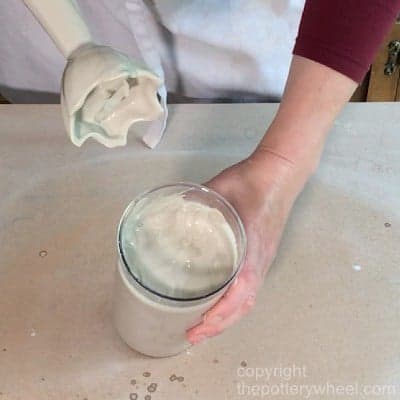
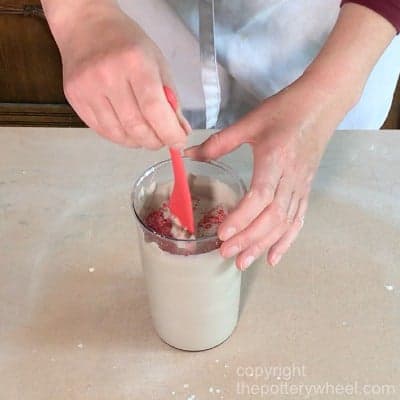
I usually transfer the slip into a container that it will be easier to mix the stain into. This is any narrow container with a smooth surface on the inside.
The smooth surface ensures that you don’t get patches of slip that have not blended with the stain. Add a little water so the stain is the consistency of thick cream.
Working Out Your Percentages of Stain
Choose what percentages of stain you want to test the color of. I usually test 8 different ratios of stain to clay between 2 and 20%.
Then you need to work out the weight of the stain for each of these percentages. Let’s assume you have used 1lb of bone dry clay in your slip. This is equal to 16oz of clay.
If the first percentage of stain you are testing is 2%, then work out 2% of the weight of the clay. 2% of 16 oz is 0.32oz. So, to start off, you would add 0.32oz of stain to the clay slip and see how that looks.
It’s helpful to work out your percentages before you start mixing your stain with your clay. It stops you from getting in a muddle with your math when you are handling your stains and slip.
Here is the chart I use when I’m making my colored slip test tiles.
| % of Stain | Weight of that % | How much to add |
|---|---|---|
| 2% 5% 8% 10% 13% 15% 18% 20% | 0.32oz 0.8oz 1.28oz 1.6oz 2.08oz 2.4oz 2.88oz 3.2oz | 0.32oz 0.8oz 0.48oz 0.32oz 0.48oz 0.32oz 0.48oz 0.32oz |
Note: Each time I add stain to the mix, I’m adding to the amount of stain already in the slip. Say, for example, I want to see what 8% of the stain looks like, and I’ve already added 3%. I would just need to add a further 5% on top of the 3% that is already in the slip. Adding 5% to 3% would make an 8% stain.
Adding the Stain to the Slip
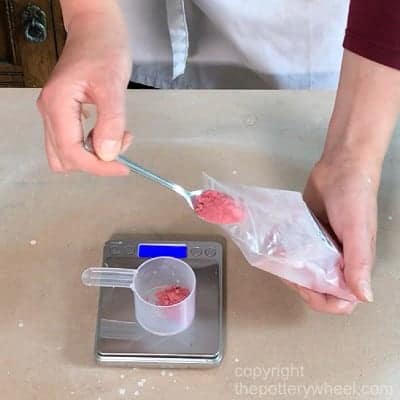
Once I’m all square with my calculations, then I start adding the stain to the slip. It’s important to wear a respirator when handling powdered ceramic products.
Weigh out the quantity of stain you need, and then carefully add it to the container of slip. Mix this in gently with a spoon, before you use a blender. This will stop the stain from going into the surrounding air.
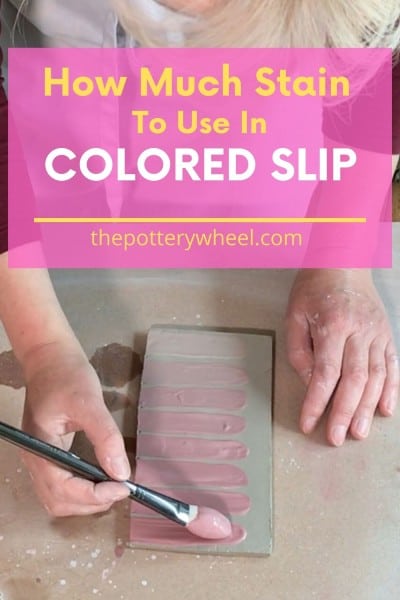
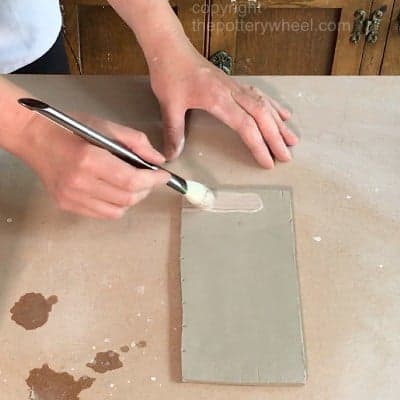
Mix the stain in with your hand blender thoroughly. Then using a mop brush, paint a strip of the slip-on your test tile.
Next, weigh out your next quantity of stain. Remember you are adding stain to what is already in the slip.
Repeat the above process of mixing the stain in with the slip and painting a strip on your tile.
Eventually, you will have painted a row of colored slip strips on your tile. These will show you what the different percentages of stain look like.
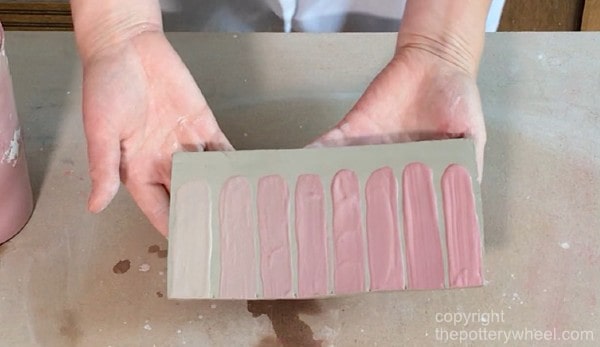
When the clay tile is dry, you can write the percentages for reference. I write this with an underglaze pencil. But, you could scratch it with a needle tool as well, when the clay is leather hard.
Firing your Colored Slip Test Tile
Once the test tile is dry, you can fire it. After it has been bisque fired, I paint half of the strip with a clear glaze and then glaze fire. This will give you a record of how much the stain darkens (if at all) when it is glazed.
Check out this full step-by-step video on how to make a test tile for colored slip.
If you are thinking about making colored clay with stains, you can also test out how much stain to add. The best way to do this is to make small sample pieces and label them. If you want to know more about how to make colored clay, have a look at this step-by-step guide.
Final Thoughts
This test tile will help you figure out how much stain to use in colored slip for future projects. If you use colored slip a lot, it’s very handy to make one of these, each time you use a new color. Plus, they look pretty!


