When you’ve worked hard on a piece of pottery, you want it to survive the drying process. You may have been told to dry your pots slowly so they don’t crack or warp. But how slow should you go? And how long does it take for pottery clay to dry?
Pottery clay usually takes about 7 days to dry. However, this is a rule of thumb, it depends on how warm and dry the weather is. And the drying process can be speeded up or slowed down to suit your pottery-making schedule.
Clay dries in stages, and we can work on the pottery at different points in the drying process. Here is an overview of the stages of drying to give you an idea of how long each one takes.

The Different Stages of Drying Pottery Clay
In the first stage of making pottery, the clay is soft and workable. Workable clay is sometimes described as being in a plastic state.
Plastic Workable Clay
Ideally, the clay you are working with will be soft and pliable but not sticky to the touch. As a rule of thumb, workable plastic clay contains around 30% water. The water in the clay allows the clay particles to glide over one another, and this is what makes it soft and pliable.
Fresh clay starts to lose moisture quickly when it is taken out of its storage bag. Within 15-30 minutes of being in the open air, clay will have lost some of its water content. This will affect how workable the clay is. As the clay loses moisture it becomes less workable.
Exactly how much moisture the clay loses depends a lot on the atmosphere where you are working. If the weather is dry and warm or hot, the clay will lose water quickly.
But if the weather is cold and damp, then it will take much longer for the clay to become less workable.
Where I live, the weather can be very hot in the summer but in the winter there are often long stretches of cold and damp. When I’m making mugs, I will usually prepare a batch of 5 or 6 600g (1.3lb) balls of clay for throwing.
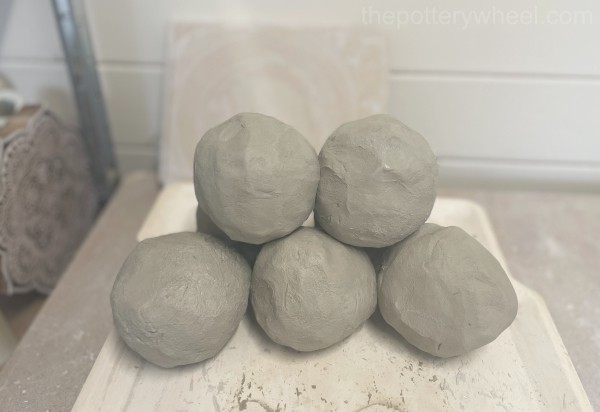
In the summer, by the time I’ve started to throw the 6th ball of clay, it will have firmed up a lot. So, it’s best to keep them covered in plastic sheeting. By contrast, in the winter, when the weather is cold and damp, I could leave those balls of clay out all day and they would lose very little moisture.
How Long Does It Take for Clay to Become Leather Hard?
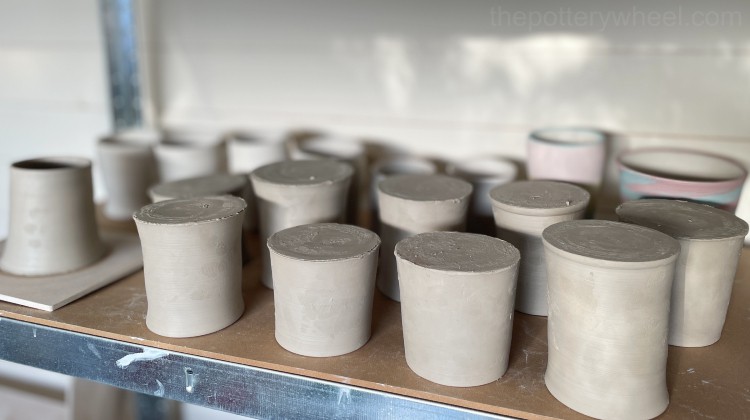
On average it takes about 1-3 days for clay to become leather hard. However, this does depend on how you are storing and drying it.
Leather hard clay is a bit paler than fresh clay. It is drier and harder to the touch, but it feels cold. This is because it still has quite a high water content.
In its leather-hard state, clay is brittle and will crumble if you try to bend it. But if you leave it on an absorbent surface, like a wooden batt, it will leave a damp patch.
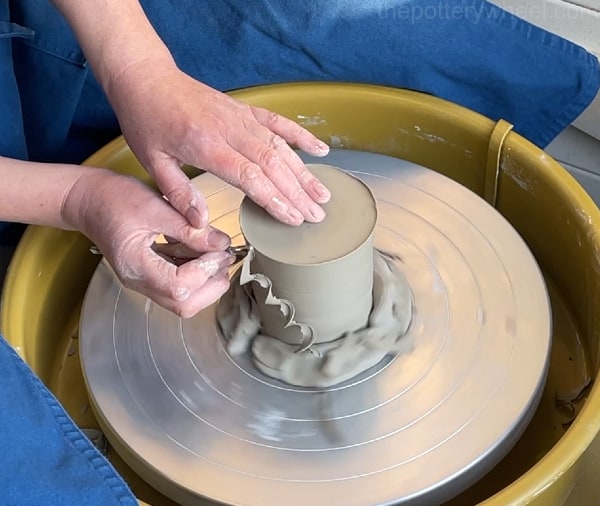
A related question is how long should clay dry before trimming? Trimming is when you pare off the excess clay and refine the shape of your pot with trimming tools.
When you’re trimming clay the clay should be leather hard. If you try to trim when the clay is too wet, the strips of clay that some away will stick to the pot again and cause a mess.
Ideally, you want the ribbons of clay to be dry enough to fall off the pot as you trim, rather than sticking to it.
How Quickly Does Pottery Clay Become Bone Dry?
Before you can fire your pots, they need to be bone dry. Clay is bone dry when it’s lost as much moisture as it can before it goes into the kiln. But how long does it take clay to dry before firing?
It is usually said that clay takes up to 7 days to become bone dry. Again, this depends on the temperature and humidity and how well the pots are covered. But 7 days can be a useful rule of thumb.
When clay is bone dry, it is pale and feels dry to the touch. One way to test if the clay is bone dry is to hold it to your cheek. If it feels cold, it still contains moisture.
But in the winter I don’t find this test particularly useful, as all the pots feel cold in my pottery shed. Even when they are completely dry!
If I’m not 100% sure that my pots are bone dry, I will do a pre-heat with the kiln. This is when you set the kiln to hold at around 194F (90C) for a few hours before the firing schedule starts.
Holding the kiln at this temperature will help any leftover moisture to evaporate from the clay before the bisque fire starts. You can find out more about pre-heating your kiln here.
A Rule of Thumb Guide for Drying Pottery Clay
| Plastic Clay | Leather Hard Clay | Bone Dry Clay |
|---|---|---|
| 15-30 minutes | 1-3 Days | Up to 7 Days |
5 Factors That Affect Pottery Clay Drying Time
You can see from the table above that the time it takes pottery to dry can vary a bit. However, you can have a bit more control over the process if you take into consideration the following factors.
Factor 1: The Weather and Climate
If the weather is cold and wet, it’s going to take your pottery much longer to dry out than if it’s dry and warm.
I know this sounds like an obvious point, but it’s surprising just how much the temperature and humidity will affect your pottery production process.
My pottery shed gets very warm and dry in the summer. Even if I cover my pots well, they will become leather-hard in around 24 hours. By contrast, in the winter time when it’s rainy and cold, I can leave my piece out uncovered for days and the clay will still be too moist to trim.
I would recommend checking your pottery regularly to see what impact the climate is having on your drying time. You will quickly get a good idea of how the seasons are affecting how long it takes your pottery clay to dry at home.
There are things that you can do to control the temperature and humidity.
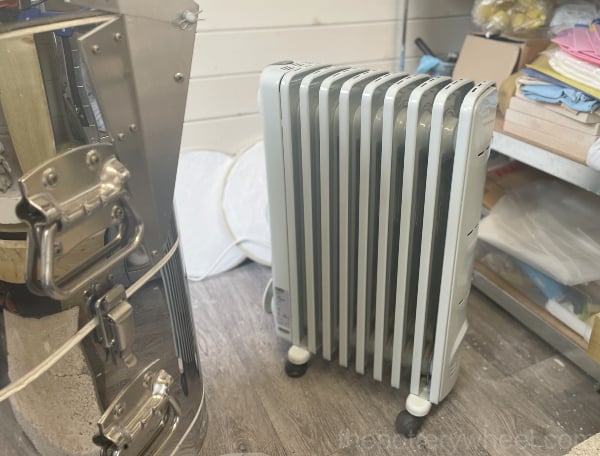
If your pottery space is cold, leave a small heater on during the winter. I have a small plug-in radiator like this one in my pottery shed that stops the clay from freezing overnight. The heater also helps to speed up the drying process. I will cover how to dry pottery clay faster a little later on.
Equally, if the temperature is very warm, you can use air conditioning or a fan. If you are using equipment to circulate air, make sure that your pots are not sitting directly in the airflow. This can cause your pottery to crack.
Controlling Humidity
You can control the humidity in the air around your pottery by covering it with a plastic bag.
Here are some tips on covering your pottery with plastic:
- Put your pottery on a wareboard, which can just be a piece of smooth wood.
- If it’s going to be a while before I can work on a piece again. Or if the atmosphere is quite dry, I put a piece of plastic bag on the wareboard first. This stops the wooden ware board sucking moisture from the clay too quickly.
- I lower a plastic bag over the pottery and tuck the edges of the bag underneath the ware board. This creates a seal around the pottery.
- If the clay is very wet, for example, if the pottery is recently thrown, I avoid the plastic bag from touching the surface of the pot. The plastic can leave marks on very fresh clay.
- However, if the clay is a bit firmer, and you want the seal to be nice and tight, you can wrap the bag around the clay more closely.
Note: Moisture will evaporate from the clay and condense on the surface of the plastic bag. If a soggy plastic bag rests against your pottery it can damage detailed designs on your pottery.
A Pottery Clay Damp Box
Another great way to control the humidity around your pottery is to make a damp box. A damp box is a lidded plastic box that has a layer of hardened pottery plaster in the base. The plaster layer is about 1-2 inches thick.
You keep the air in the damp box wet by pouring about a few cups of water onto the plaster base. The water will be sucked into the plaster, so the surface of the plaster feels damp but not wet.
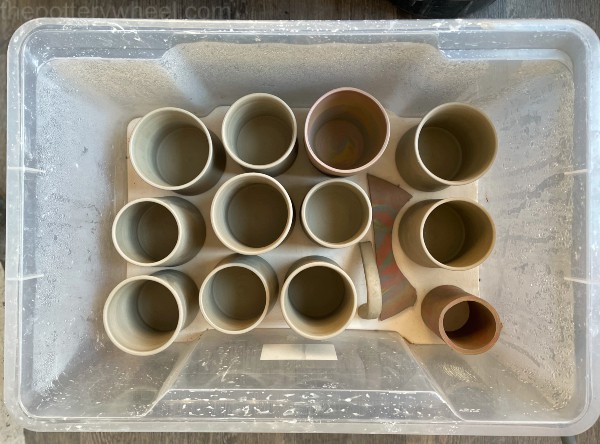
Put your pottery on the damp plaster and seal the box with the lid. The atmosphere in the box will stay moist and your clay will stay in a pliable state for as long as you need it to be workable. You can check out my step-by-step guide on how to make a damp box here.
Factor 2: Thick or Large Pieces of Clay Take Longer to Dry
If your pottery is large or has thick walls it will take longer to dry. That’s because it has more water content, and also the water needs to travel further to the surface of the clay so it can evaporate.
It’s a bit like drying laundry. A thin bed sheet will dry quickly if it’s hung in one layer on a washing line. But a bundle of wet towels left in a pile will take a lot longer to dry.
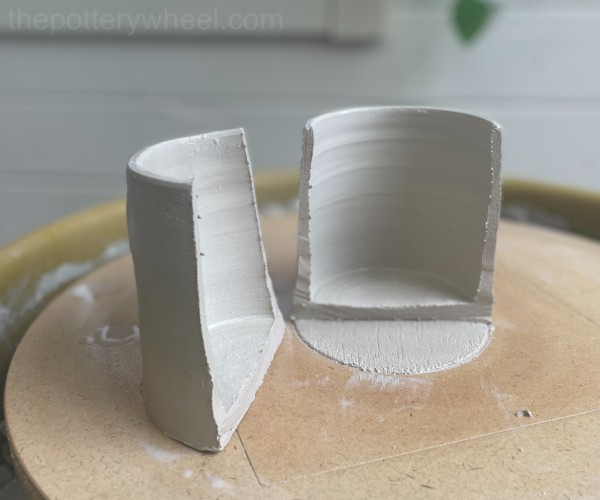
One way to check how thick the walls of your pot are is to slice through a few recently thrown pots. Slide your clay wire under the pot and draw the wire up through the pot to cut it in half.
It can feel painful to sacrifice pots in this way, but it will show you where your pots are thicker and thinner.
Factor 3: Does the Pottery Have a Uniform Thickness?
If your pottery has some details on it that are thinner than others, you need to be a bit more careful with the drying process.
Intricate design details or thinner parts of the pottery, like handles can crack as they dry.
The reason for this is that clay dries it shrinks. Thinner parts of the clay or details on the pot such as handles that are more exposed to more air will dry more quickly.
If some parts of the pot are shrinking more rapidly than others the pottery will be put under tension. This is sometimes called a drying gradient (source).
One solution to this is to cover the thinner parts of your pottery so that they don’t dry so quickly. An example would be to wrap plastic around handles on mugs so that they don’t dry out too fast. I’ll go over some more tips on drying out your pottery in a moment.
Factor 4: Some Types of Clay Take Longer to Dry
Different clay bodies have different drying performances. This refers to how able the clay is to dry and shrink without cracking.
If clay has a poor drying performance, you will need to take longer to dry the clay out. It can sometimes feel like you have to nurse your pottery through the drying process.
Plastic Clay
Sometimes clay is referred to as being plastic. What this means is that it is easily workable and it doesn’t crumble. Also, plastic clay will hold the shape that it’s been formed into without wanting to return to its original shape.
So, plasticity in clay makes it easier to work with. However, plastic clay tends to shrink more when it dries. As a result, you need to take a bit more time to allow it to dry out slowly to stop it from cracking.
Grogged Clay
Grog is a grainy material that’s added to clay to give it more texture. Grogged clay shrinks and cracks less when it dries. Because you don’t have to nurse groggy clay through the drying process, it can be dried more quickly than plastic clay.
Also, the grains of grog help water evaporate from clay, so that makes it easier to dry grogged clay too. You can read more about the benefits of grog in your clay here.
Porcelain
Porcelain clay loses water quickly when it dries. You might think that this means that porcelain takes less time to be ready for firing. But, because it loses a lot of water quickly, porcelain also shrinks a lot and is prone to cracking.
As a result, the drying process has to be managed quite carefully. It’s a good idea to dry porcelain pottery out slowly.
Factor 5: How Did You Make the Pottery?
When you make pottery in the wheel, you need to use water to wet your hands and the clay. This stops the clay from sticking to your palms and fingers as it turns. As a result, wheel-thrown pottery that is freshly off the wheel is usually in a very soft, wet condition.
This isn’t the case with hand-built pottery. With hand building the pottery normally gets a chance to dry out a bit and firm up at different stages in the process.
So, wheel-thrown pottery contains more moisture than hand-built pottery and has more drying to do. This can make the drying process a little longer.
Having said that hand-built pottery is more likely to have joins and details that need to be dried slowly too. So, the method of making isn’t the only factor that affects how long it takes to dry pottery clay.
How to Dry Clay Faster (And Avoid Cracks)
I’ve learned through bitter experience that it’s best to dry pottery clay slowly. Usually, when I try to speed drying up I will pay the price with cracked or warped clay.
However, there are some steps you can take that can shave a bit of time off the drying process.
Here are a few pottery drying tips:
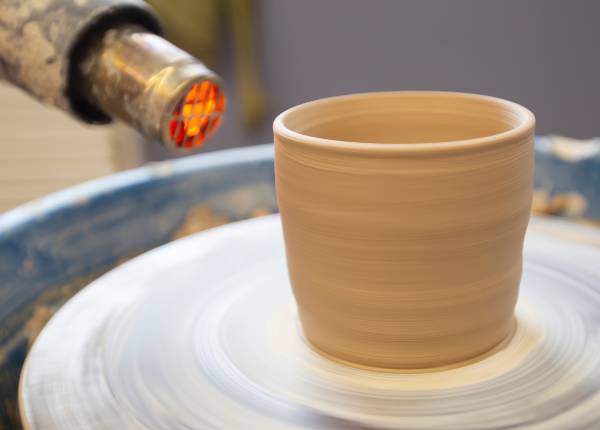
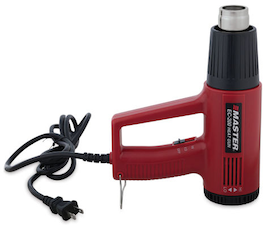
Master EC-200 Heat Gun
A heat gun is a very handy way of drying or firming up clay quickly.
Tips on Covering Your Pottery as it Is Drying
- Cover the parts of your pottery that will dry out more quickly, like rims and handles. For example, you can cover handles with cellophane (saran wrap), and then cover the whole pot more loosely with a bigger plastic bag.
- Another way to protect parts of the pottery that dry quickly is to apply some wax resist. Wax resist is a liquid that forms a waterproof barrier when it dries. I paint wax resist on my handles to make them dry more slowly. When the wax resist has dried, I cover the whole piece loosely with a plastic bag. This has helped me reduce the number of cracked handles I get.
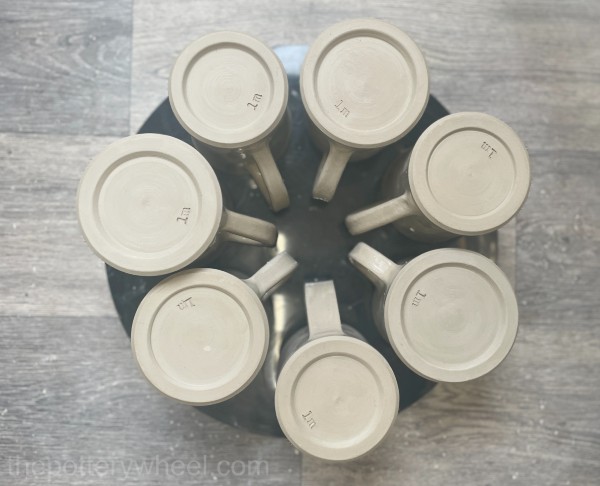
- If you are making a batch of mugs, dry them in a circle with the handles pointing towards each other. Then cover the batch. This creates a humid environment for the handles to dry out.
- You can place your piece on a plaster bat, cover it with fabric, and then seal it in a plastic bag. The plaster bat will draw water from the base, which normally dries more slowly. And the moisture in the bag stops the overall piece from drying too quickly. A piece can become leather hard in 24 hours using this method.
Does Clay Dry Out Completely?
It’s also worth remembering that even when clay is bone dry, there will be some residual water content. And there will be water chemically bonded to the clay particles too.
You can speed the drying process along a little by putting less than bone-dry clay in the kiln and giving it a longer pre-heat.
Pre-heating is when the temperature of the kiln is held at less than 212F (100C) for some time. I usually preheat my kiln for 3 hours before a bisque fire, to make sure that all the moisture has evaporated before the firing schedule starts.
Final Thoughts
So, how long does it take for pottery clay to dry out? The answer is that it depends on the 5 factors outlined above. On the face of it, some of the tips mentioned above on drying your pottery clay seem to slow the process down.
However, sometimes it’s best to proceed slowly when drying pottery. If you take a few precautionary steps your pots will dry successfully without cracking or warping. Speeding the drying process can cost you time in the long run if you have to repair cracks or worse still, start again!


